
Manage the branding of your company that will appear at the top-left corner of the main booking page. Fill in the following things for effective branding:
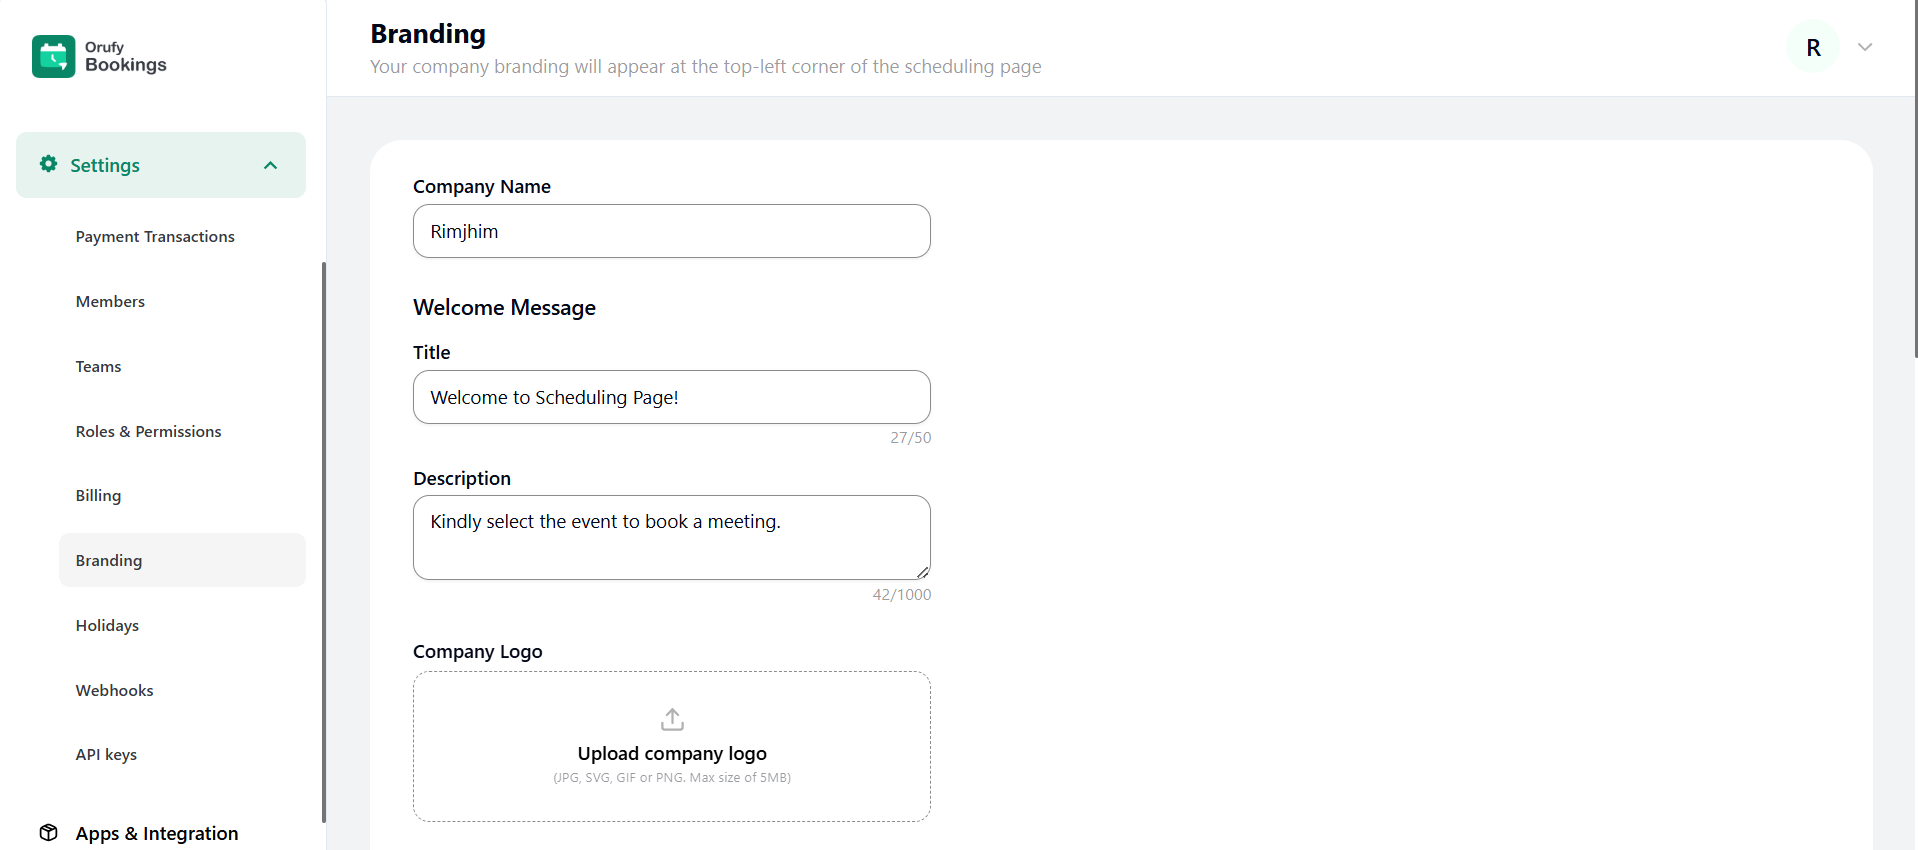
1. Company Name: Enter the company name.
2. Title: Enter the title of the scheduling page.
3. Description: Write the description for the scheduling page.
4. Company Logo: Upload the company logo within 5MB.
5. Access Link: Through the access link, you can access all the events or meetings.
6. Branding: You can enable or disable the branding of the Orufy Bookings on the main booking page.
7. Your Company Branding: You have three variations for this feature:
- Show company name and logo
- Show company name only
- Show company logo only
8. Booking Page Layout: It has three variations:
- Monthly View
- Weekly View
- Form View
9. What would you like to call your booking?: As per your preferences, select one:
- Event (default)
- Meeting
- Appointment
- Consultation
- Session
- Interview
- Discussion
- Call
10. Brand Color: Choose your brand color to appear in the scheduling page.
11. Background Color: Choose your background color to appear in the scheduling page.

