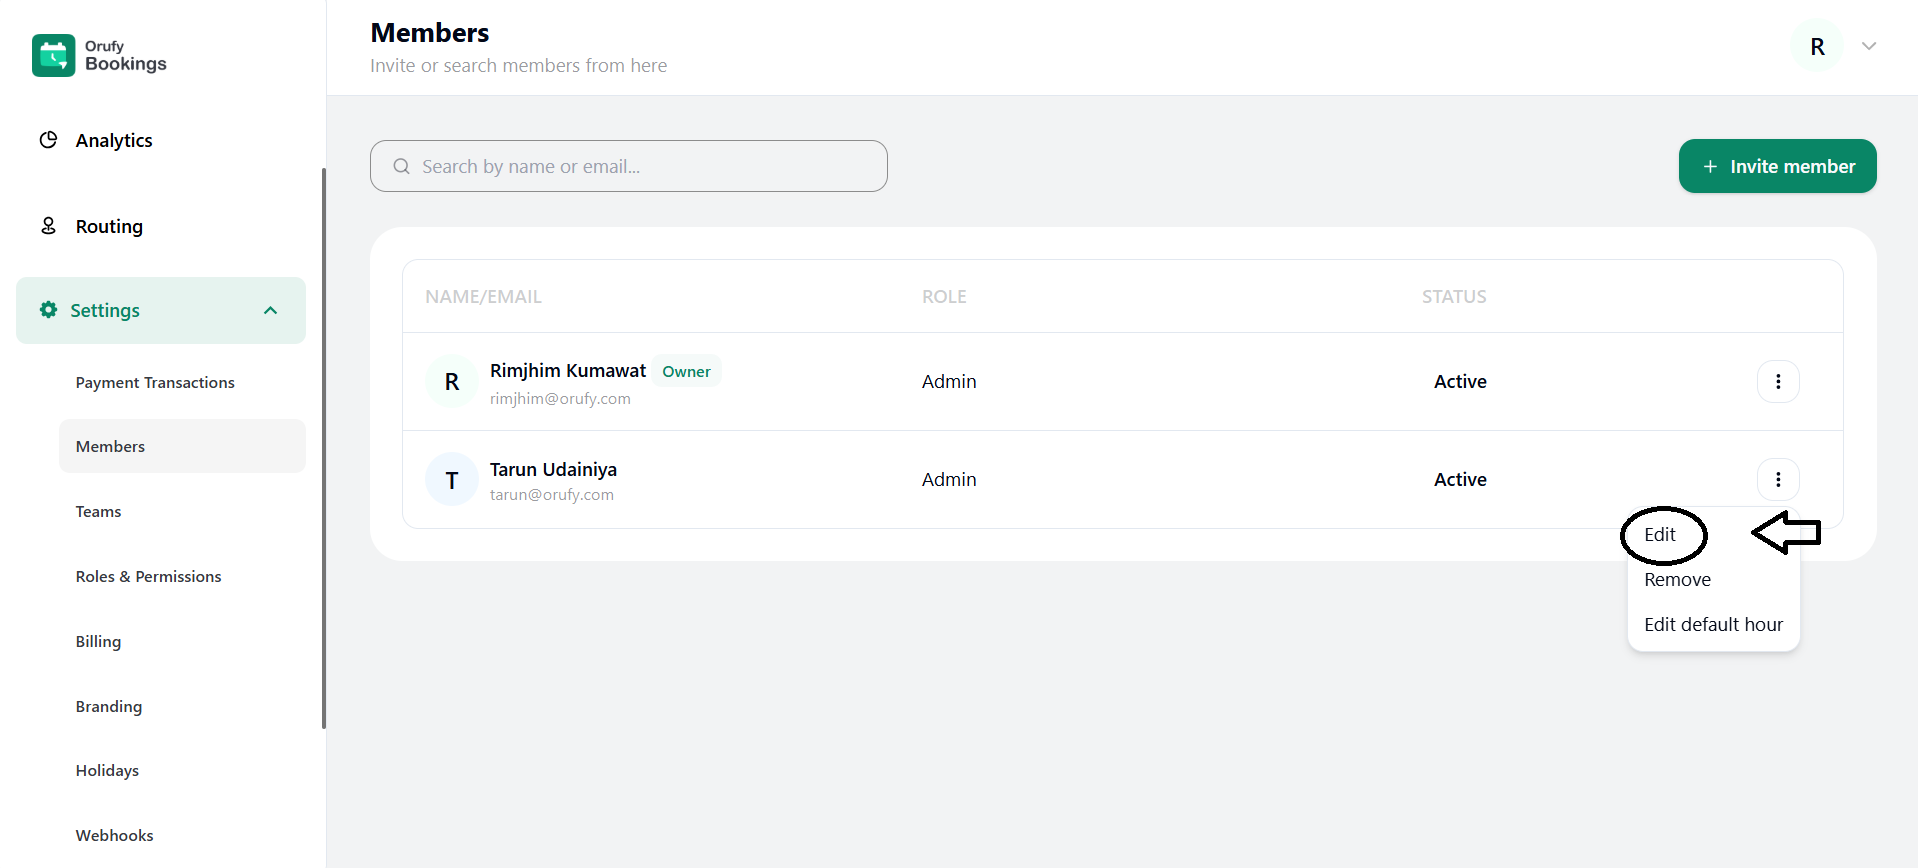
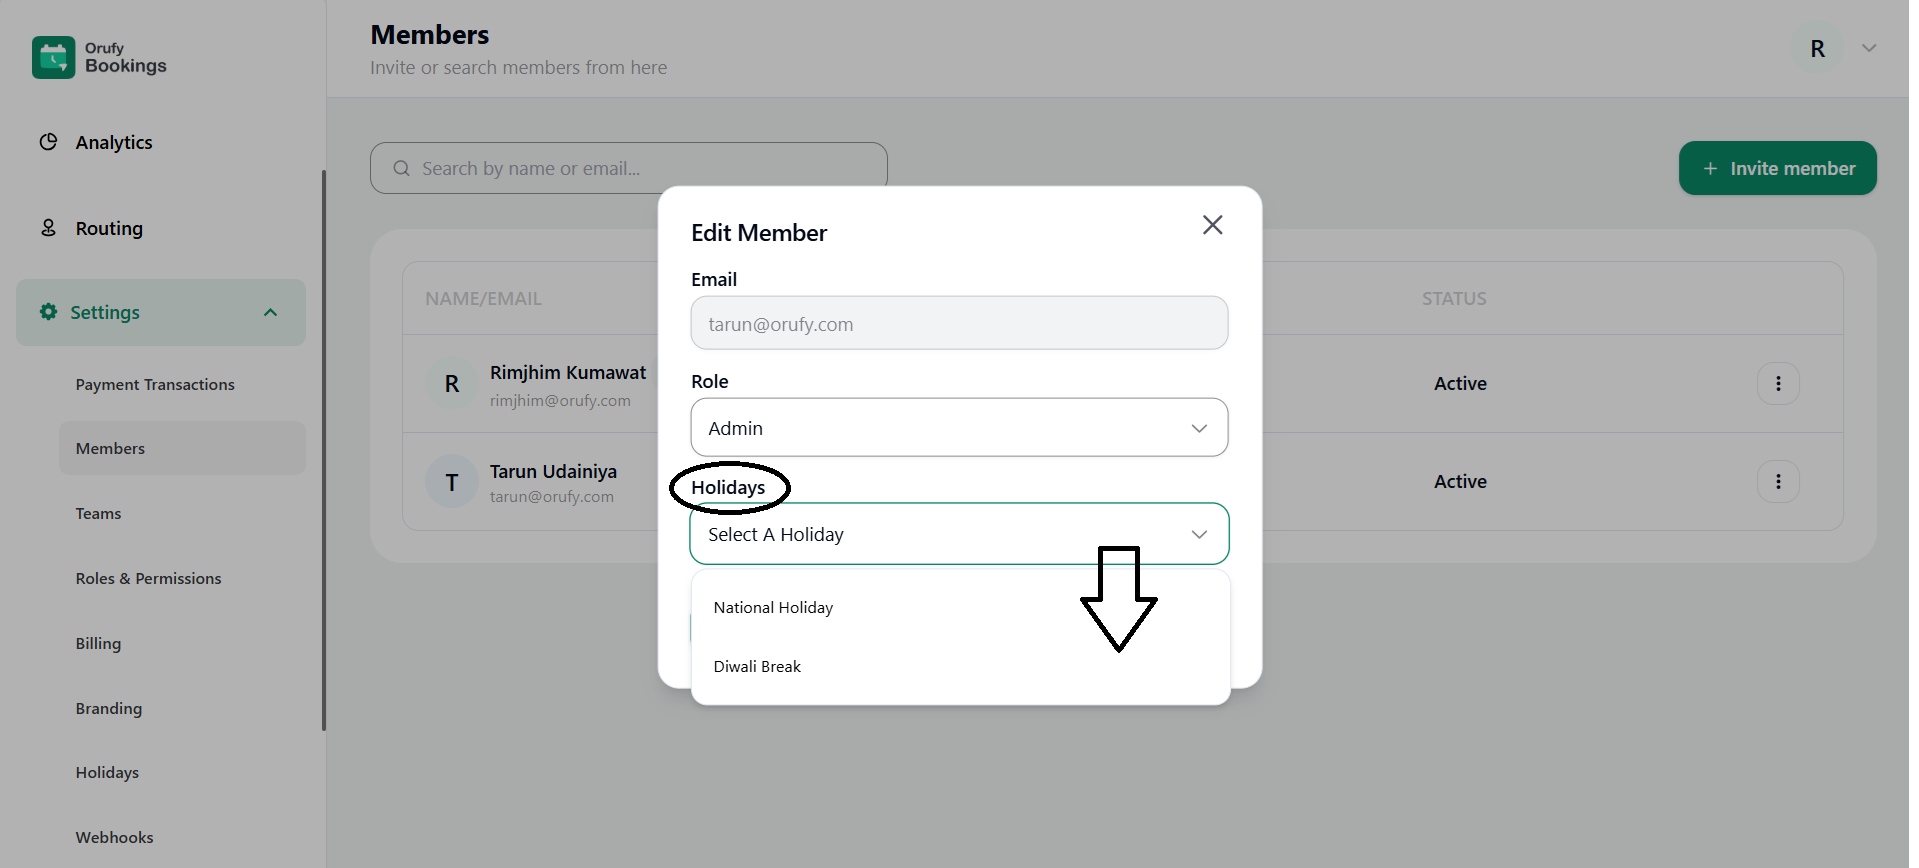
Holidays
Accessing Holiday Management
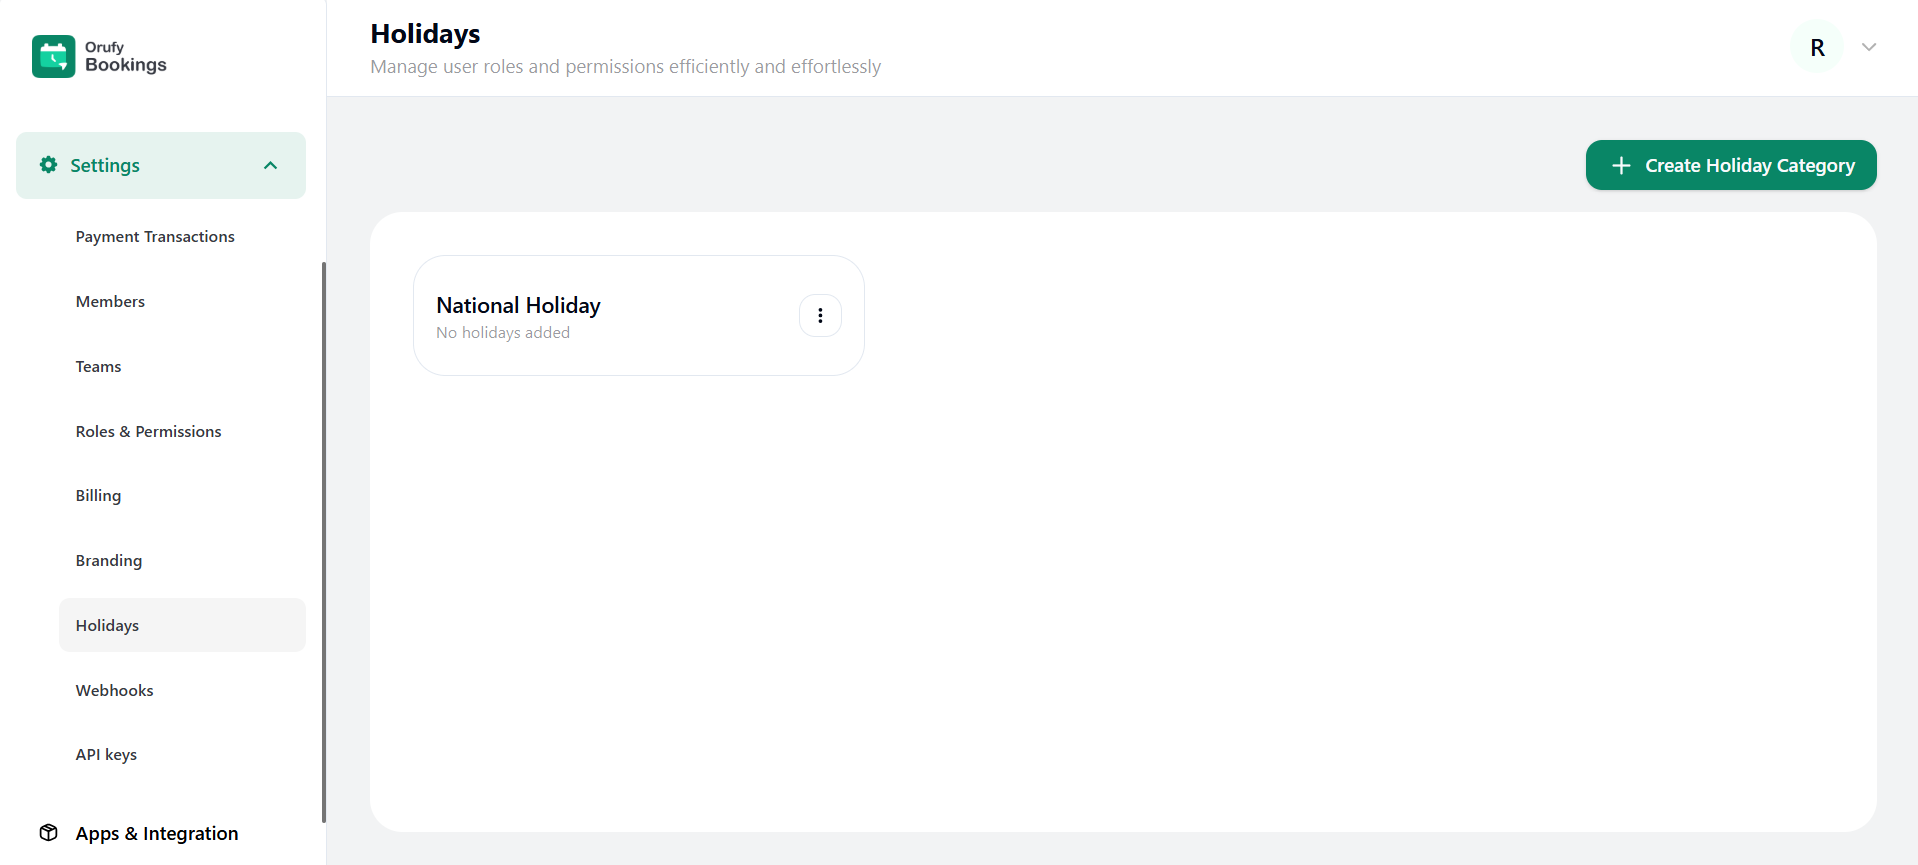
Navigate to Settings:
- After logging in, find the Settings .
- Click on Settings to open the settings options.
Select Holidays:
- In the settings menu, locate and select Holidays to access the holiday management section.
Creating a Holiday Category
Step 1: Create Holiday Category
- Click on Create Holiday Category:
- In the Holidays section, click on the Create Holiday Category button to begin.
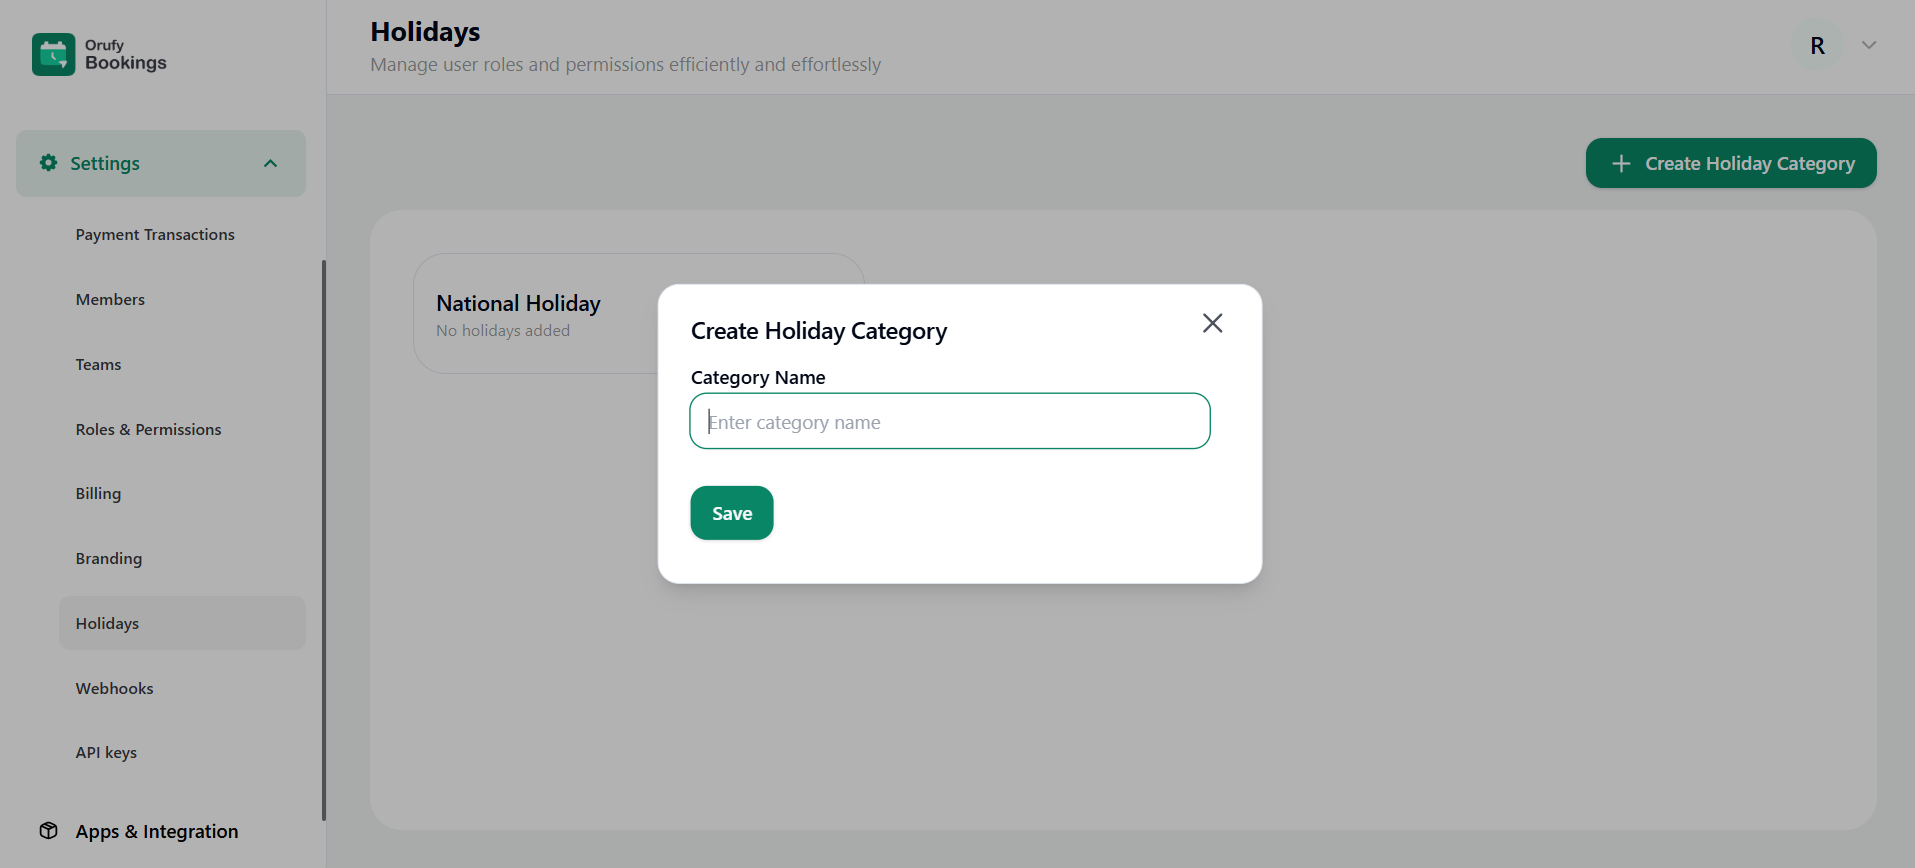
Step 2: Fill in the Holiday Category Details
- Category Name:
- Field:
Category Name
- Description: Enter a descriptive name for your holiday category (e.g., "Public Holidays", "Company Holidays").
- Field:
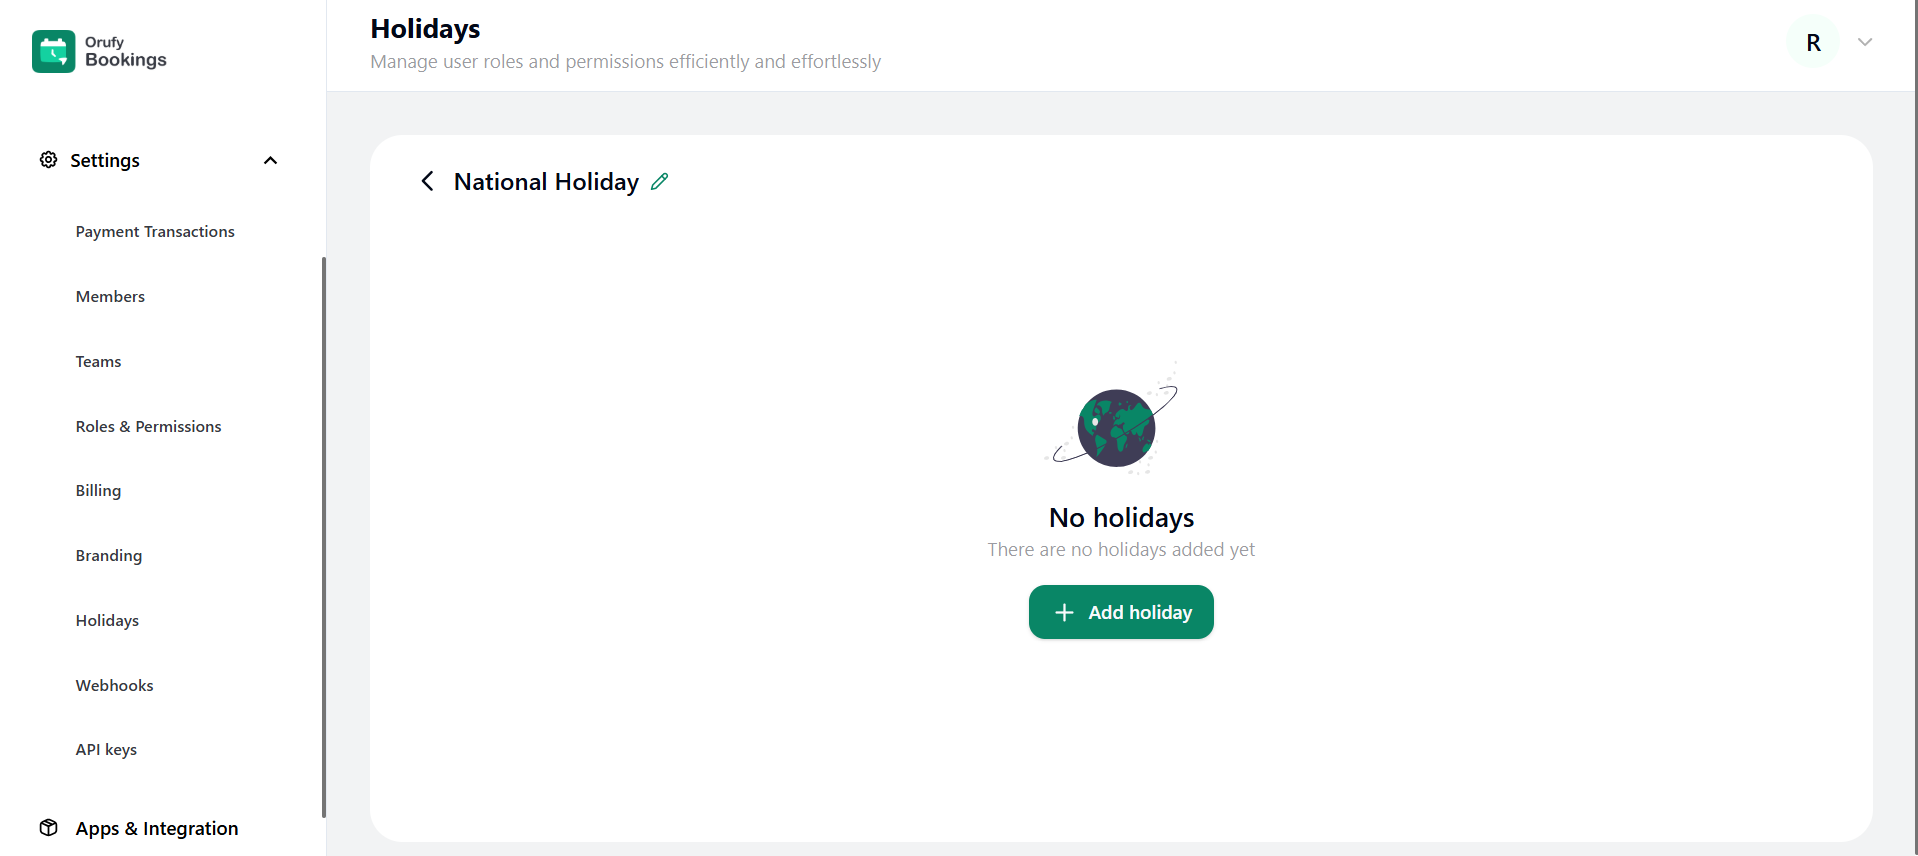
Step 3: Add Holidays
-
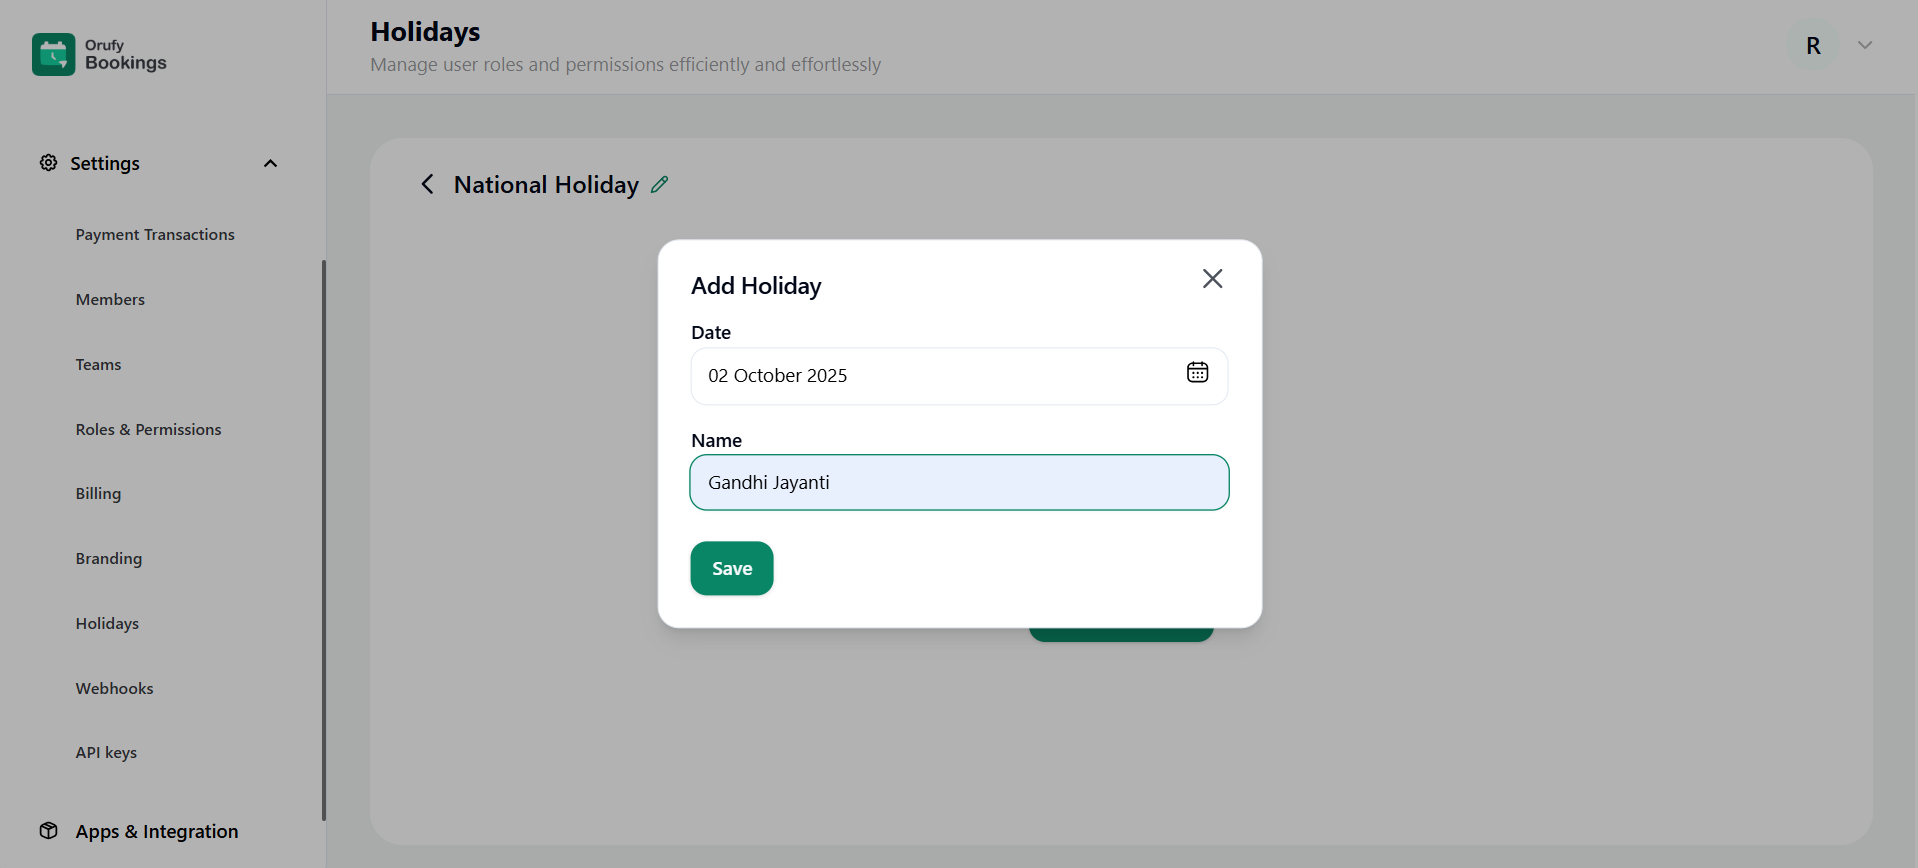
Holiday Date and Name:
-
Field:
Holiday Date and Name
-
Description: Add holidays under the selected category.
-
Date:
- Field:
Date
- Description: Select the date for the holiday.
- Field:
-
Name:
- Field:
Holiday Name
- Description: Enter the name of the holiday (e.g., "New Year's Day").
- Field:
-
-
Add Another Holiday:
- Button:
+ Add Another Holiday
- Description: If you wish to add multiple holidays, click the + Add Another Holiday button to create additional entries.
- Button:
Step 4: Save the Holiday Category
- Save:
- After entering the category name and adding all desired holidays, click the Save button to create the holiday category.
Managing General Holidays
Editing or Deleting Holidays
-
View General Holidays:
- After saving, you will see a list of your created holiday categories along with their respective holidays.
-
Edit a Holiday:
- Action: To edit a holiday, locate the holiday you wish to modify and click on the Edit icon (pencil icon).
- Change Details: Update the holiday name or date as necessary.
- Save Changes: Click the Save button to apply your changes.
-
Delete a Holiday:
- Action: To delete a holiday, find the holiday you wish to remove and click on the Delete icon (trash can icon).
- Confirmation: Confirm the deletion when prompted to ensure you want to remove the holiday.