Meta Pixel
Meta Pixel lets you understand who engages with your event and how they interact with your website. It helps you gather valuable insights into your event attendees. It tracks event registrations and bookings.
Setting Up Meta Pixel
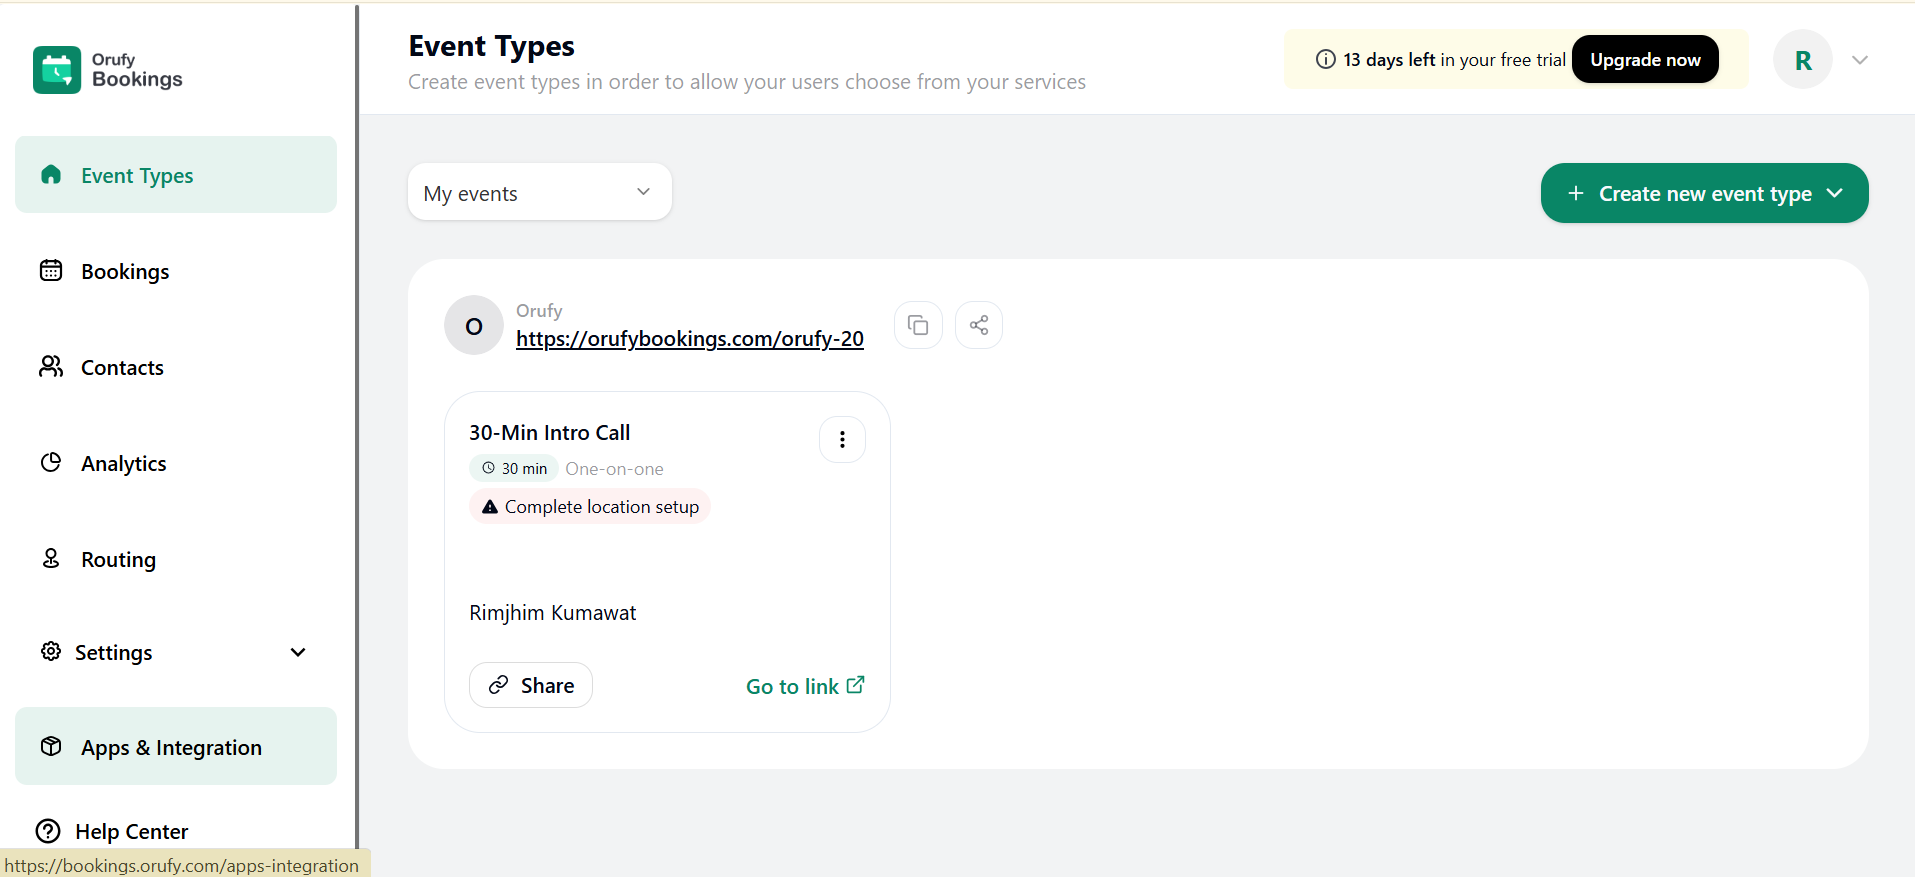
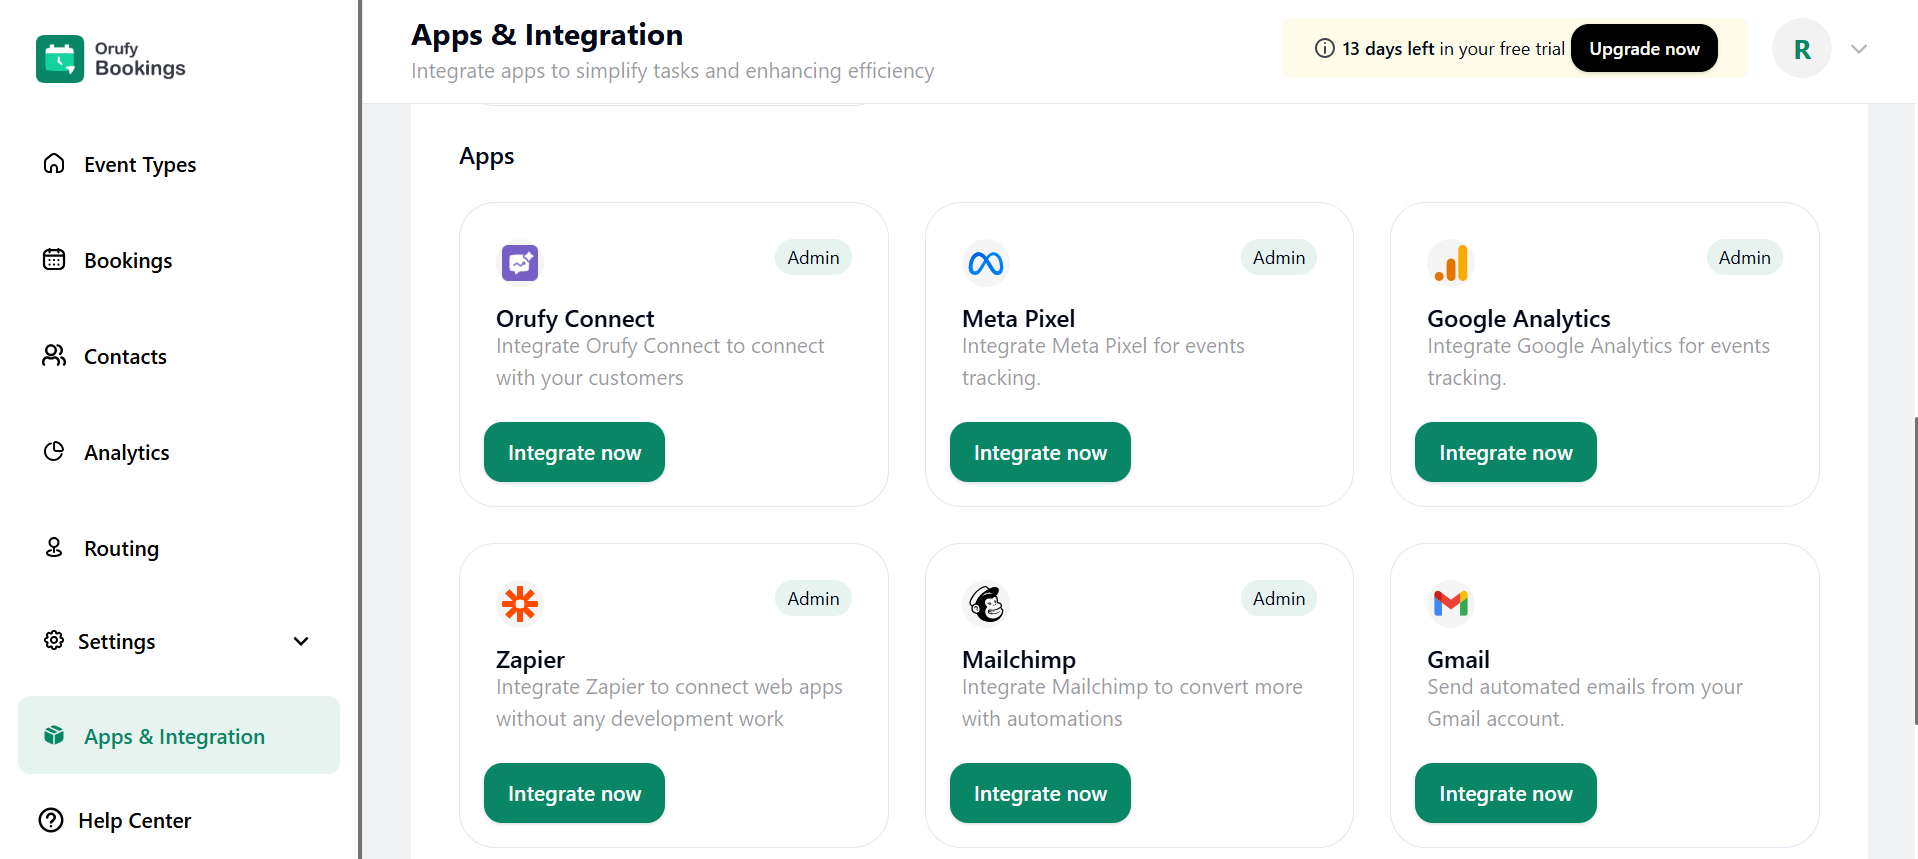
Step 1: Sign Up for Orufy Bookings (opens in a new tab) and Navigate to the Apps & Integration section.

Step 2: Click on Integrate Now.

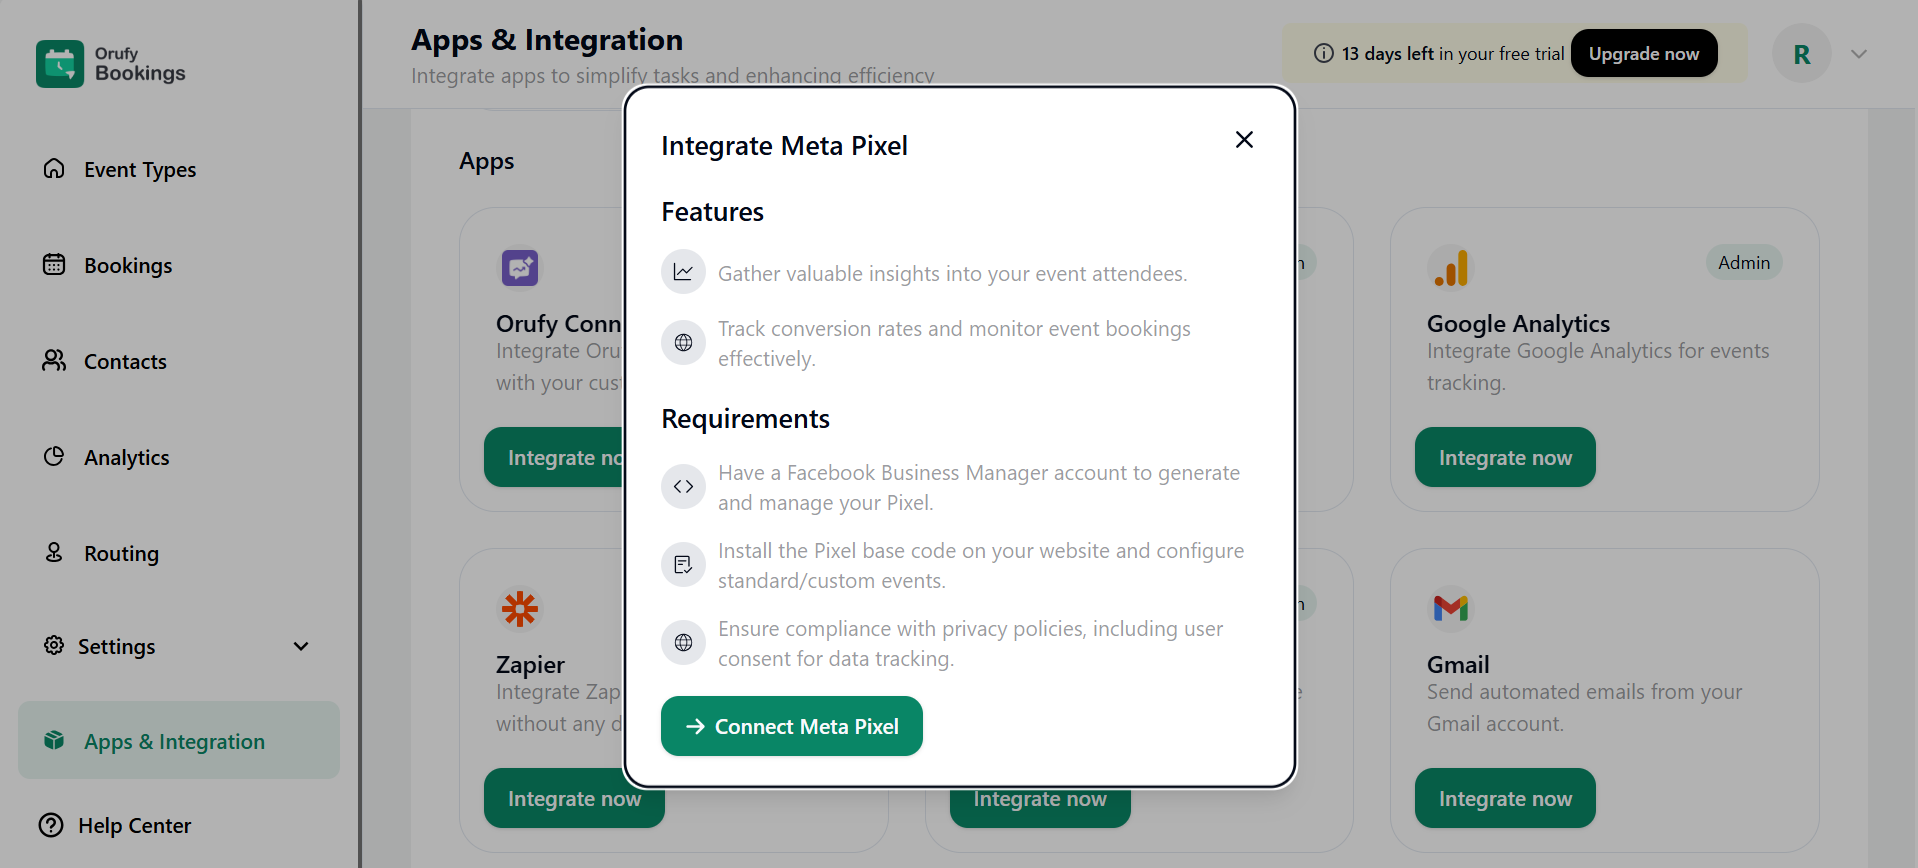
A pop-up will appear showing the features and requirements of the Meta Pixel.

Things Required to Set Up Meta Pixel
1. You should have a Facebook Business Manager account to generate and manage your pixel. 2. Integrate the Google Pixel base code on your website and configure standard/custom events. 3. Make sure adherence to privacy polices, including user consent for data tracking.
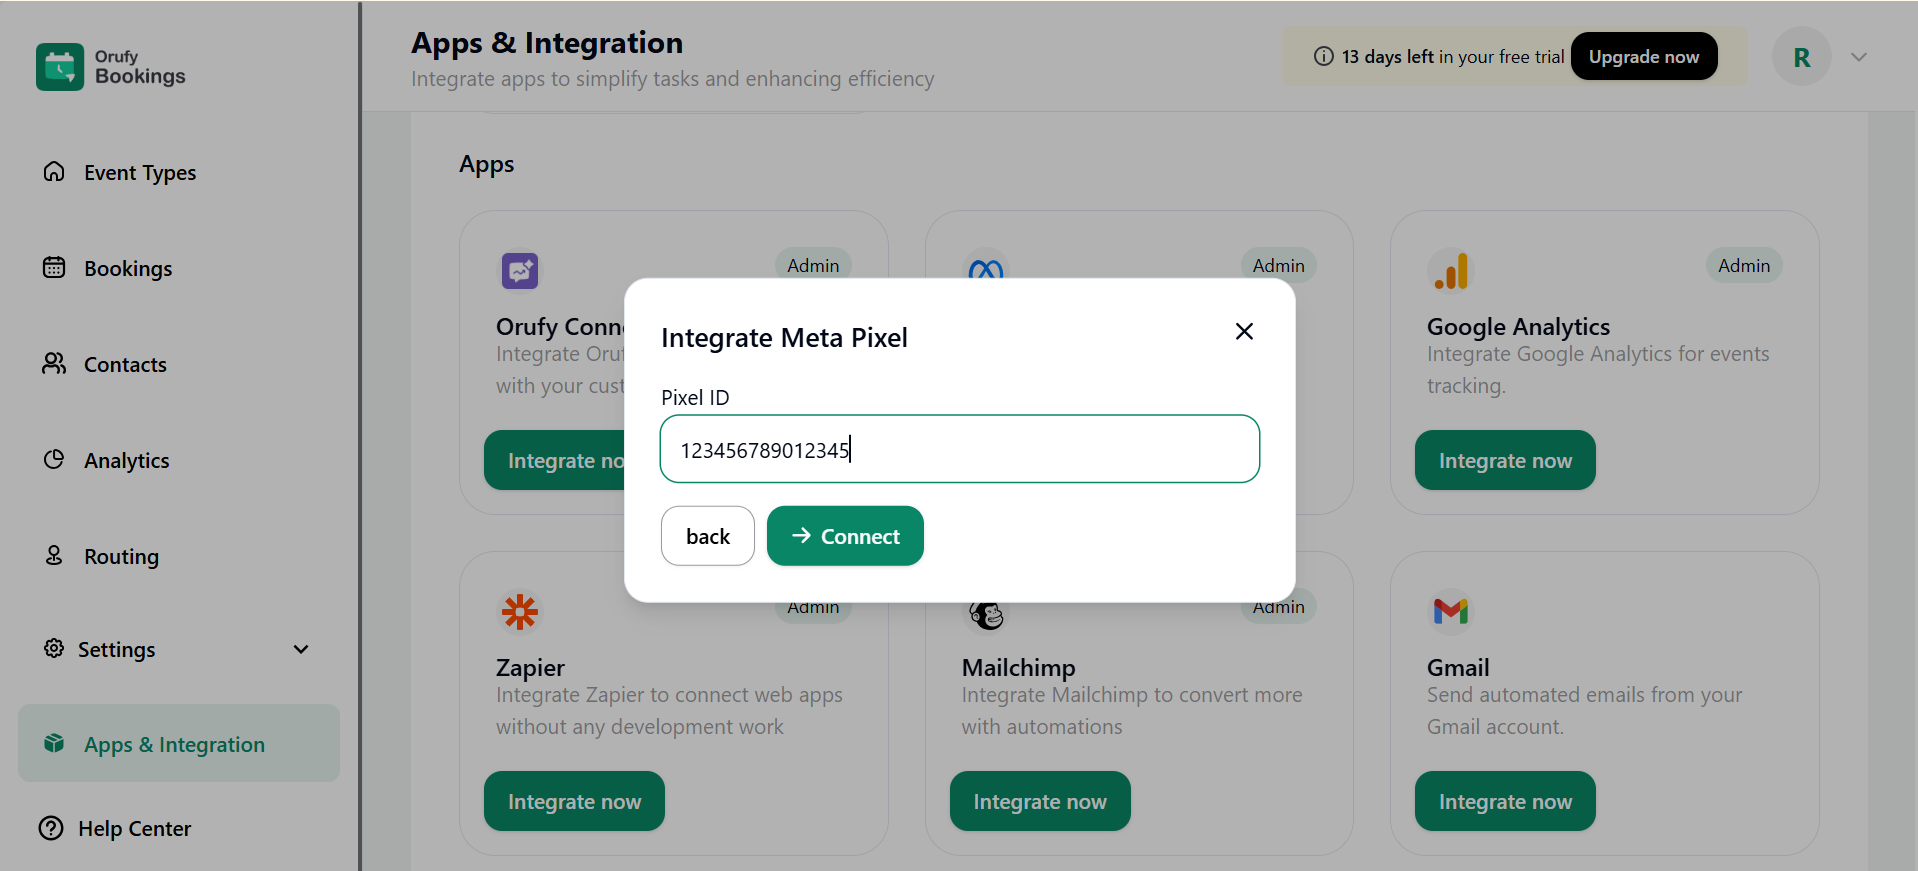
Step 3: Click on Connect Meta Pixel, enter Pixel ID.

Click on Connect for a successful connection.
| Event Name | Event Label | Description |
|---|---|---|
| all_events_page | All Events page | When a user lands on the main booking events page, all the events are listed. |
| select_date | Date Selection | When the user selects the date. |
| select_time | Time Slot Selection | When the user selects the time. |
| VIEW_BOOKING_DETAILS_PAGE | Enter Booking Details | Enter your name and email, and click on schedule event. |
| view_thank_you_page | Attendee viewed booking thank you page | The user will be redirected after filling in the details on the Event scheduled successfully page. |
| verify_email | Verify Email before Booking | When the admin enables this email verification option from the admin side, before scheduling the event. |
| clicked_reschedule_button | Attendee clicked the reschedule button | When the email is sent to the user for the successful event schedule, and clicks on the reschedule button. |
| view_thank_you_page | Attendee viewed booking thank you page | When the user rescheduled the event again. |
| view_cancel_page | Attendee viewed Cancel Event page | When the user clicks on cancel, it will be directed to the Cancellation event page. |
| view_cancel_event_page | - | When the user wants to cancel the scheduled event. |
| submit_routing_form | Attendee submitted the routing form | The user has submitted the routing form. |
| submit_routing_form_success | Attendee successfully submitted the routing form | The routing form submitted by the user is successfully submitted. |
| view_routing_form | Attendee viewed the routing form | When the user opens the link, the routing form will appear. |
| - | SubscribedButtonClick | The user clicks on the submit button to submit the routing form. |
| submit_routing_form_success | Attendee successfully submitted the routing form | The user has successfully submitted the routing form. |


