
Routing features allow you to create smart forms that automatically guide attendees to the right destination based on their responses.
- Click on “+ Create a routing form” to start creating your routing form.
- As you click on this, you have to Enter the name of the routing form.
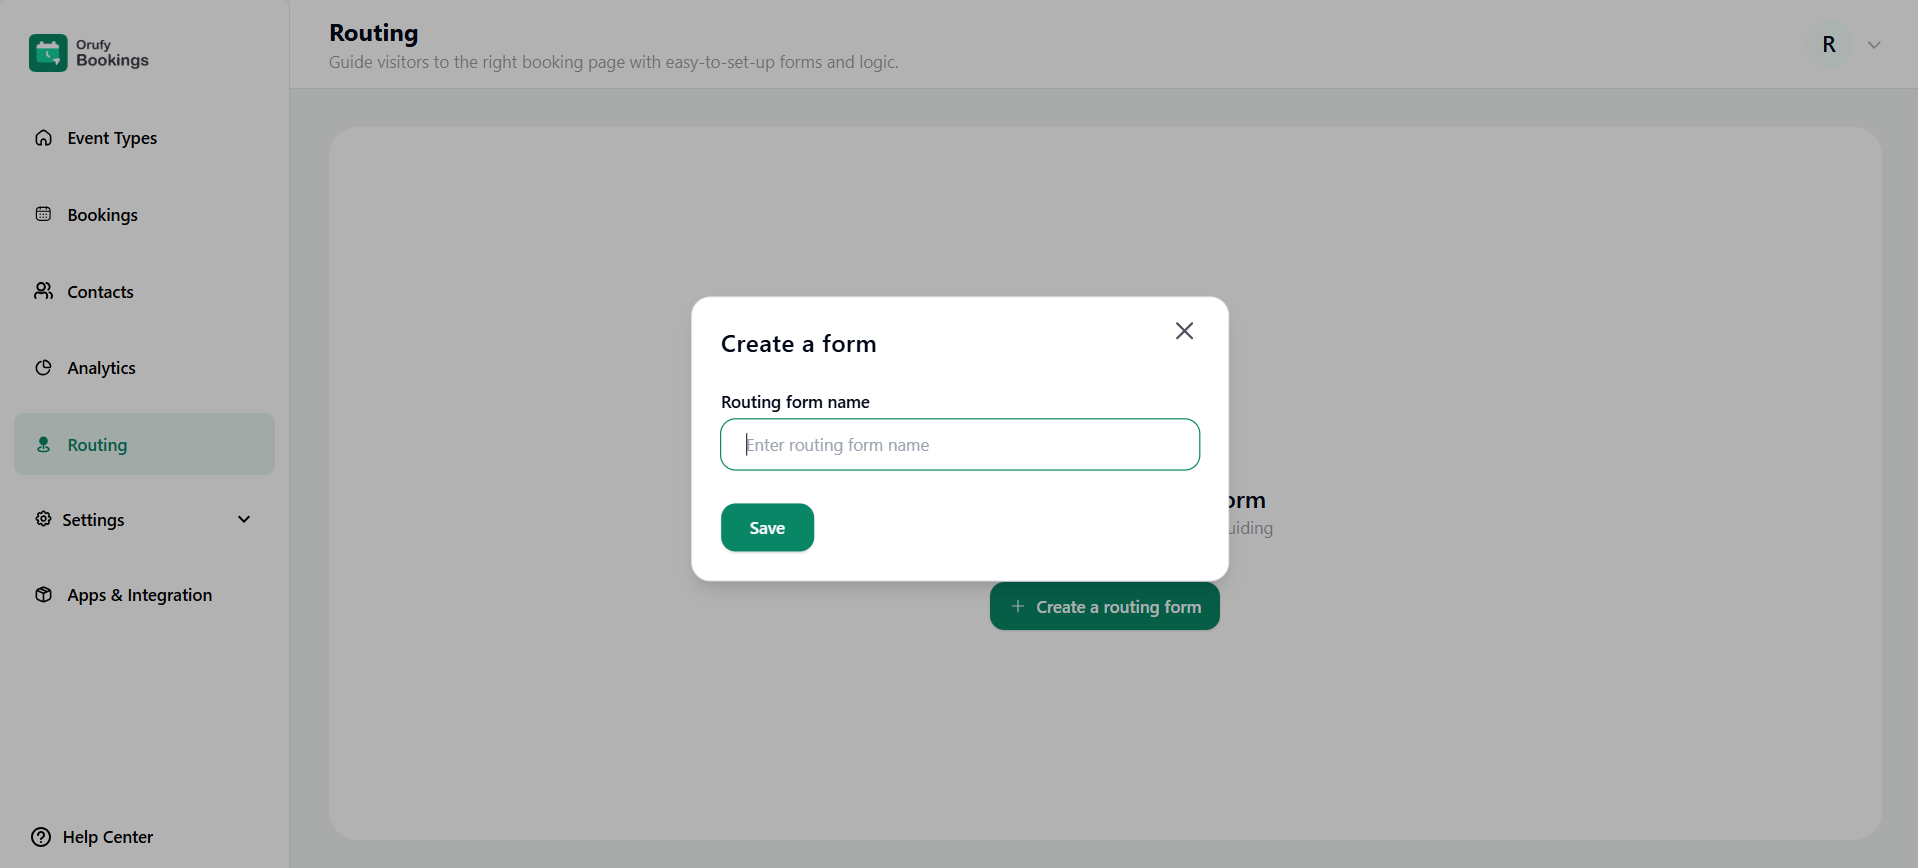
- Save and move forward.
- You will see three sections:
1. Form
You will manage the question to be asked in the form, title, and description.
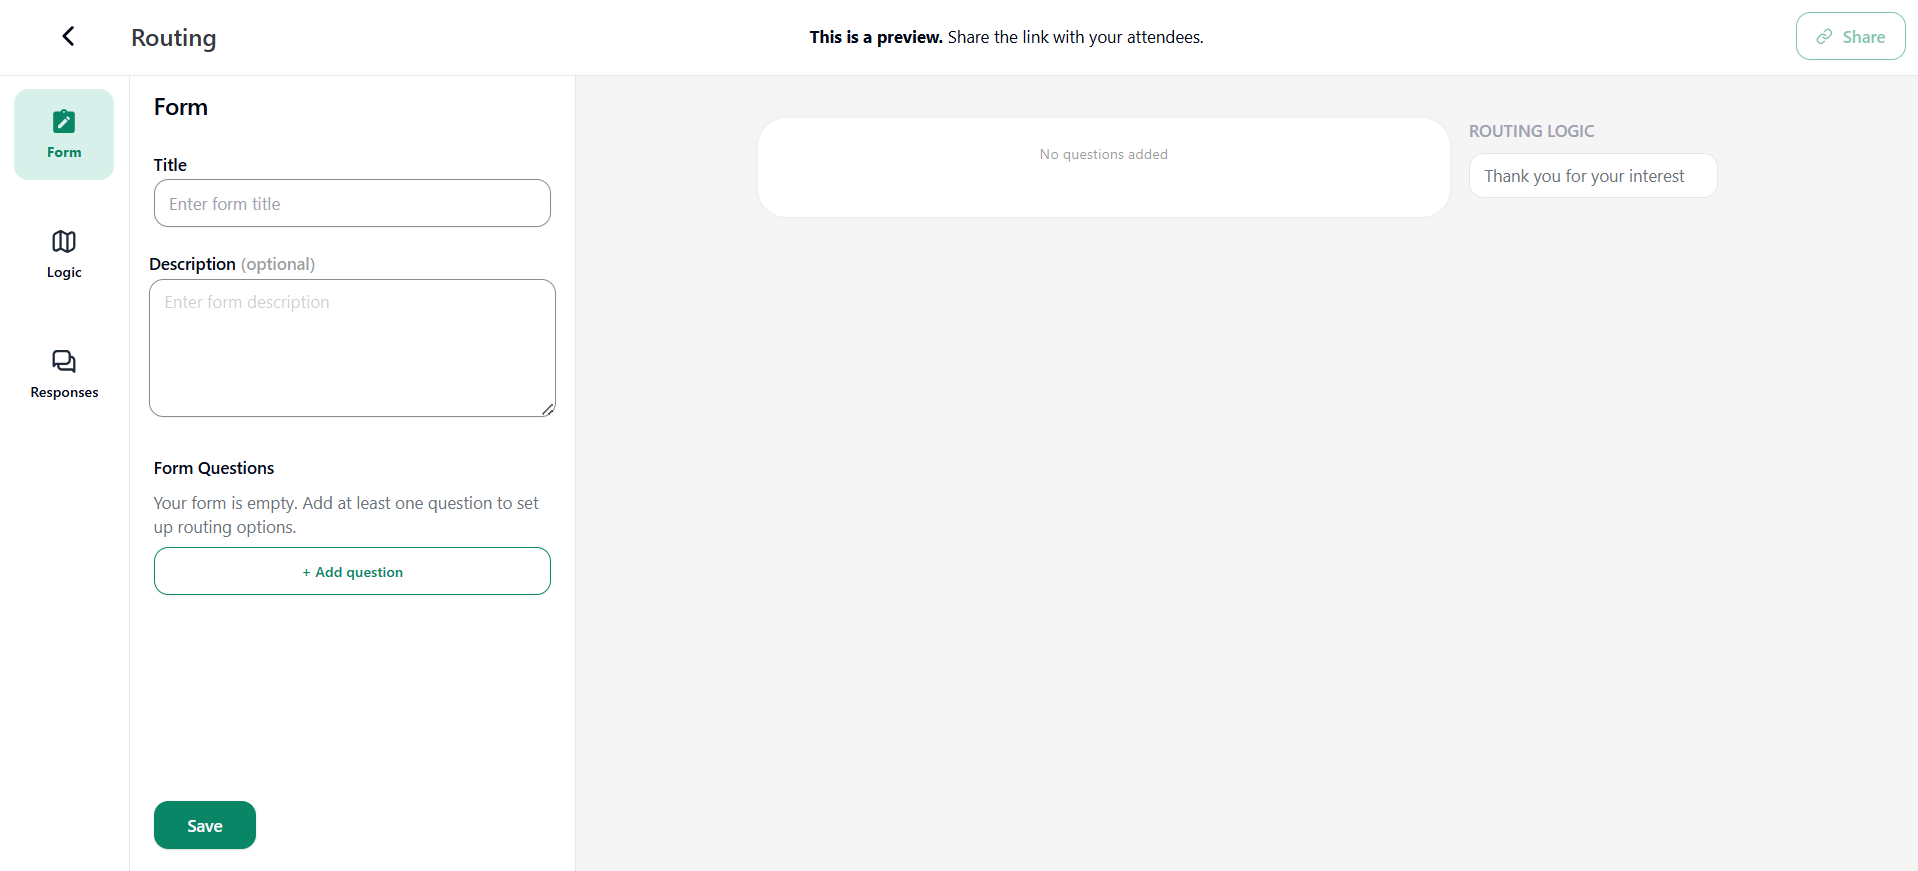
- Title: Enter the title for your form.
- Description (Optional): You can either add the description or not, as you wish for the form.
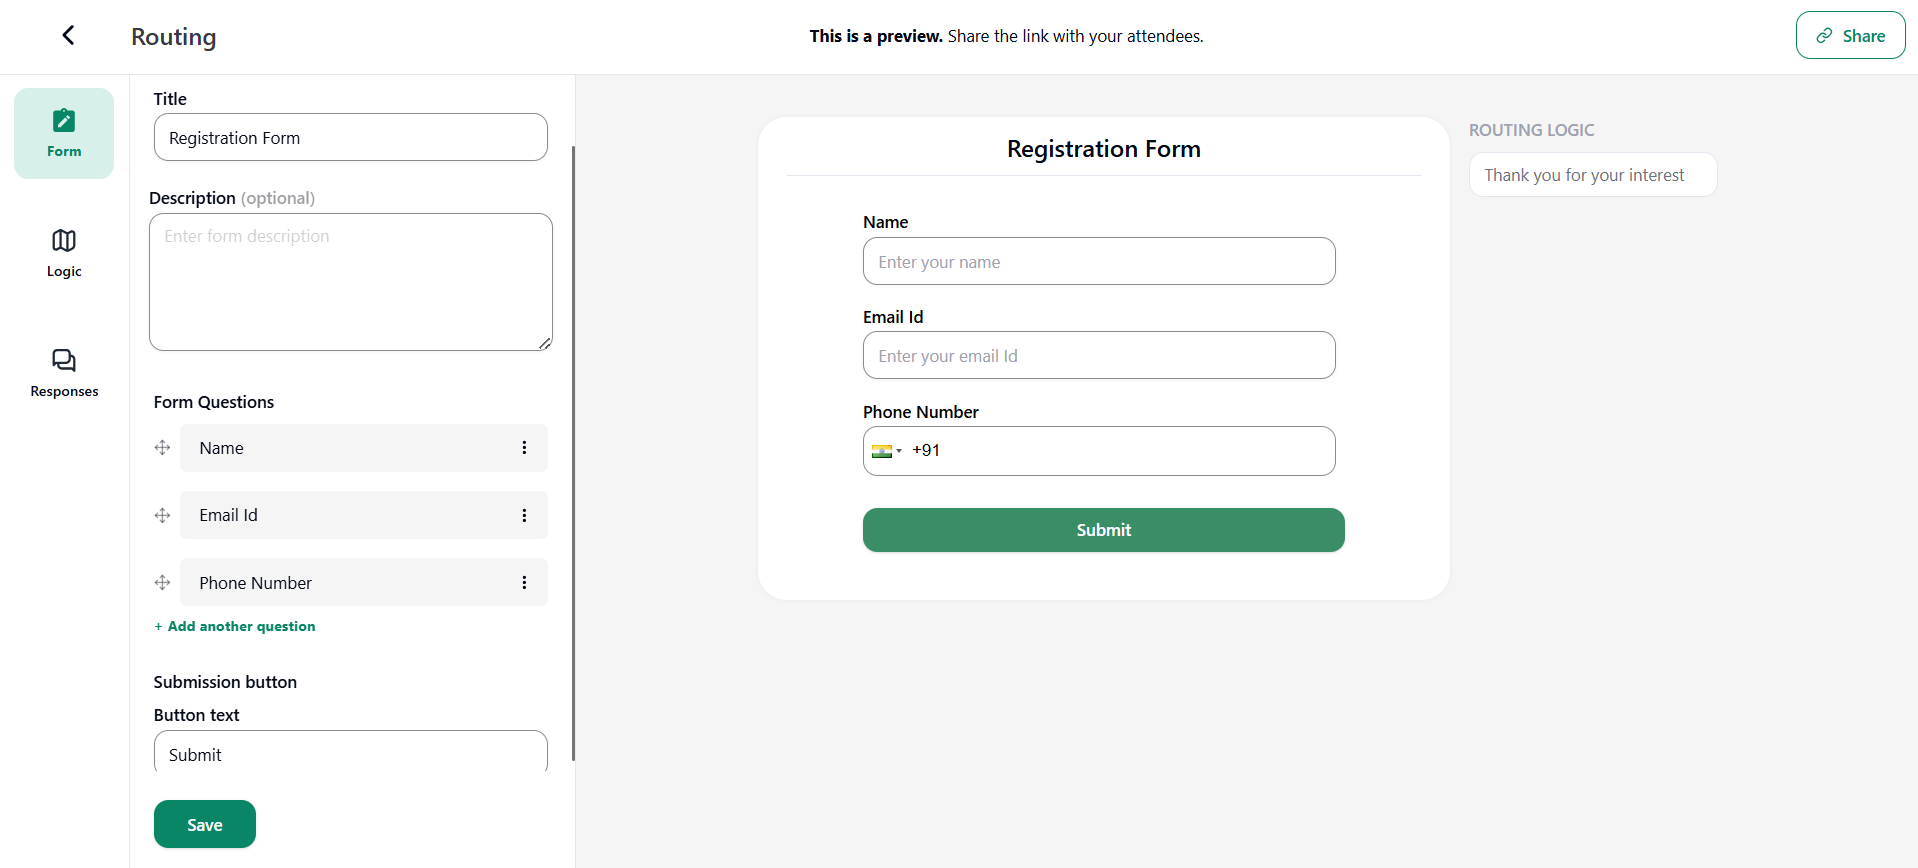
- Form Questions: Add the questions you want to ask in the form. You can also edit the form question from the More Options.
1. Question: Enter the question.
2. Answer type: Select the answer type for the question, such as name, email address, paragraph, radio button and many more.
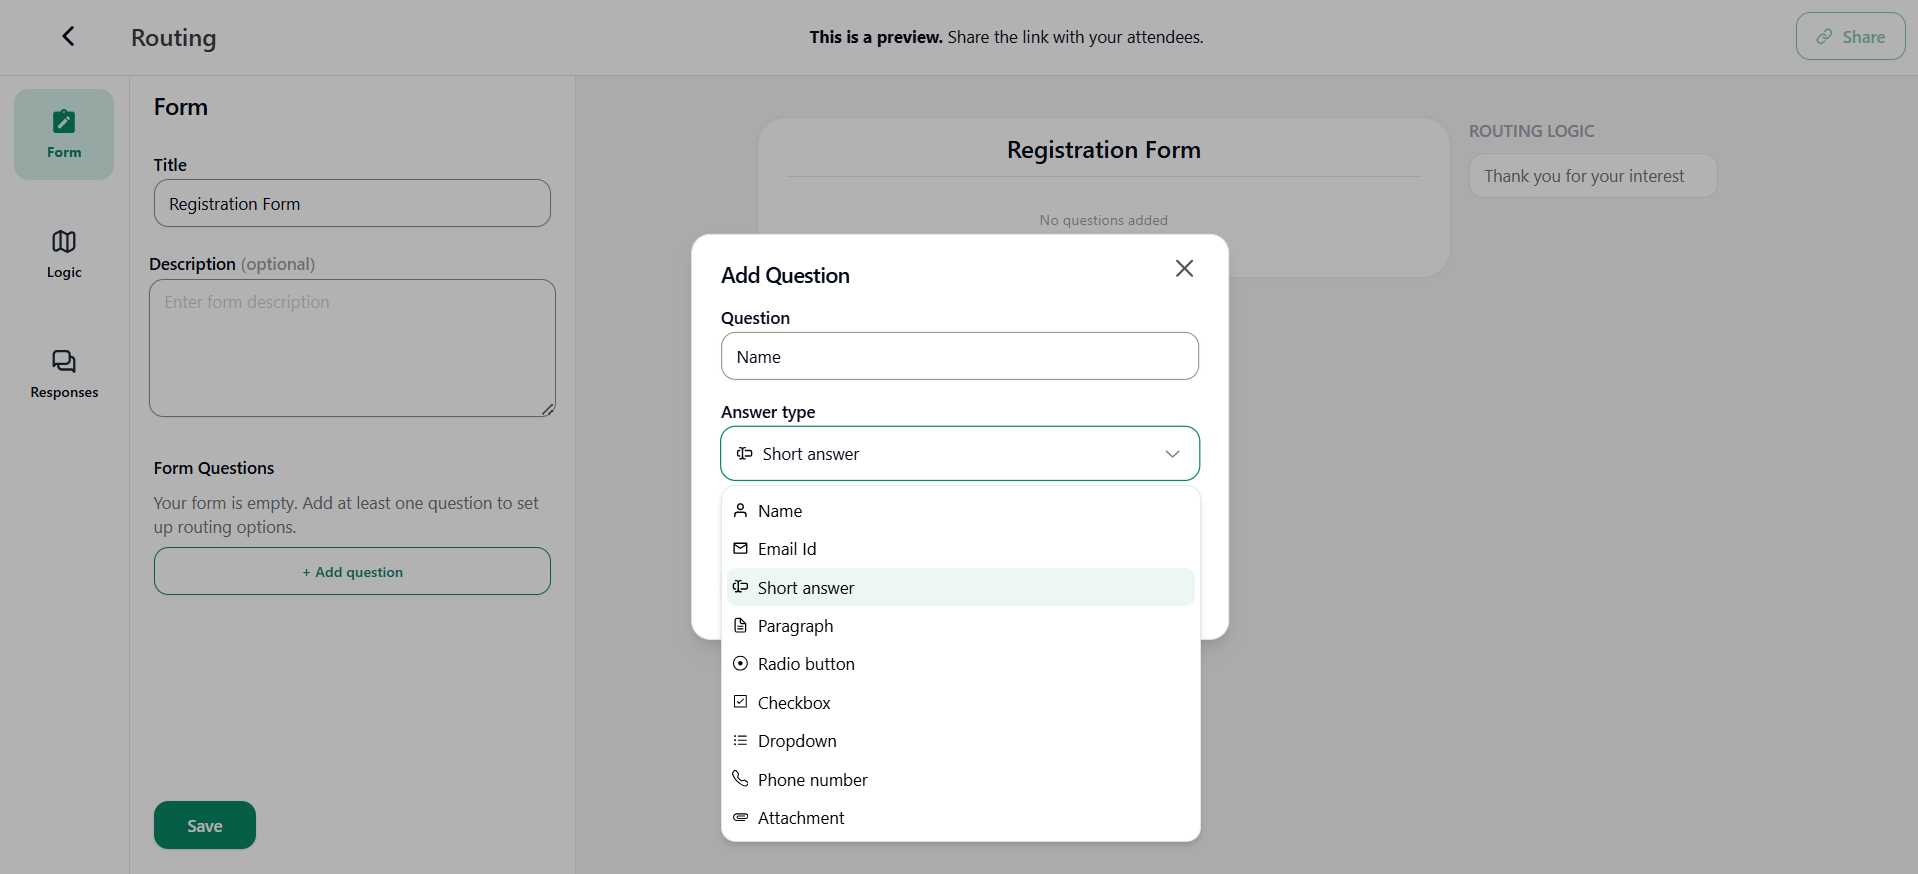
3. Required: You can enable or disable this feature to restrict the attendee to not moving forward without filling an answer to a question.
- Submission Button: You can edit the text of the form submission button.
2. Logic
You have to define conditions based on the response. Each condition or logic decides where the attendee will be redirected.
- If you haven’t created any route, the attendee will be redirected to a default route.
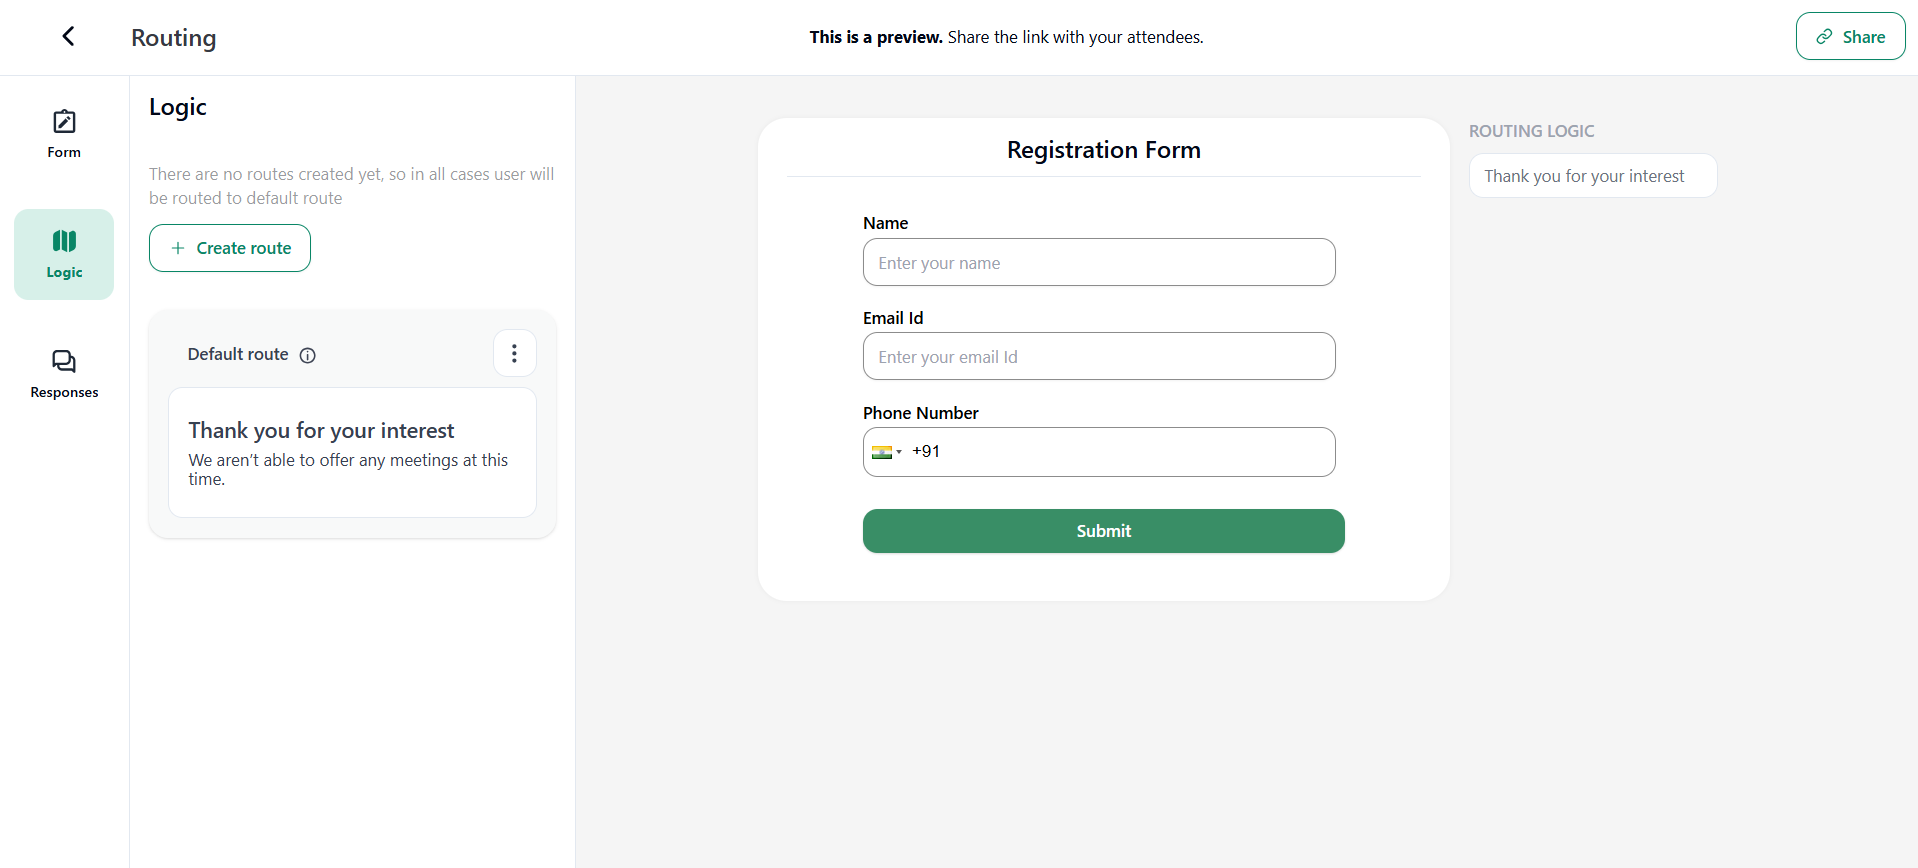
- You can also edit the default route from the More Options. The default route cases can only route in three ways:
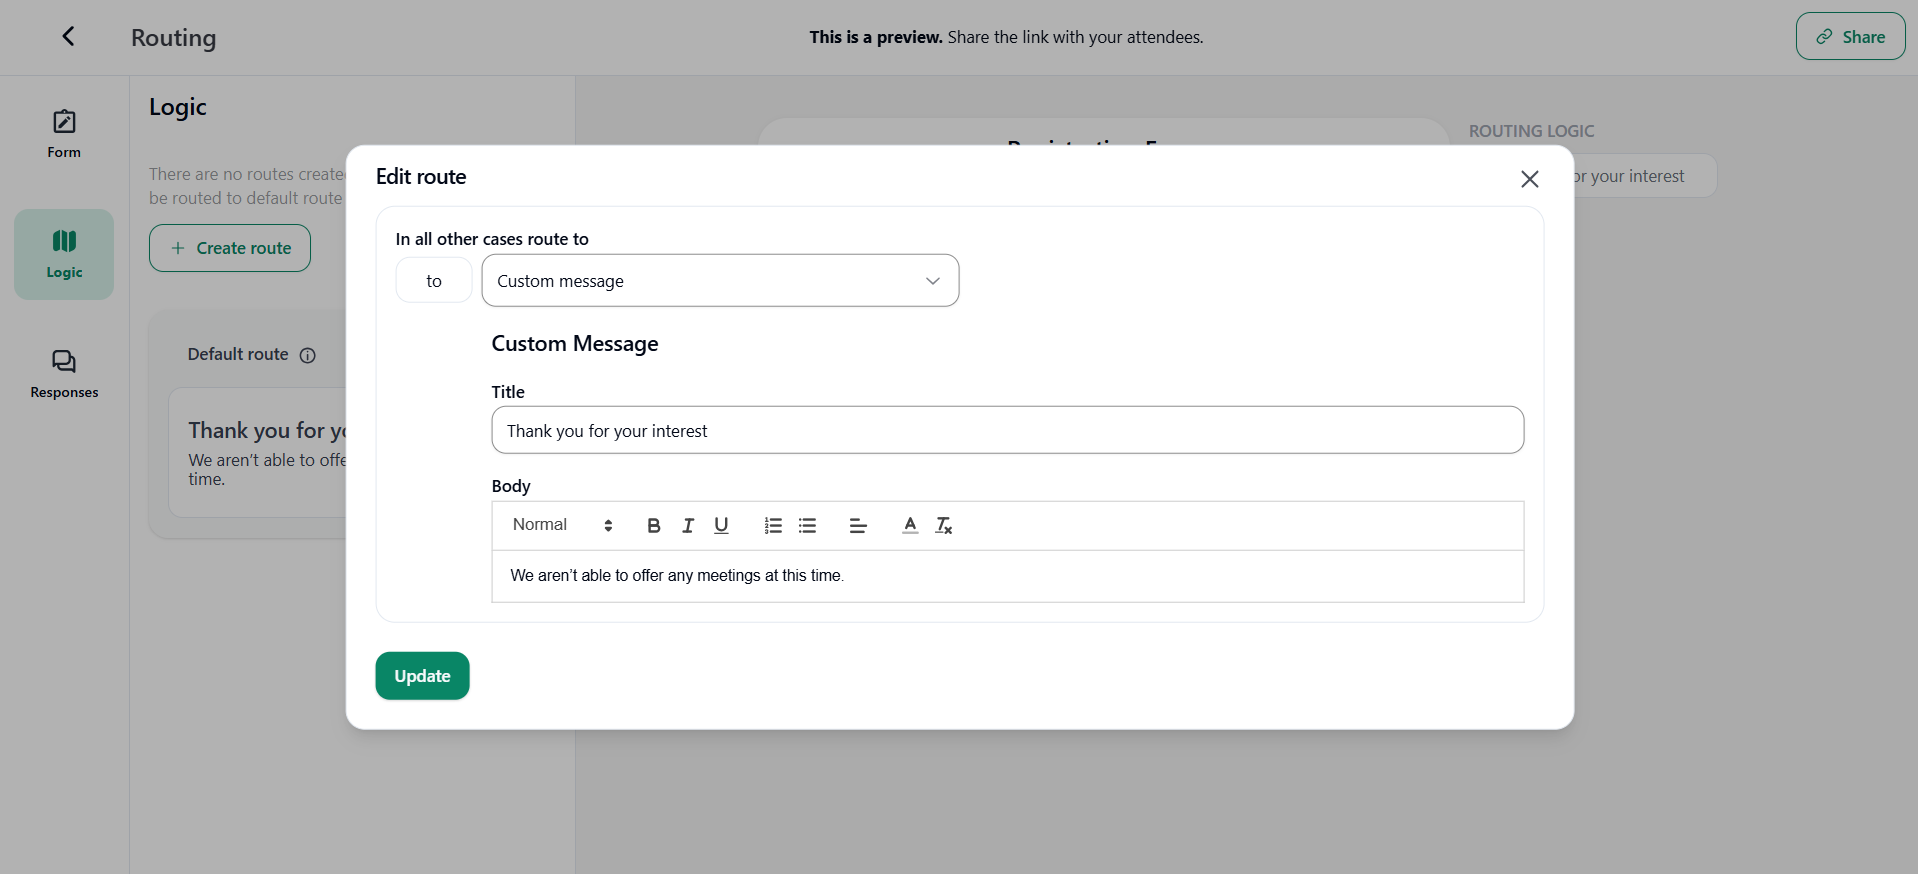
1. Custom Message
You can write accordingly the title and body of the custom message for the routing form.
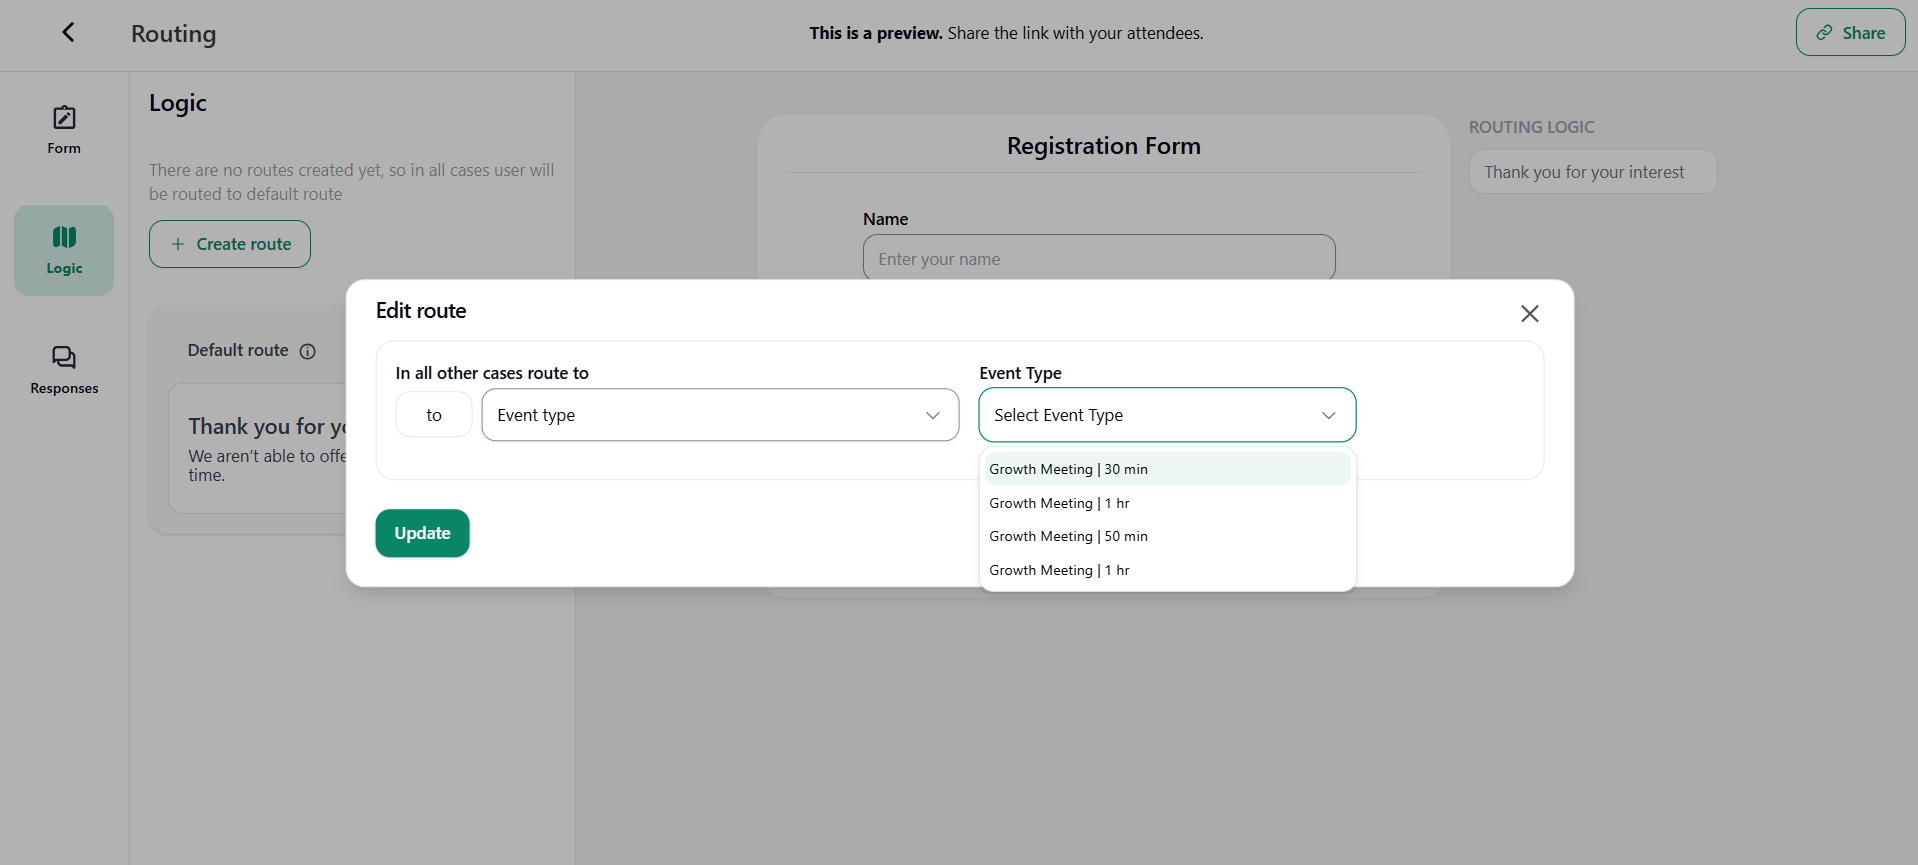
2. Event Type
In case you select the event type as routing logic redirection, you can redirect the attendee to the specific event.
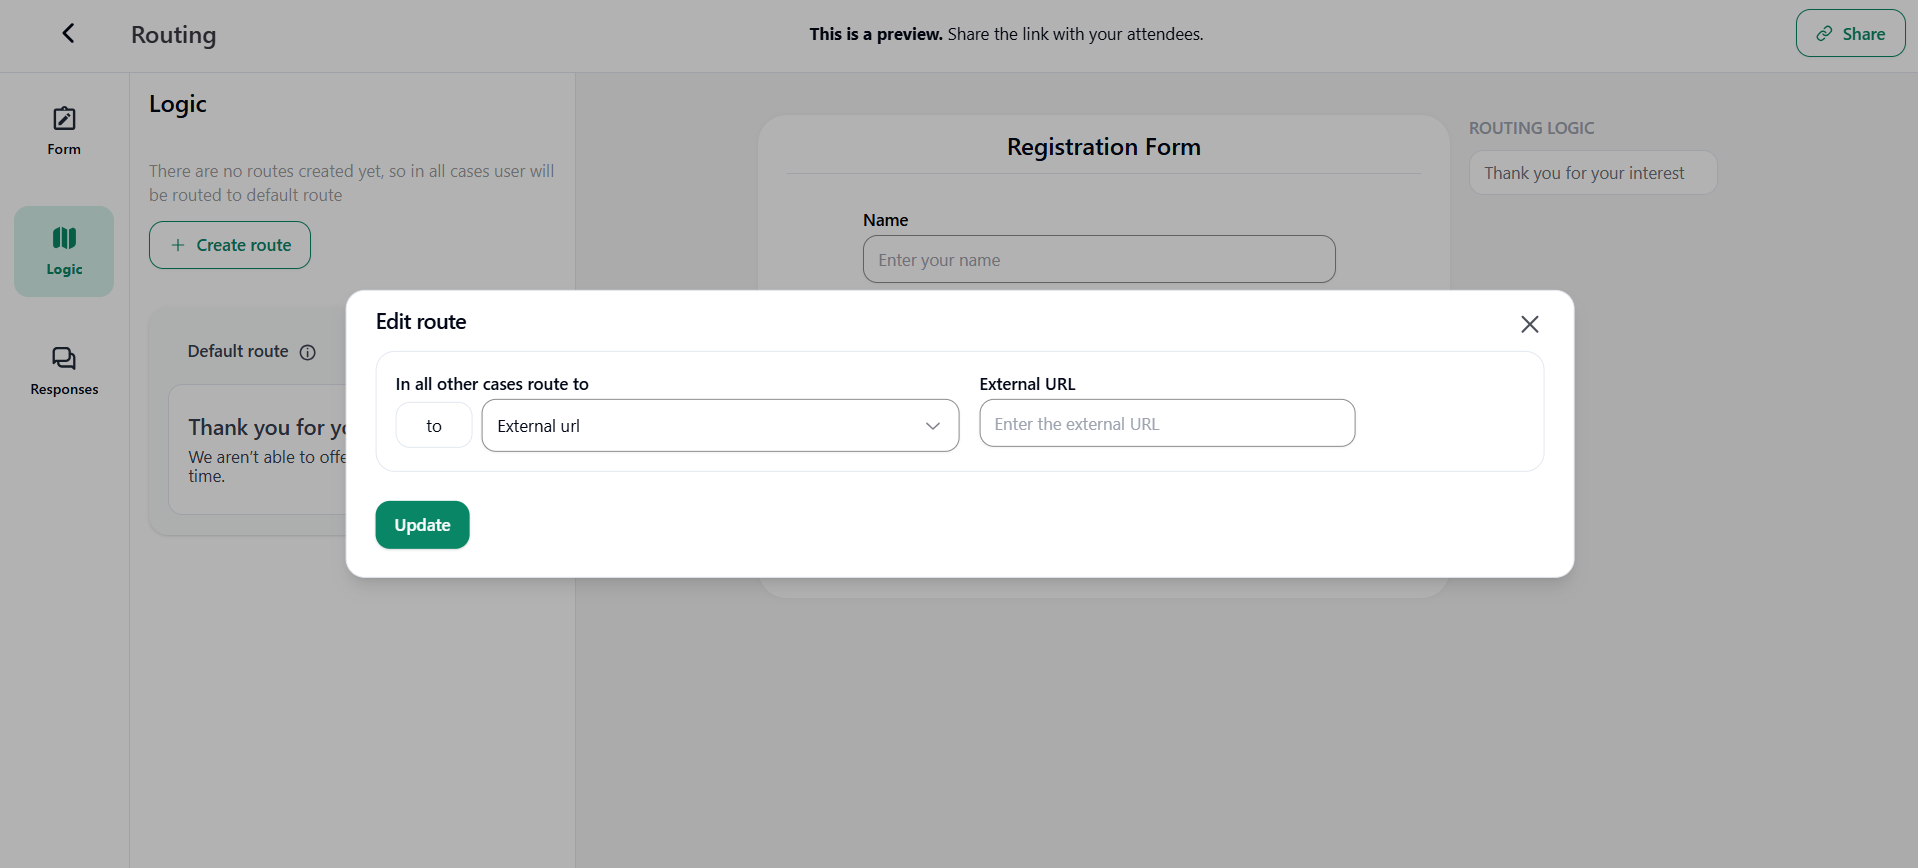
3. External URL
In case you select the external URL as routing logic redirection, you can redirect the attendee to the specific external url.
- Click on "Create Route" to create your own logic with redirection.
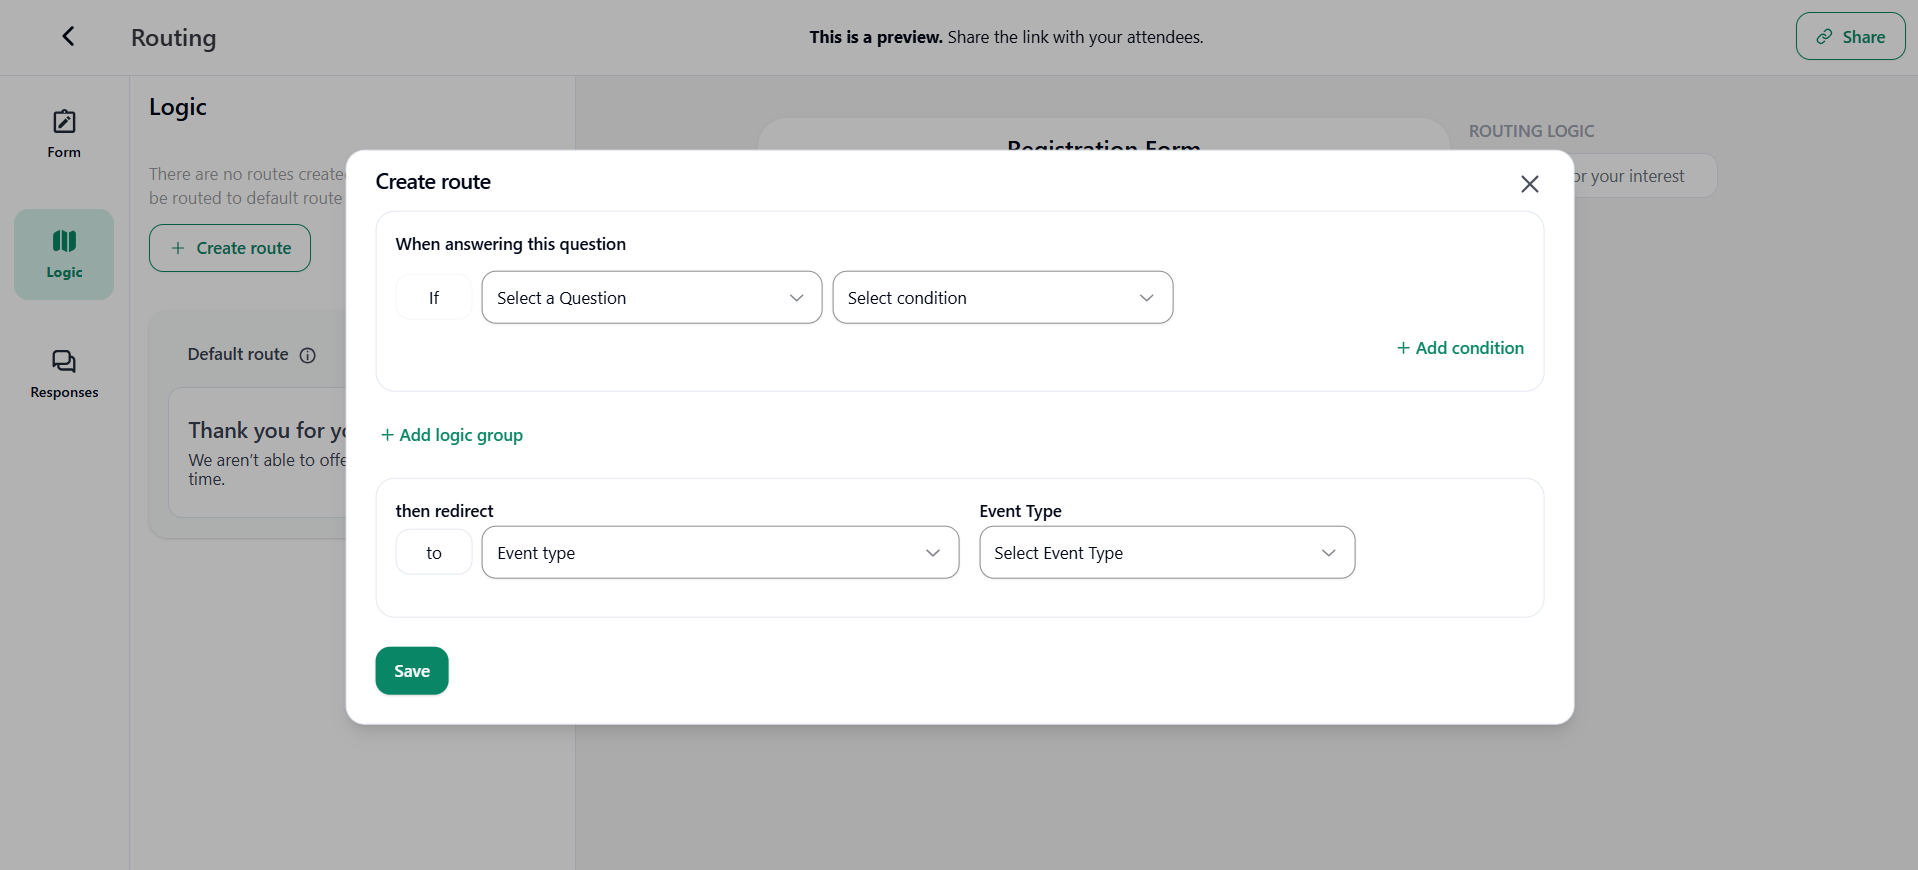 If you want to add logic:
-
Logic will be created from the questions you have added in the routing form. You have to add the condition according to the questions and answer given by the attendee. You can also add more conditions.
-
If the logic given matches the response, then the redirection will happen.
-
You can redirect to Event type, Custom message or External URL and then to specific event types you have created in your bookings account.
3. Responses
Here you can view all the responses given by the attendees who have filled out the routing form. You can also filter the responses of the attendees and export them in a file.

