
Zapier
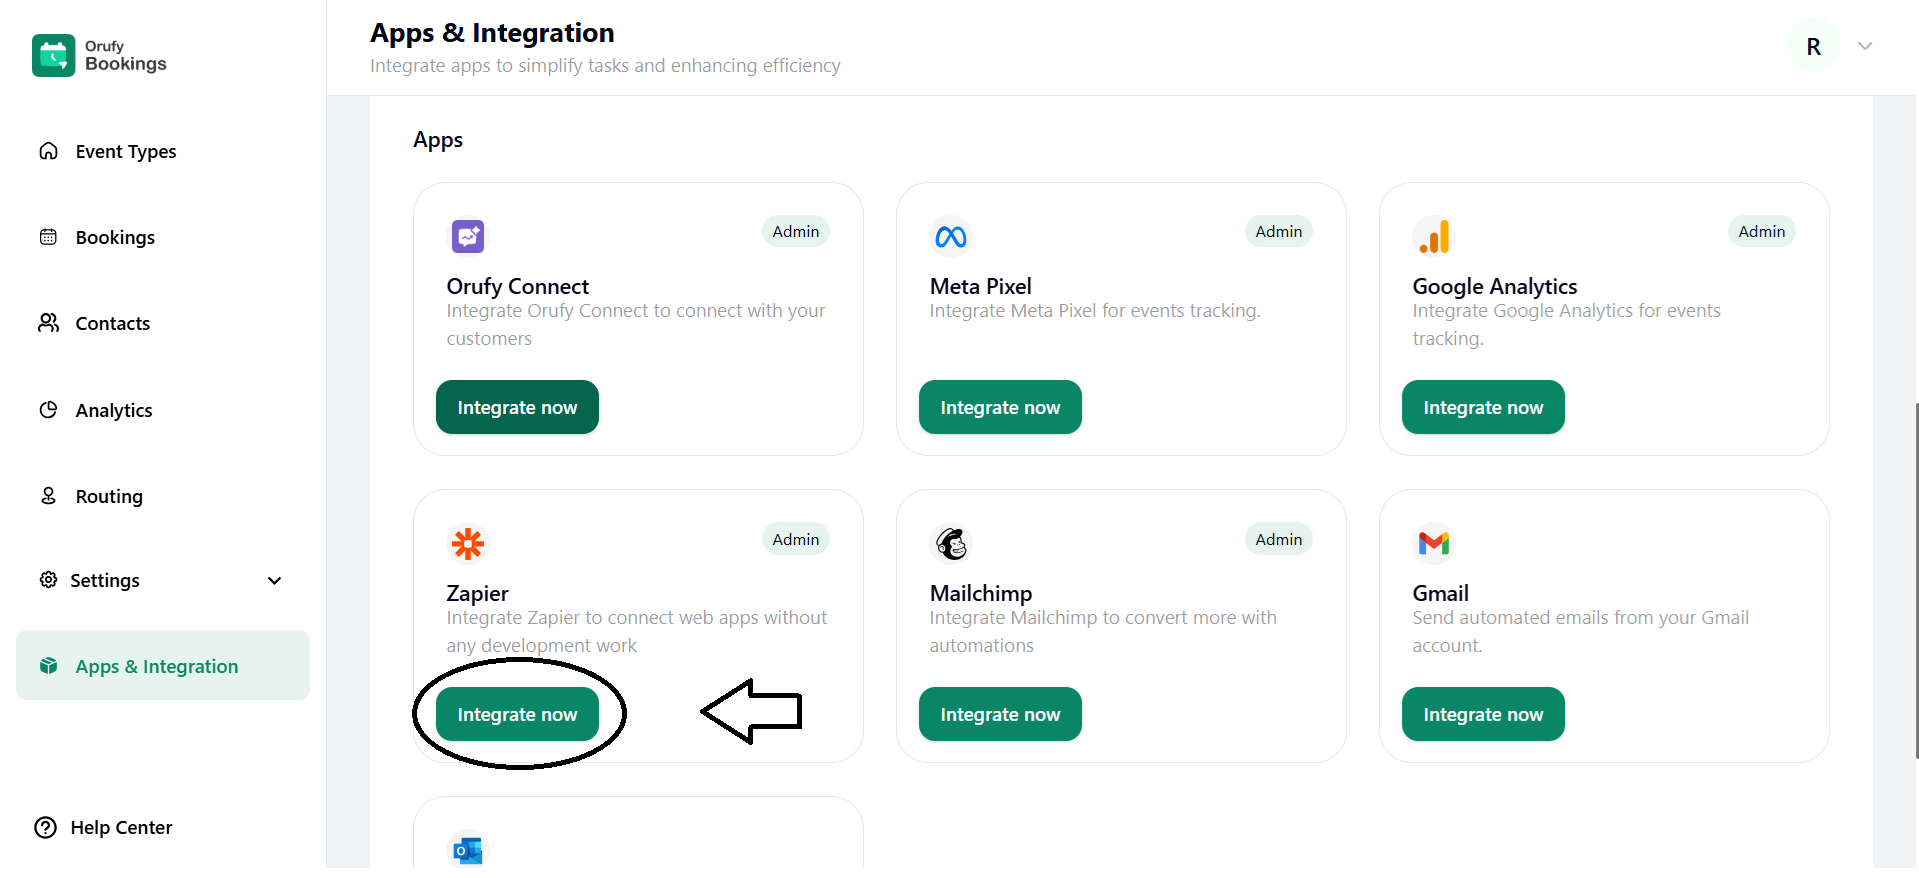
1. Click on Integrate Now.
2. Read the features and requirements of Zapier.
3. Now, click on Connect Zapier.
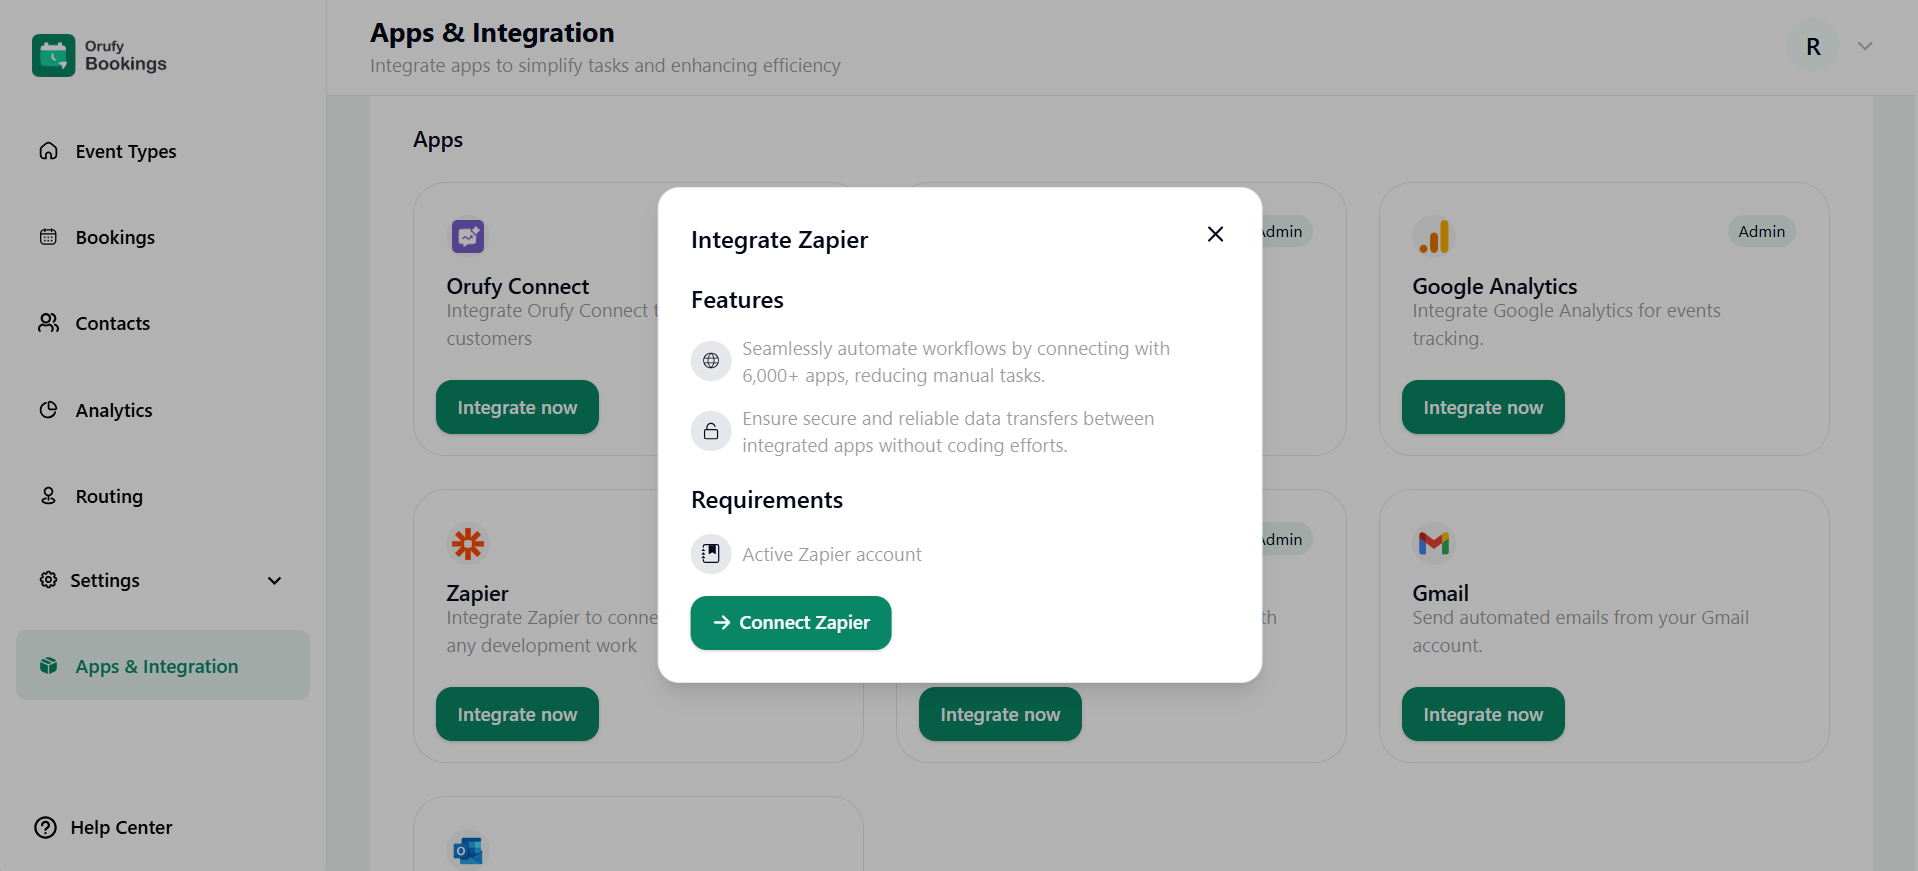
4. You will be redirected to the Zapier website.
Sign in or sign up with your account.
5. After successfully sign, create a Zap into your Zapier account.
6. You will see the Zap editor with trigger and action steps when creating a zap.
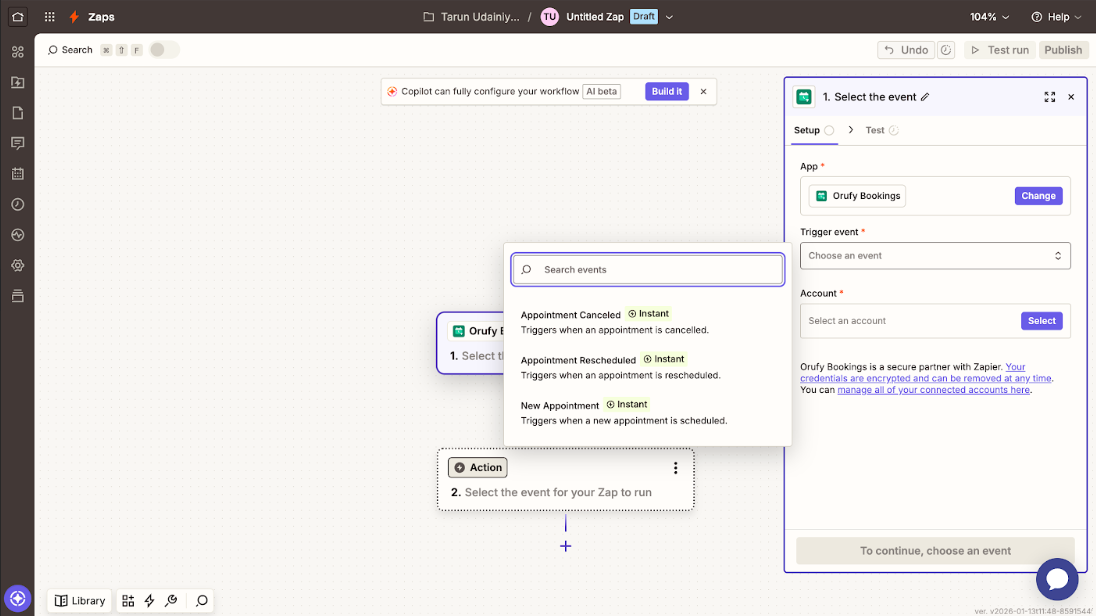
7. Select Orufy Bookings as the trigger app.
8. In the trigger section, click on Select the trigger event.
9. Trigger Events are:
- New Appointment
- Appointment Reschedule
- Appointment Cancelled
One of the triggers will start the Zap whenever the selected trigger event occurs in Orufy Bookings.
10. Connect your Orufy Bookings account
You have to allow Zapier to access Ourfy Bookings using the API key and secret.
11. Select an action app.
-
Click the Select the event for your Zap to run.
-
Choose any app supported by Zapier.
12. Map Booking data
-
Use the Orufy Bookings data in the selected action app.
-
Click Continue and test the action.
13. Publish the Zap
After the testing is complete, publish the zap.
Now, your automation is live and will run when the trigger event occurs.

