Project Access Type specifies who can view, create, or edit tasks within the project. It ensures the level of visibility and control by allowing projects to be set as Open, Private, or Limited, depending on the project requirements. These project-level access settings help businesses to manage information, tasks, and collaboration with transparency. You can manage the Project Access Type from the Main menu.
1. Select the Project. Go to the More Options.
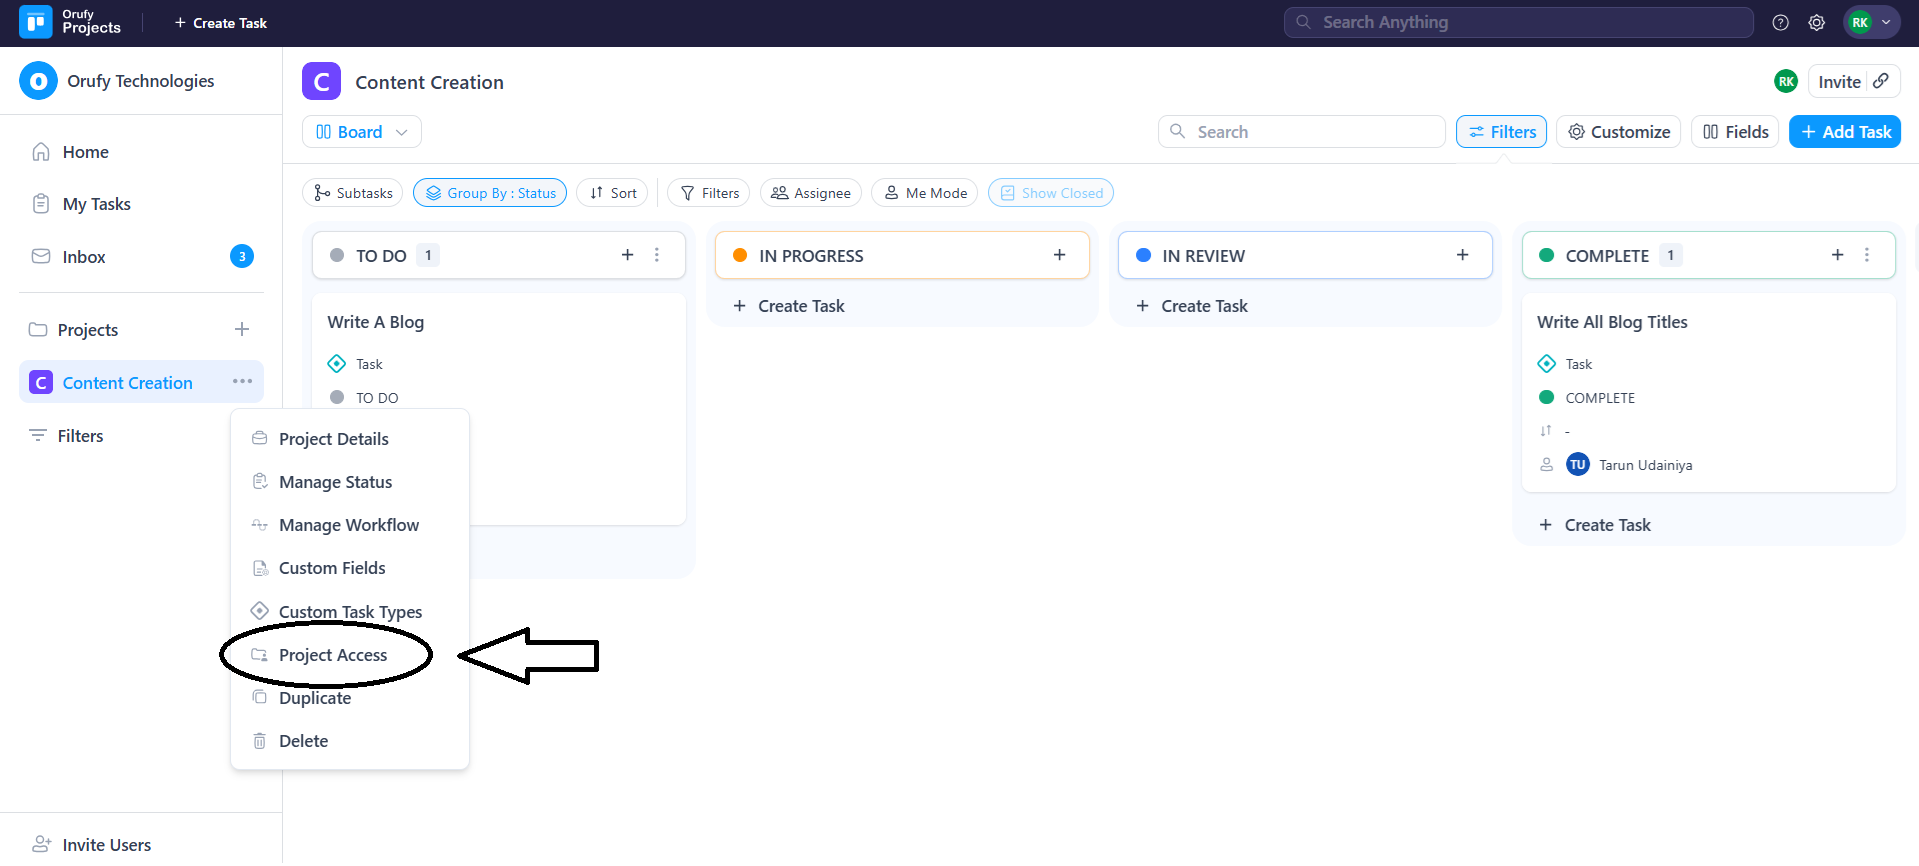
2. Navigate to Project Access. You can select one of the three options from the drop-down.
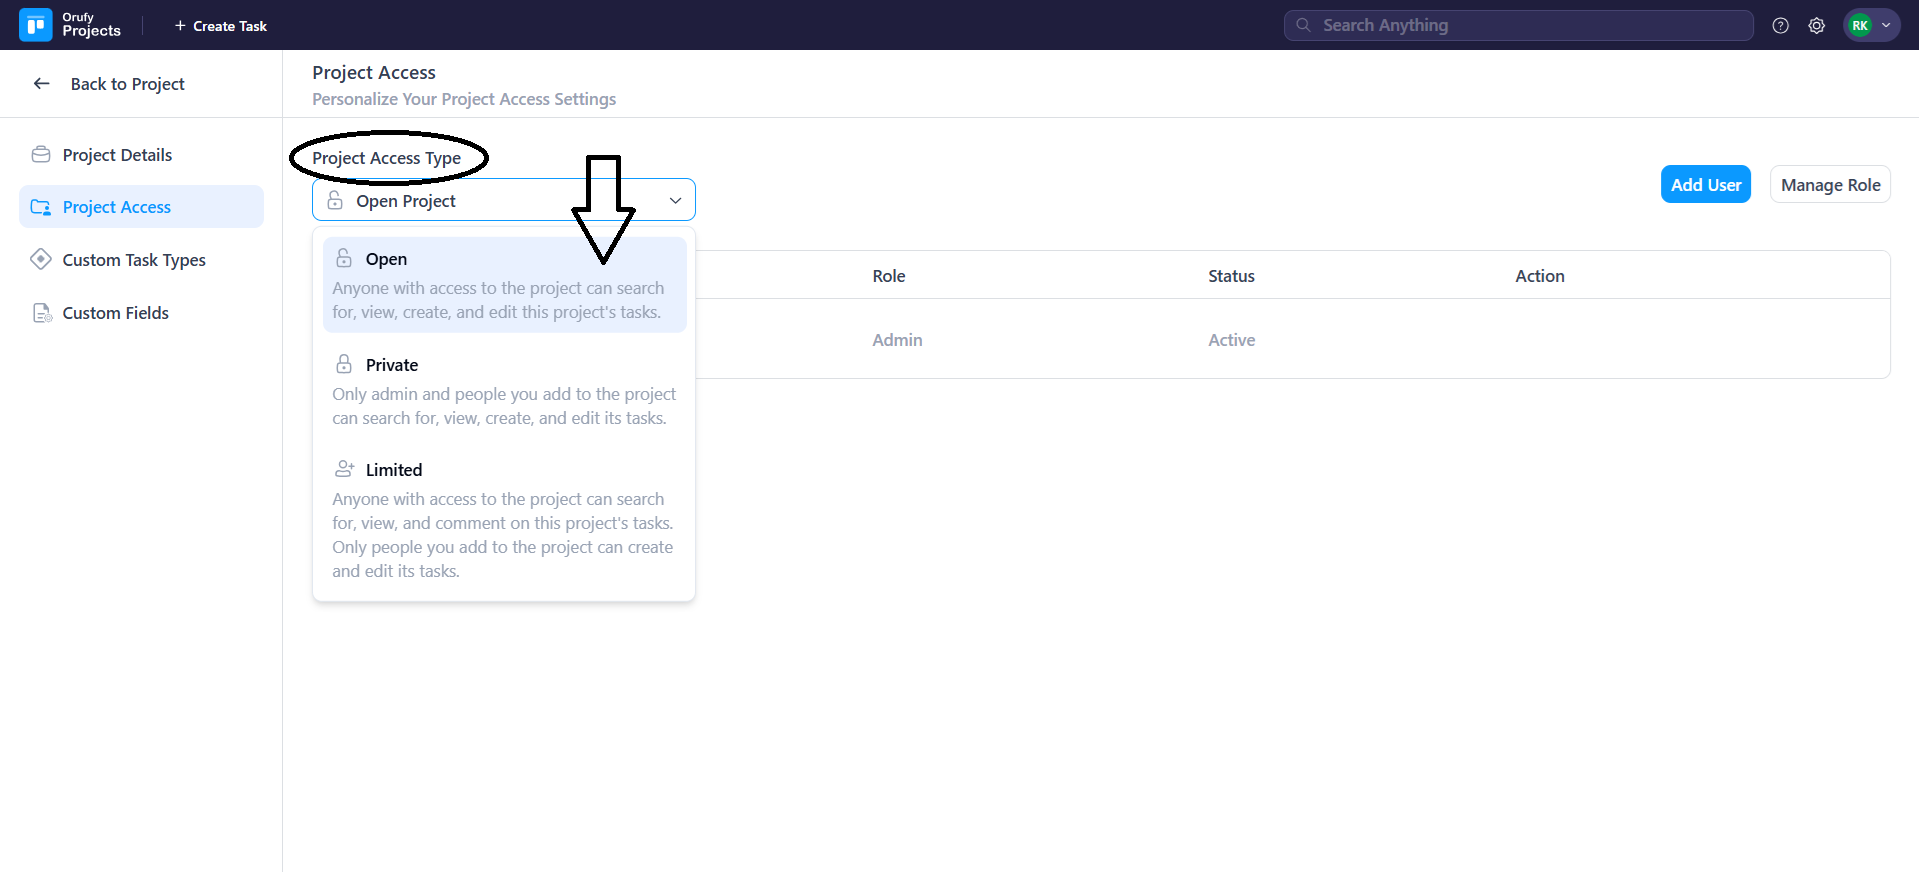
Here you can customise the project access settings for a specific project. You have three ways in which you can manage access to the project.
-
Open Project: An Open Project is accessible to everyone and allows them to view, create, or edit tasks freely. It’s easy for teams and members to share all the updates, ensuring progress and task visibility across the project.
-
Private Project: A Private Project is accessible only to admins and selected members for the project. Only selected members can view, create or edit tasks in the project. This is suitable for restricting everyone from viewing the sensitive information, limiting risks ensuring only authorised members can contribute to the project.
-
Limited Project: A Limited Project is accessible to all users to view and comment on the tasks, but restricts creating or editing tasks in the project. It maintains control and feedback over managing and modifying the project tasks.
3. In the case of Open Project.
- Project Owner or Project Admin can add members to the project by clicking on Add Users.

You have to enter the email address of the user you want to add to the project.
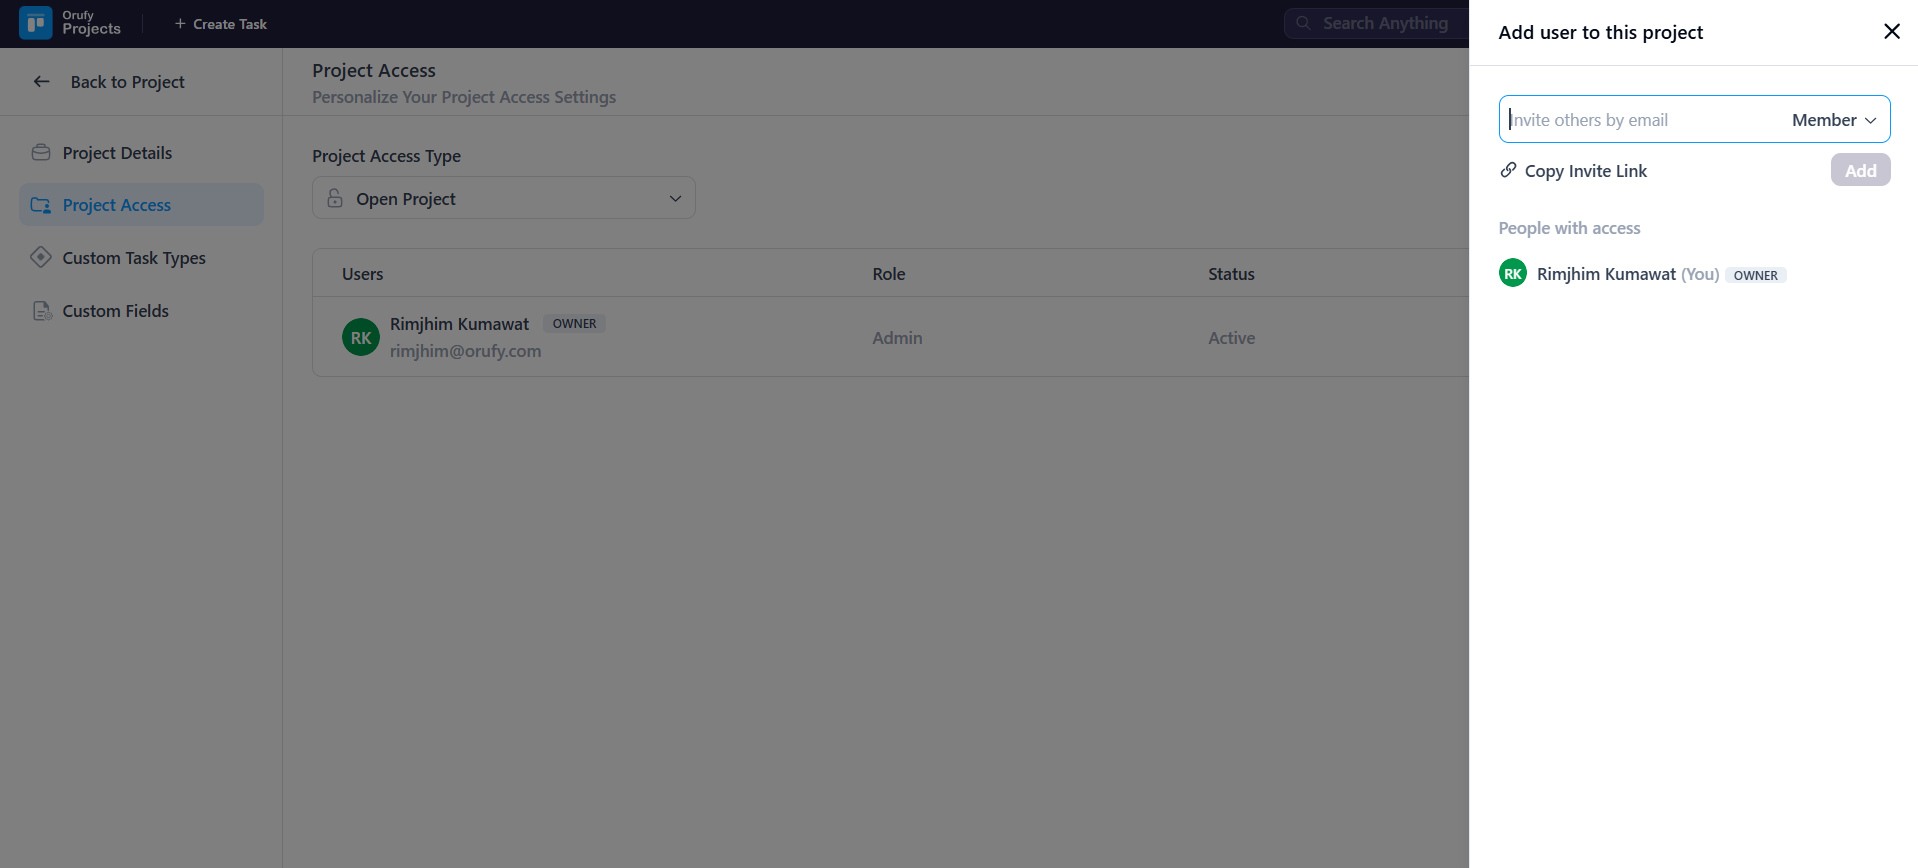
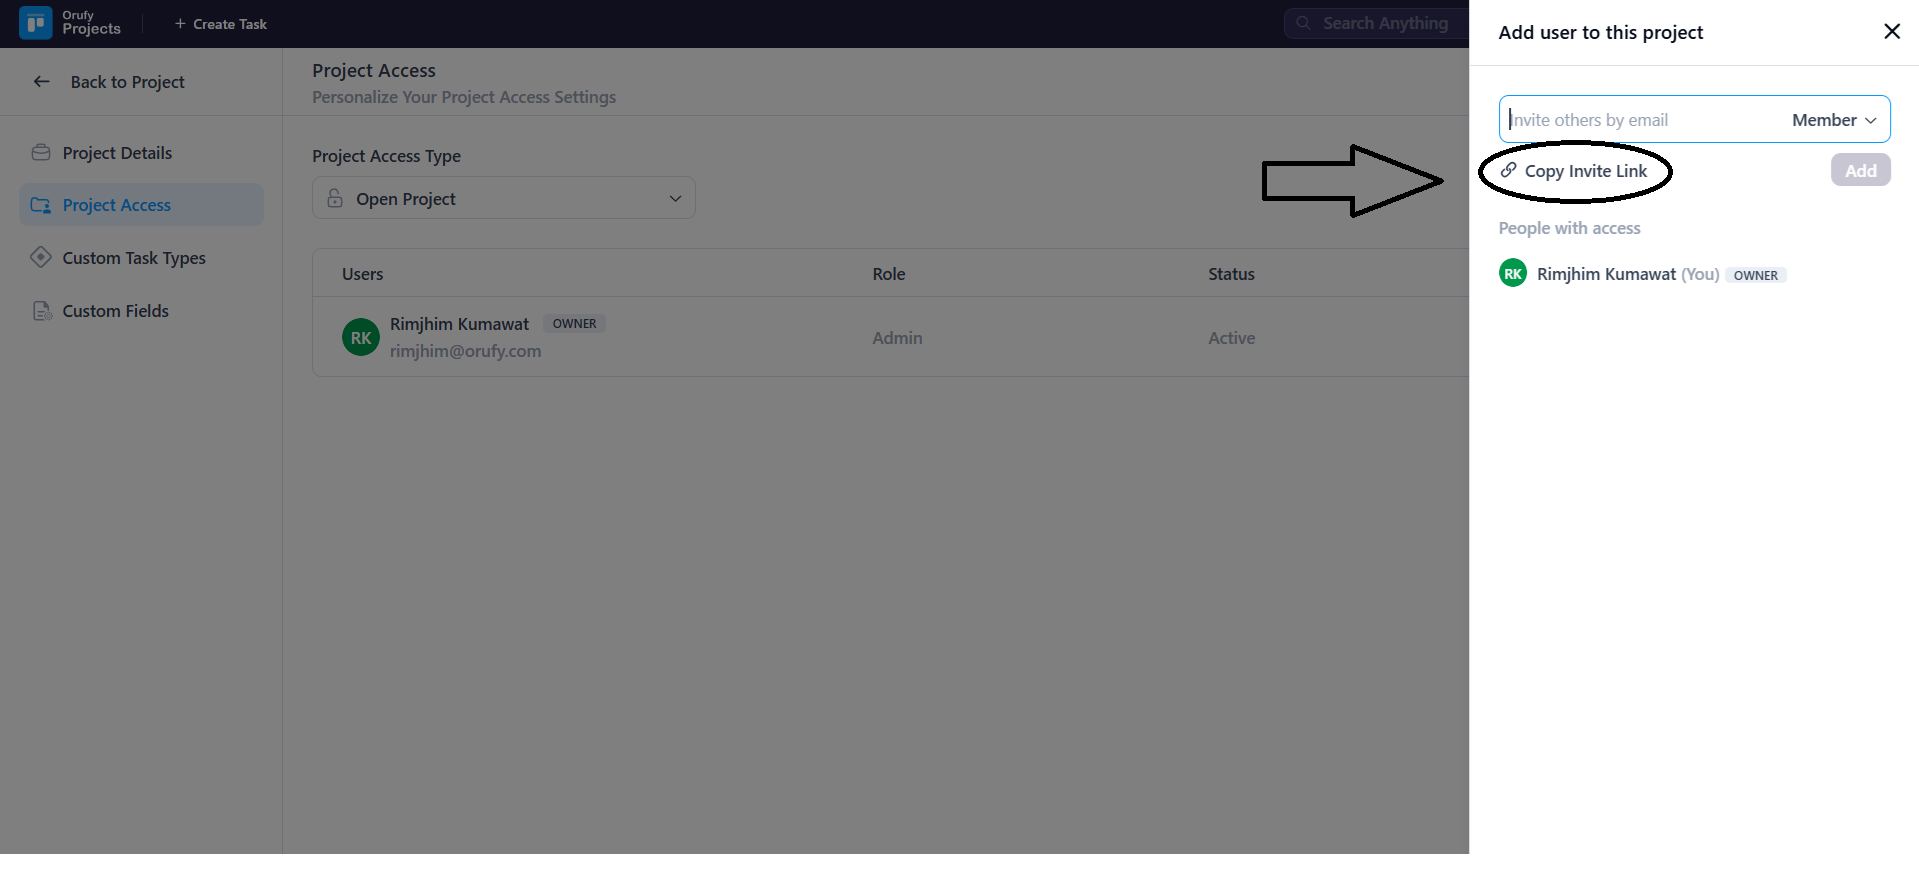
- Or, you can send an invite link to the invitee, and then they will request to add them as a member of a specific project. Only the person having complete project access can approve the request of the requested person.
- Click on Manage Role to manage the role of the open project. You have default roles such as Admin, Member, and Viewer. You can also create the roles as per your requirements.

4. In the case of Private Project.
-
Project Owner or Project Admin can add members to the project by clicking on Add Users. You have to enter the email address of the user you want to add to the project.
-
Or, you can send an invite link to the invitee, and then they will request to add them as a member of a specific project. Only the person having complete project access can approve the request of the requested person.
-
Click on Manage Role to manage the role of the open project. You have default roles such as Admin, Member, and Viewer. You can also create the roles as per your requirements.
5. In the case of a Limited Project.
-
Project Owner or Project Admin can add members to the project by clicking on Add Users. You have to enter the email address of the user you want to add to the project.
-
Or, you can send an invite link to the invitee, and then they will request to add them as a member of a specific project. Only the person having complete project access can approve the request of the requested person.
-
Click on Manage Role to manage the role of the open project. You have default roles such as Admin, Member, and Viewer. You can also create the roles as per your requirements.
You can now save the selected project access type.


