The Import/Export section allows importing project data via CSV files, ensuring a smooth transition from other tools while maintaining original details. It supports in streamlining task, status, and user data transfer in an organised manner.
Click on Start Import.
Step 1: Upload CSV
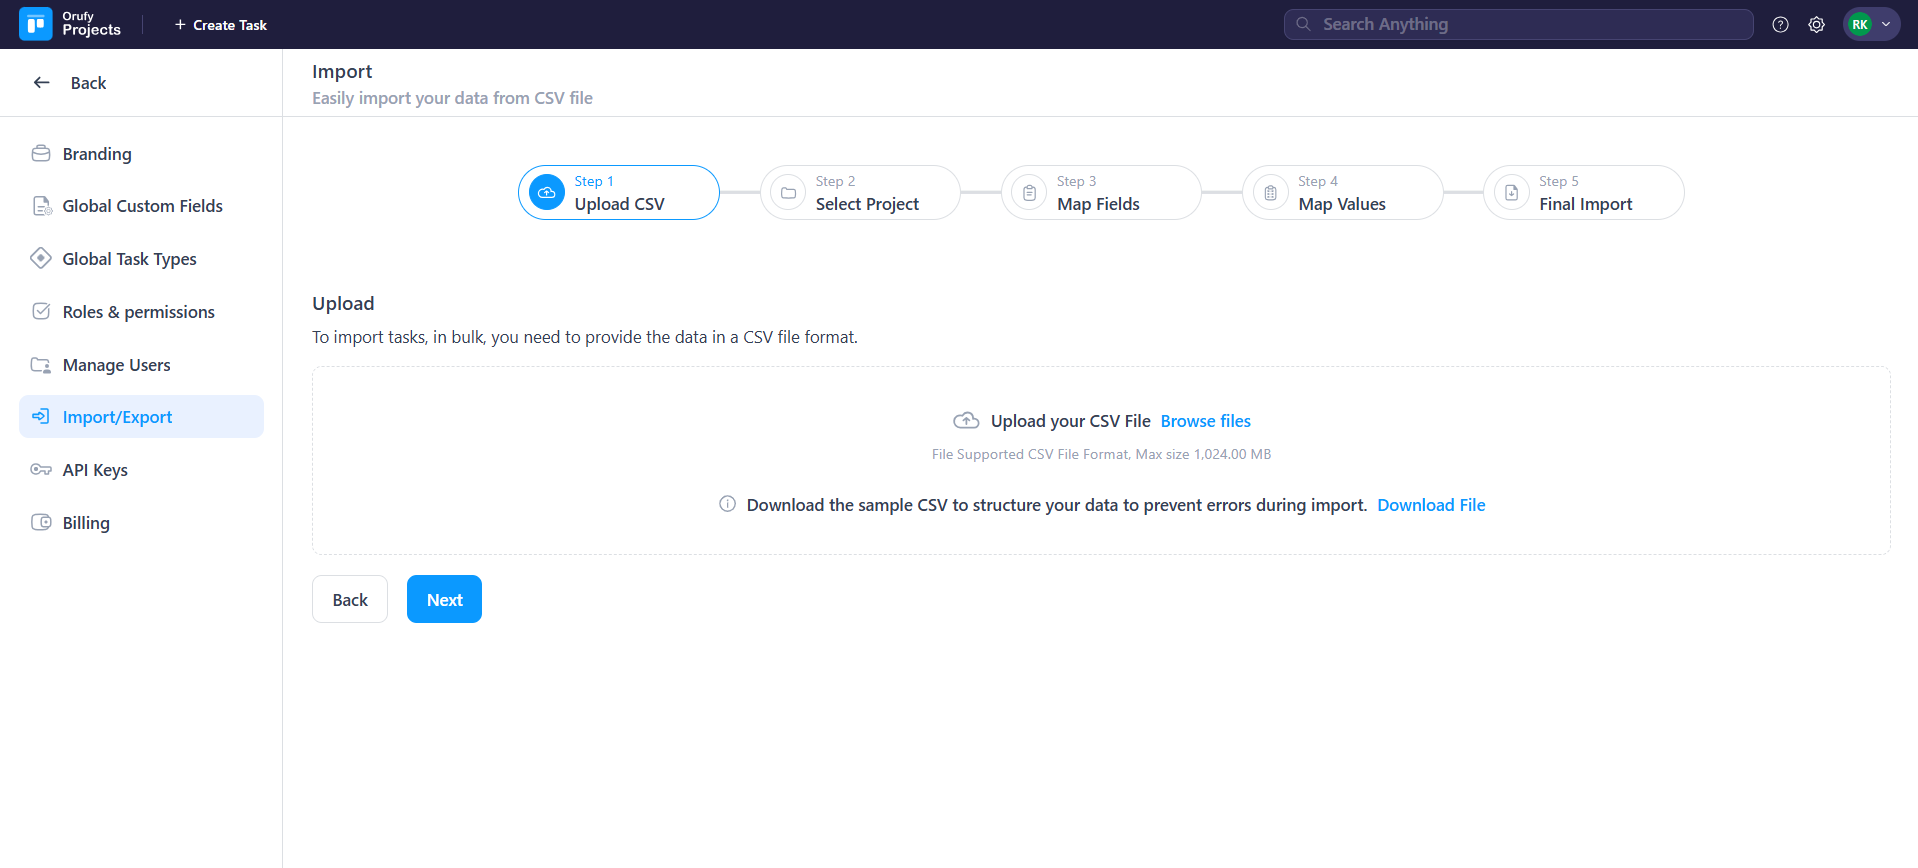
- Upload the CSV file with a maximum size of 1024 MB.
- You can also download a sample CSV file for a view of how the CSV file will look.
Step 2: Select Project
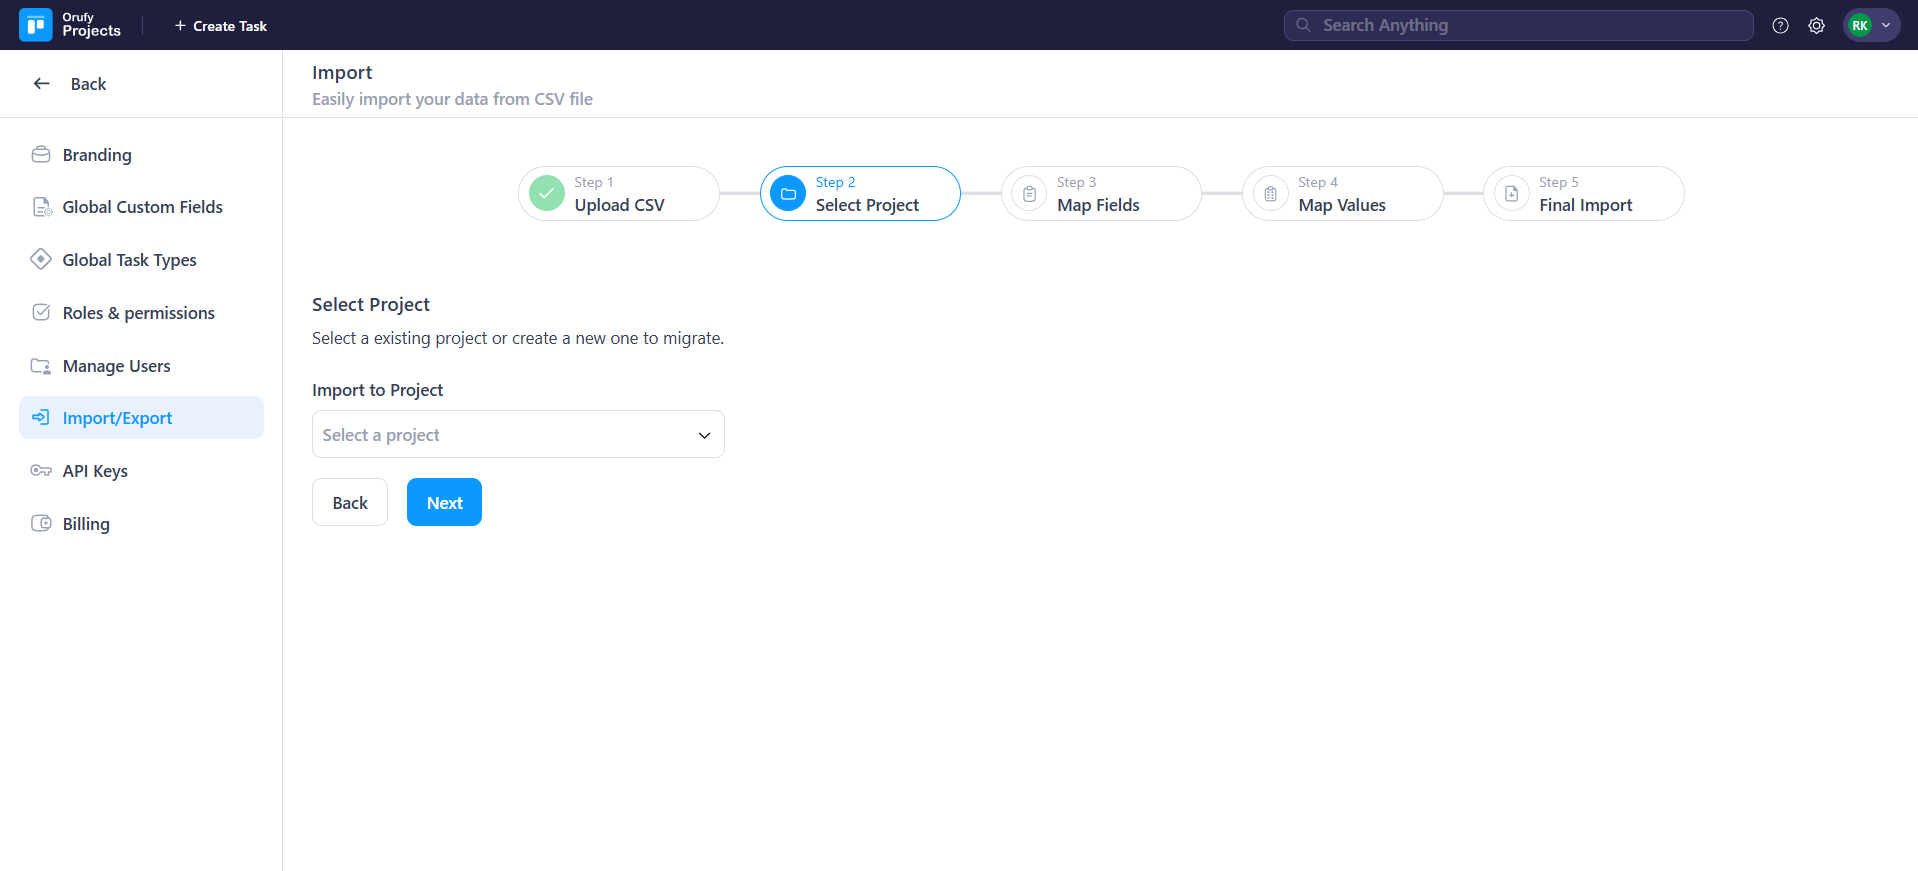
- You can select from the drop-down to create a new project or the existing project to migrate all the data from the CSV file to the project.
Step 3: Map Fields
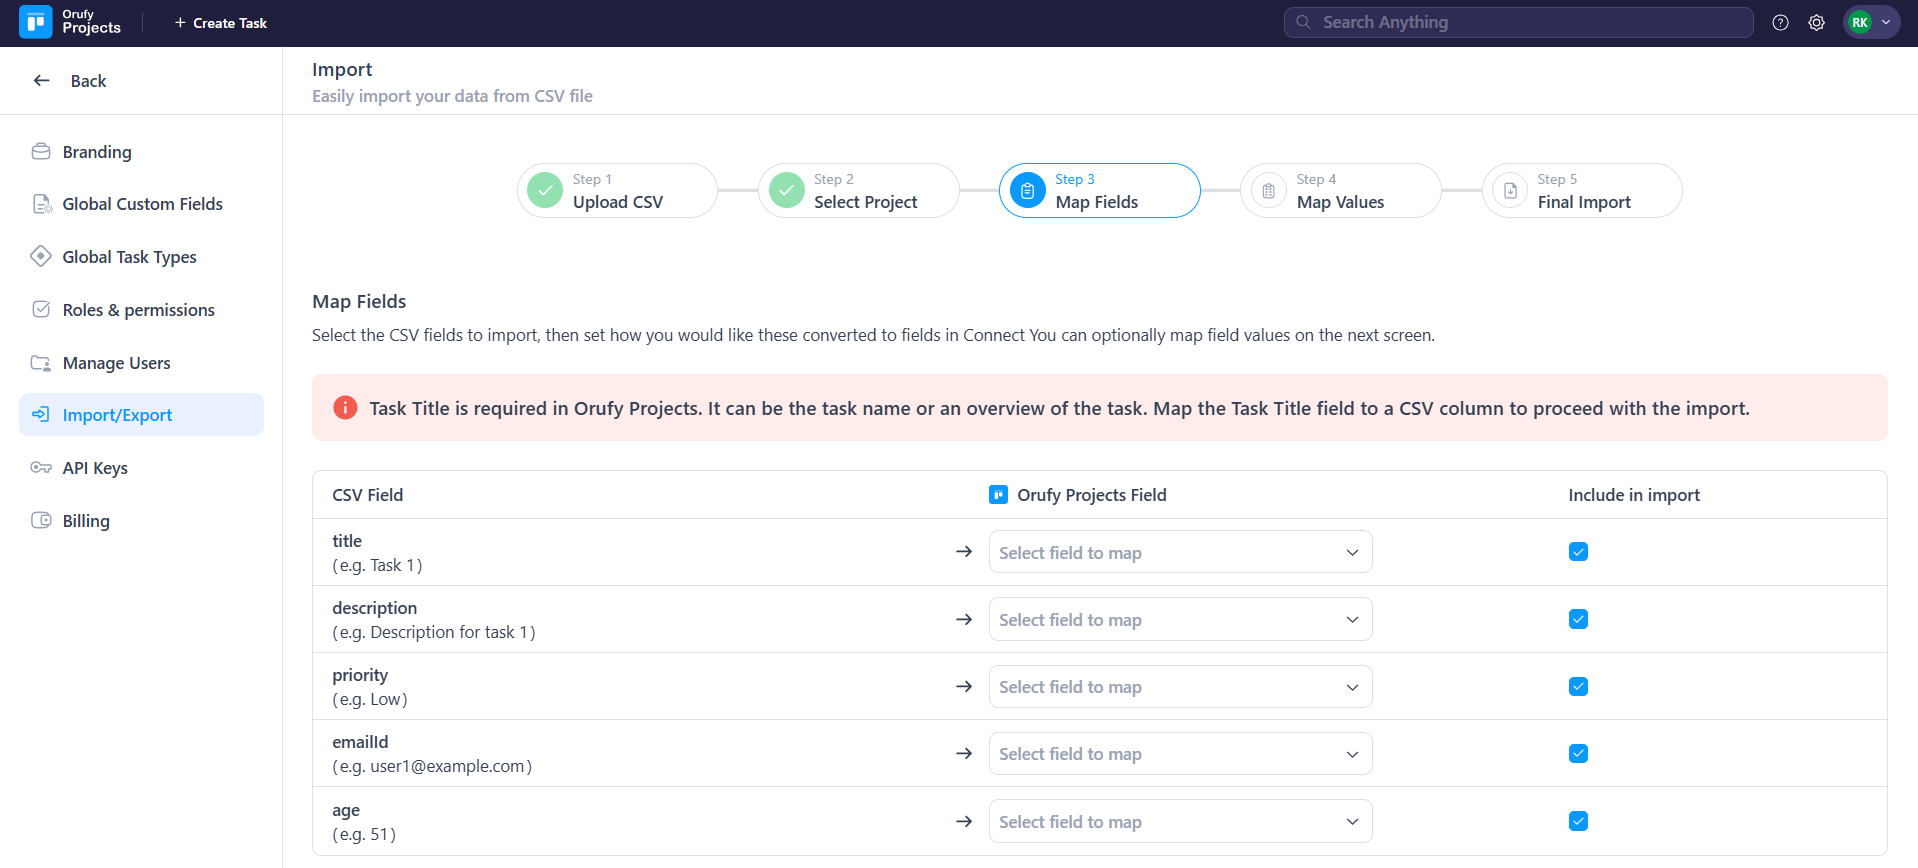
- Select the CSV file fields that are to be mapped with the project's fields.
- For example, a CSV file has fields called Title, Description, Priority, Email ID, and Age.
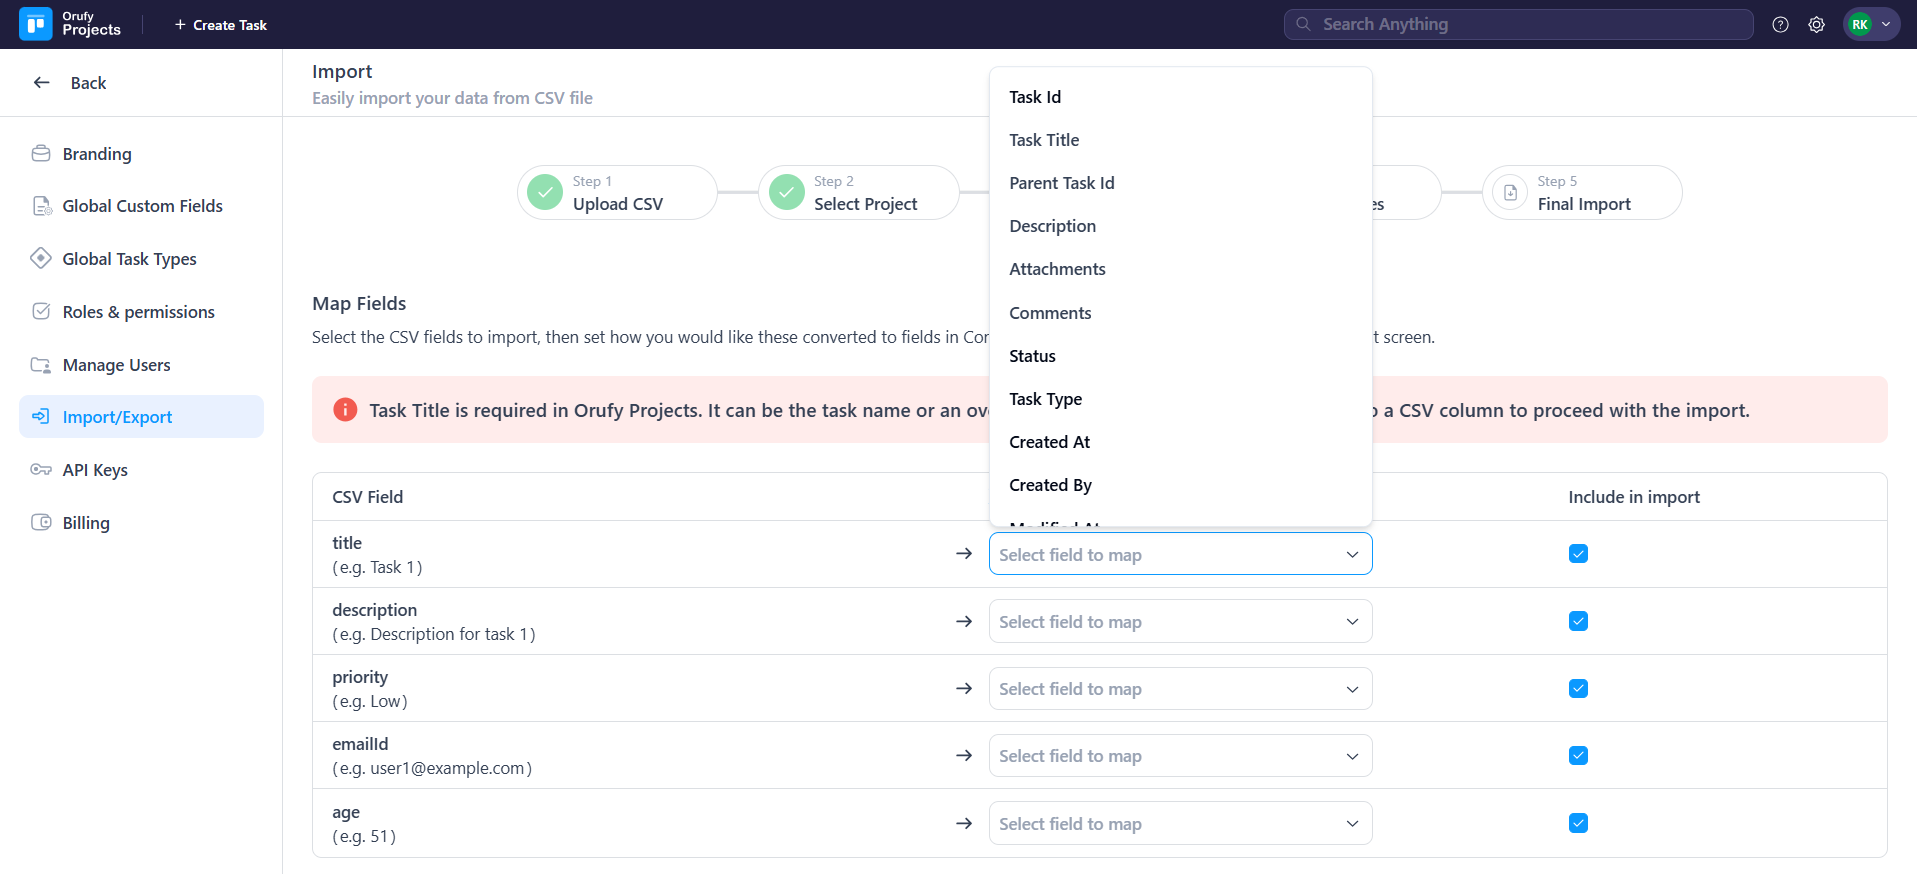
- Orufy Project’s title field is mandatory to be mapped with any CSV file field.
- Include in import: You have to map the CSV field with Orufy Projects fields; otherwise, it will be excluded.
Step 4: Map Values
The project will automatically map all field values for you where possible. You can individually map field values, return to the previous screen and select the check box next to the relevant fields.
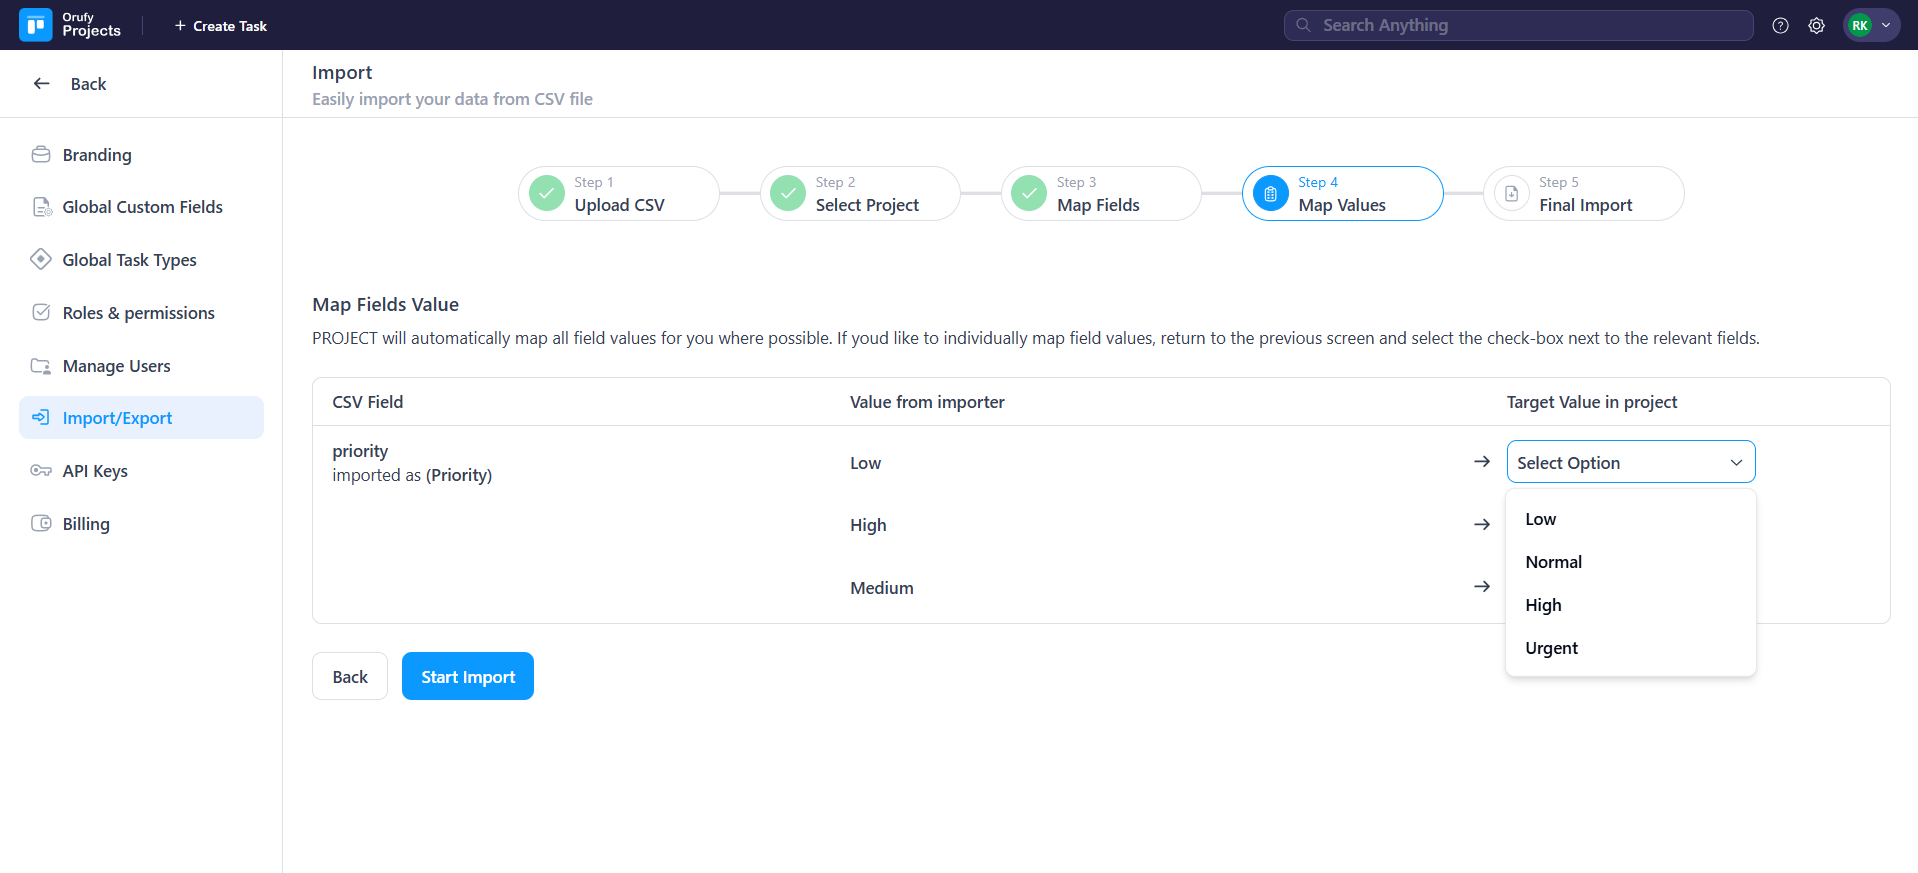
- For example, the CSV field of Priority and value is given, now you have to select what value it will hold in the Orufy Projects.

Step 5: Final Import
- This is the final step of the import process. Click on Start Import to start importing.
- After the complete import process, you can see that the tasks are completely imported into the specific project.
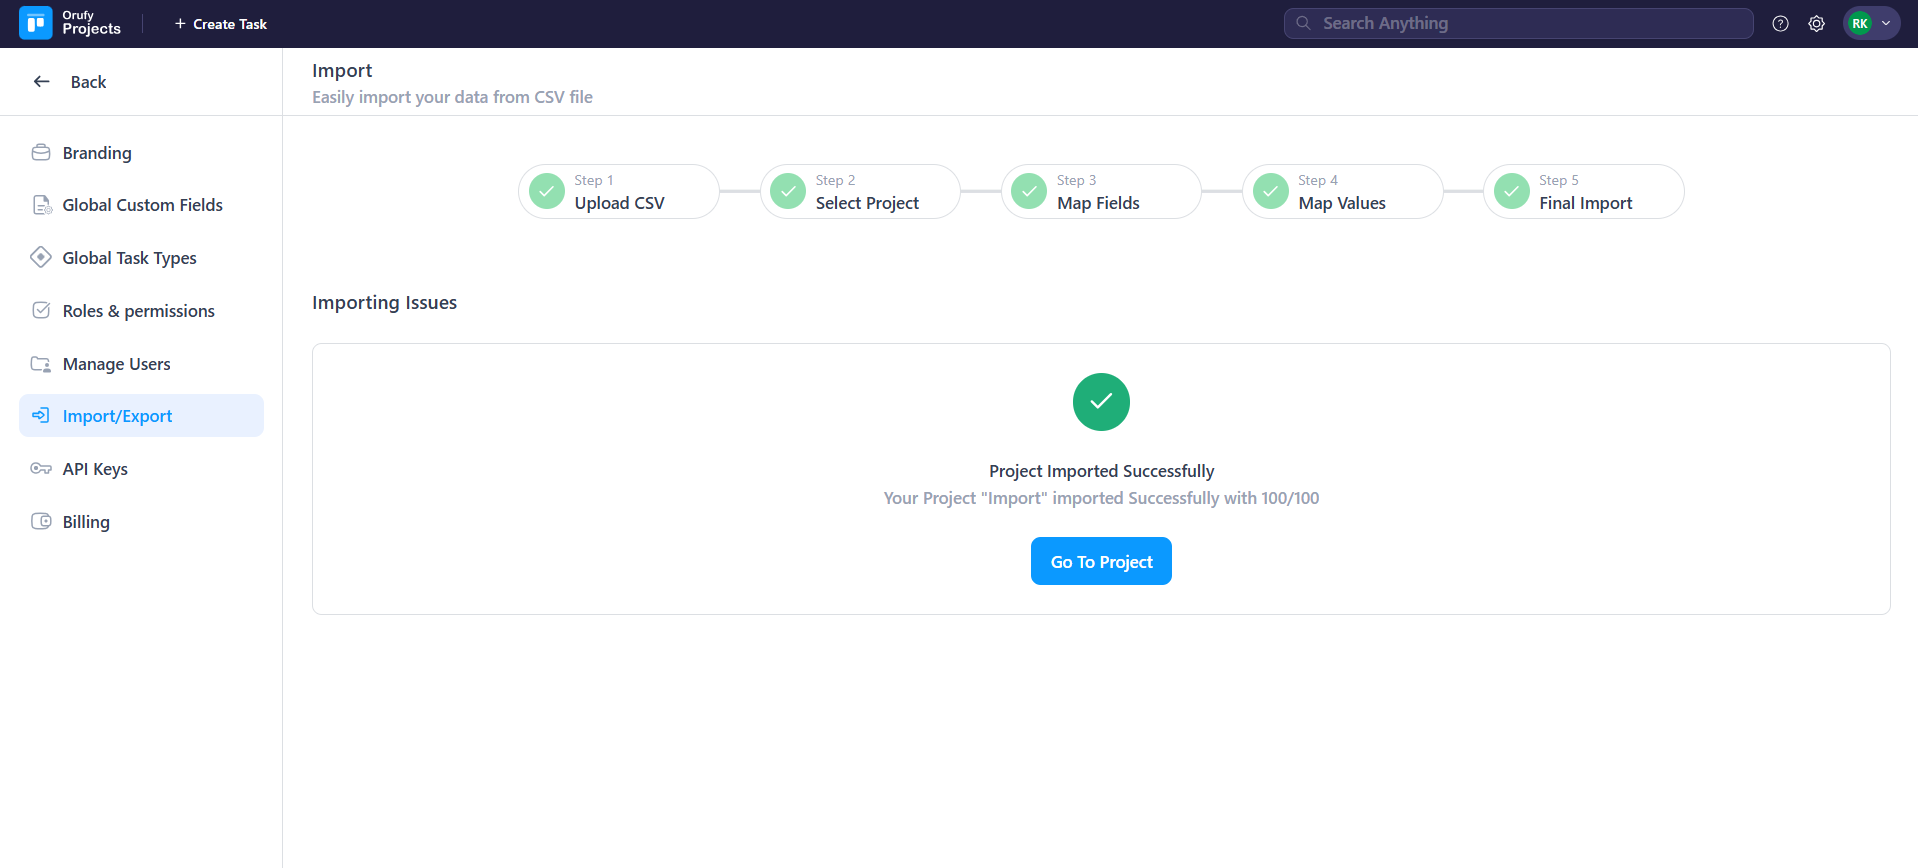
- Click on the Go To Project in which all the CSV file data will be there.
Import History
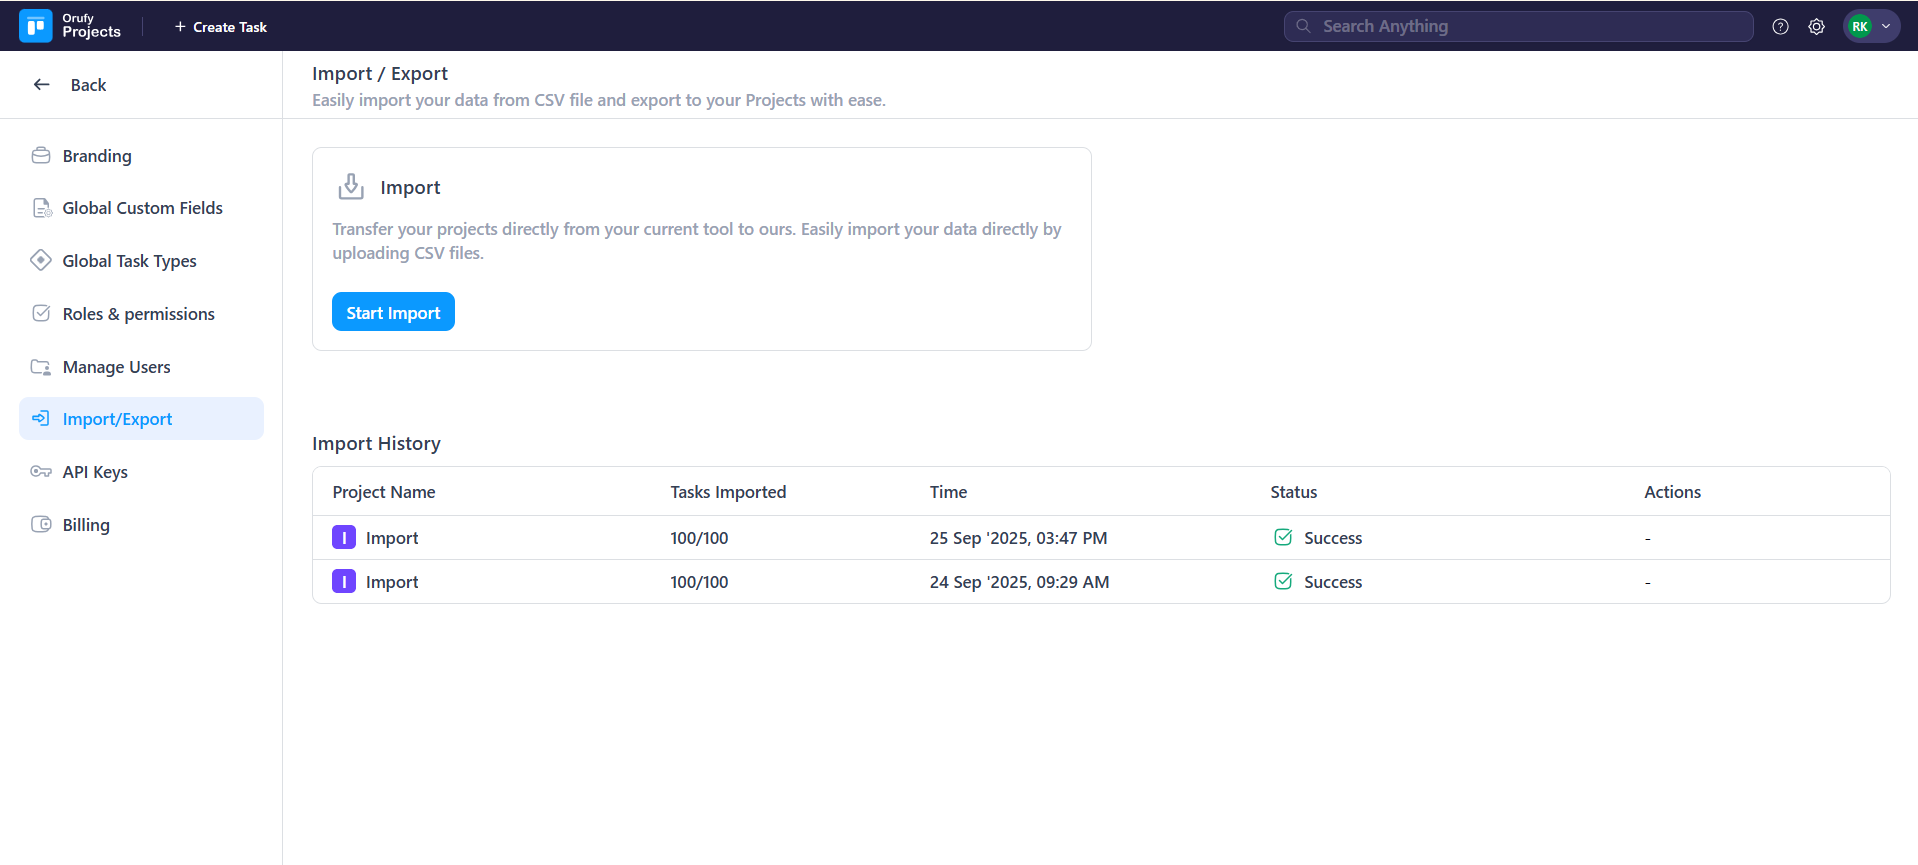
You can see in what projects you have imported the CSV file. It is displayed as the project name, tasks imported, time, status, and actions.


