Settings

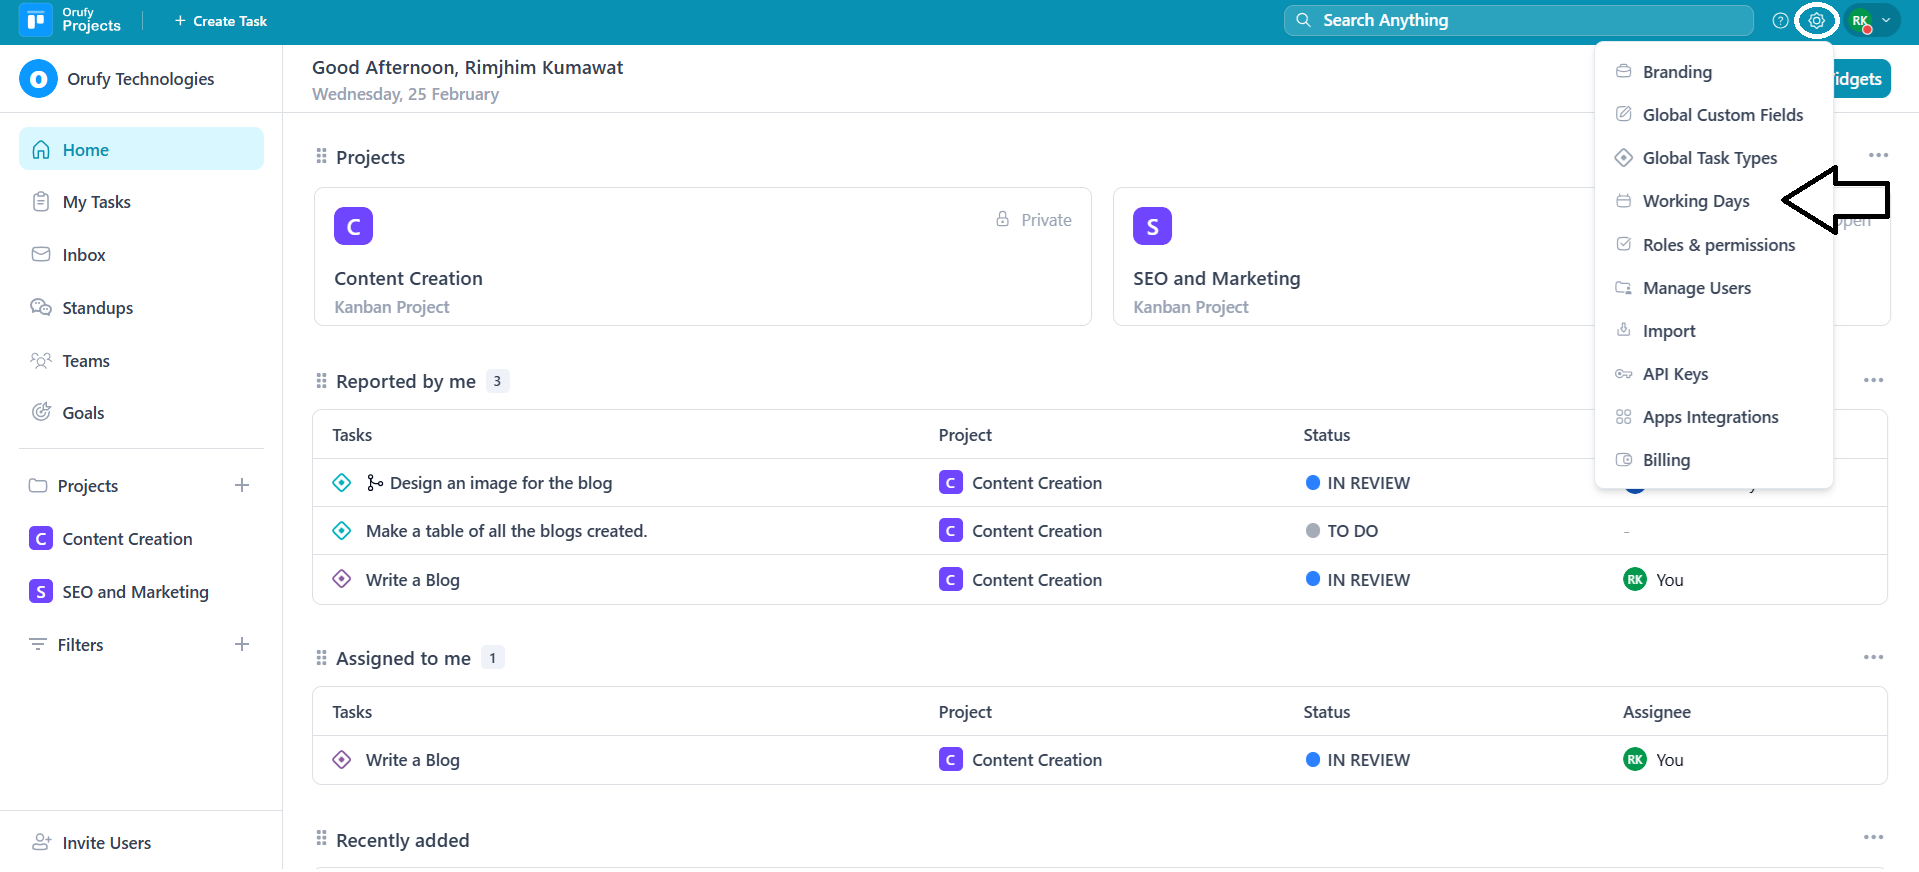
The Settings section offers options for customizing branding, managing global task types and custom fields, assigning roles and permissions, and controlling user access. It also includes tools for data import/export, API key management, and billing and subscription management.

1. Branding

Here, you can customise the this section to reflect your business identity.

customize branding 1.png


  • Click on Branding.

  • Company Logo: The default setting is that you can set the colour of the logo.

customize branding 2 company name logo color.png


  • Upload the company logo (Optional): You can upload the logo in the requested file formats, such as .png, .jpeg, .gif, and .jpg. Keep in mind that the size of the logo should not exceed 5 MB.

customize branding 3 upload logo.png


  • Enter the name of the company.

  • Click on “Save” to make your changes visible.


2. Global Custom Fields

Here, you can add global custom fields, which will be shown in every project when creating a task. Some default fields cannot be deleted.

global custom fields create.png


1. Field Name: Enter the name of the custom field that will be shown.

2. Description: This refers to the explanation of the field created.

3. Projects: Select projects in which you have to add this field.

4. Field Type: There are various types of fields you can add, such as:

  • Dropdown
  • Paragraph
  • URL
  • Numbers
  • Date
  • Short Text
  • People
  • Email
  • Labels

5. Create Another: You can create the field and click on another field to create a new field.

6. You can Edit all the unlocked fields from the More Options.

global custom field edit wala.png


7. You can Delete the custom field.

global custom field delete wala.png


3. Global Task Types

Here you can add different types of global tasks for types of issues to streamline planning, tracking and completion.

1. Click on “Add New Task Type” to create a new task type for a project.

add new task type use.png


2. Enter the name of the task.

3. And click on “Save” to make your created task type appear.


4. Roles & Permissions

You can manage and handle the roles & permissions. There are two default roles Super Admin and User.

1. Super Admin

  • Click on More Options to view the name of the role and what permissions are given to them. - You cannot edit and delete default roles such as Super Admin and User.

  • Role Name: The designed name of the role.

  • Description: What responsibilities does the role hold, such as managing, handling configurations and permissions.

  • Controls: What permissions are given to the role. 1. Create Project 2. Branding 3. Global Custom Fields 4. Global Custom Task Types 5. Roles & Permissions 6. Manage Users 7. API Key 8. Import & Export 9. Billings


2. User

Users are the active participants in the projects who are able to add, edit, and collaborate on all tasks.

Steps to Add New Role

  • Click on Add New Role to create your new role for the projects.

add new role.png


  • Enter the name of the role.

  • Write the description of the role that includes the responsibilities and permissions the role holds.

  • You can enable or disable the permissions or controls for the specified role.

add new role m .png


The roles created are shown in the Manage Users section to assign the roles to the desired users.

manager in the manage users.png


5. Manage Users

You can manage your users, invitations, and team members for a project.

1. From the Settings, navigate to Manage Users.

2. You can search for a user by email address or name.

search manage users.png


3. Click on Invite Users to invite users to a project.

invite users.png


4. A pop-up will appear to fill in details.

invite users details.png


  • Enter the email address to send the invitation for the project.

  • Select the role for the invitee, either Super Admin or User.

5. Click on Send to send the invitation to the invitee.


6. Import \ Export

The Import/Export section allows importing project data via CSV files, ensuring a smooth transition from other tools while maintaining original details. It supports in streamlining task, status, and user data transfer in an organised manner.

Click on Start Import.

Step 1: Upload CSV

import step 1.png


  • Upload the CSV file with a maximum size of 1024 MB.
  • You can also download a sample CSV file for a view of how the CSV file will look.

Step 2: Select Project

import step 2.png


  • You can select from the drop-down to create a new project or the existing project to migrate all the data from the CSV file to the project.

Step 3: Map Fields

import 3.png


  • Select the CSV file fields that are to be mapped with the project's fields.
  • For example, a CSV file has fields called Title, Description, Priority, Email ID, and Age.

import step 3.png


  • Orufy Project’s title field is mandatory to be mapped with any CSV file field.
  • Include in import: You have to map the CSV field with Orufy Projects fields; otherwise, it will be excluded.

Step 4: Map Values

The project will automatically map all field values for you where possible. You can individually map field values, return to the previous screen and select the check box next to the relevant fields.

import step 4.png


  • For example, the CSV field of Priority and value is given, now you have to select what value it will hold in the Orufy Projects.

import wala step 4.png


Step 5: Final Import

  • This is the final step of the import process. Click on Start Import to start importing.
  • After the complete import process, you can see that the tasks are completely imported into the specific project.

import step 5.png


  • Click on the Go To Project in which all the CSV file data will be there.

Import History

import history.png


You can see in what projects you have imported the CSV file. It is displayed as the project name, tasks imported, time, status, and actions.


7. API Keys

In API Keys, you can generate API keys to integrate your project account into any products.

  • Click on “+ Create API key” to create your API key.

create api key.png


  • A pop-up will appear to enter your API Key name.

enter api key name.png


  • Click on “Generate” to generate your API key and secret key. Keep in mind that the secret key is only generated once, so copy it.

api key.png


  • You can also delete the API key created from the More Options.

api key delete.png


8. Billing

The Billing section provides a complete view of your plans. You can see your current plan, billings details, and invoice history.