
Tickets
In Tickets, you can view, manage, and organise all the tickets raised, such as issues, queries, and bugs. Each ticket represents a bug report, a task that needs to be completed, or any other type of issue that needs to be tracked or resolved.
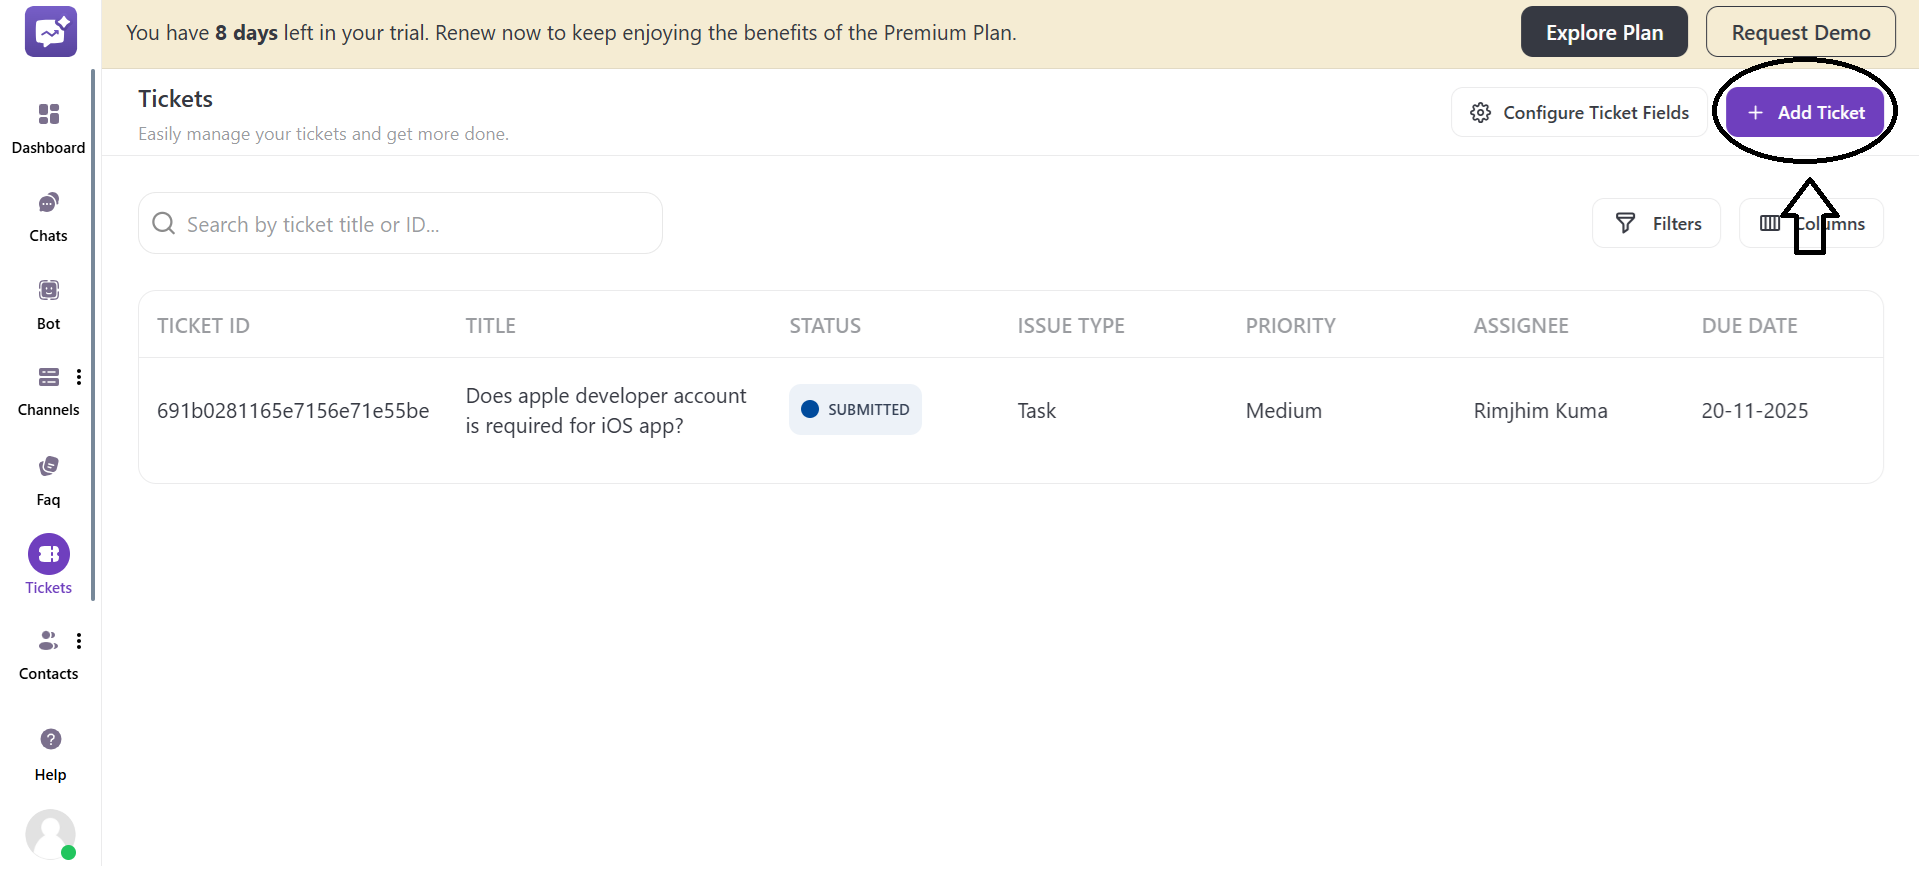
1. Add Ticket
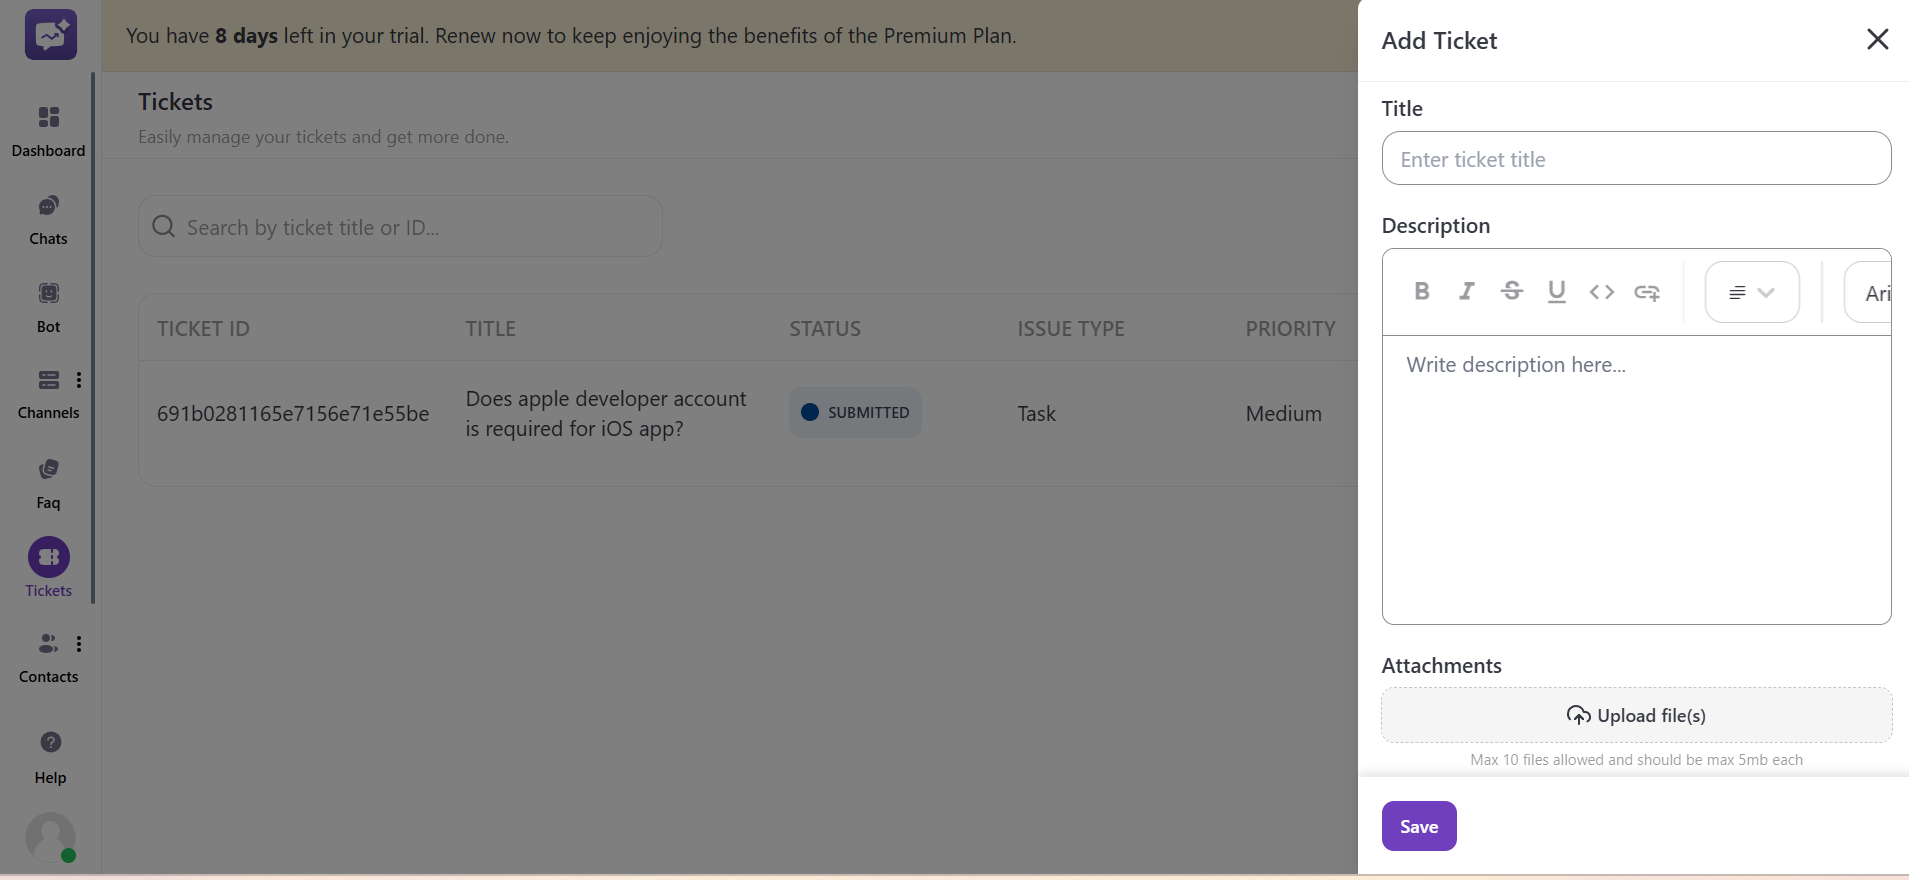
The + Add Ticket button allows you to create a new ticket. A pop-up will open to fill in all the details of the ticket. Listed below,
-
Title: Enter the title of the ticket.
-
Description: Enter the detailed description of the issue or bug. You can also add links with other customisation options.
-
Attachments: You can upload files or attachments to a ticket. You can upload a maximum of 10 files or attachments, each with a maximum size of 5 MB.
-
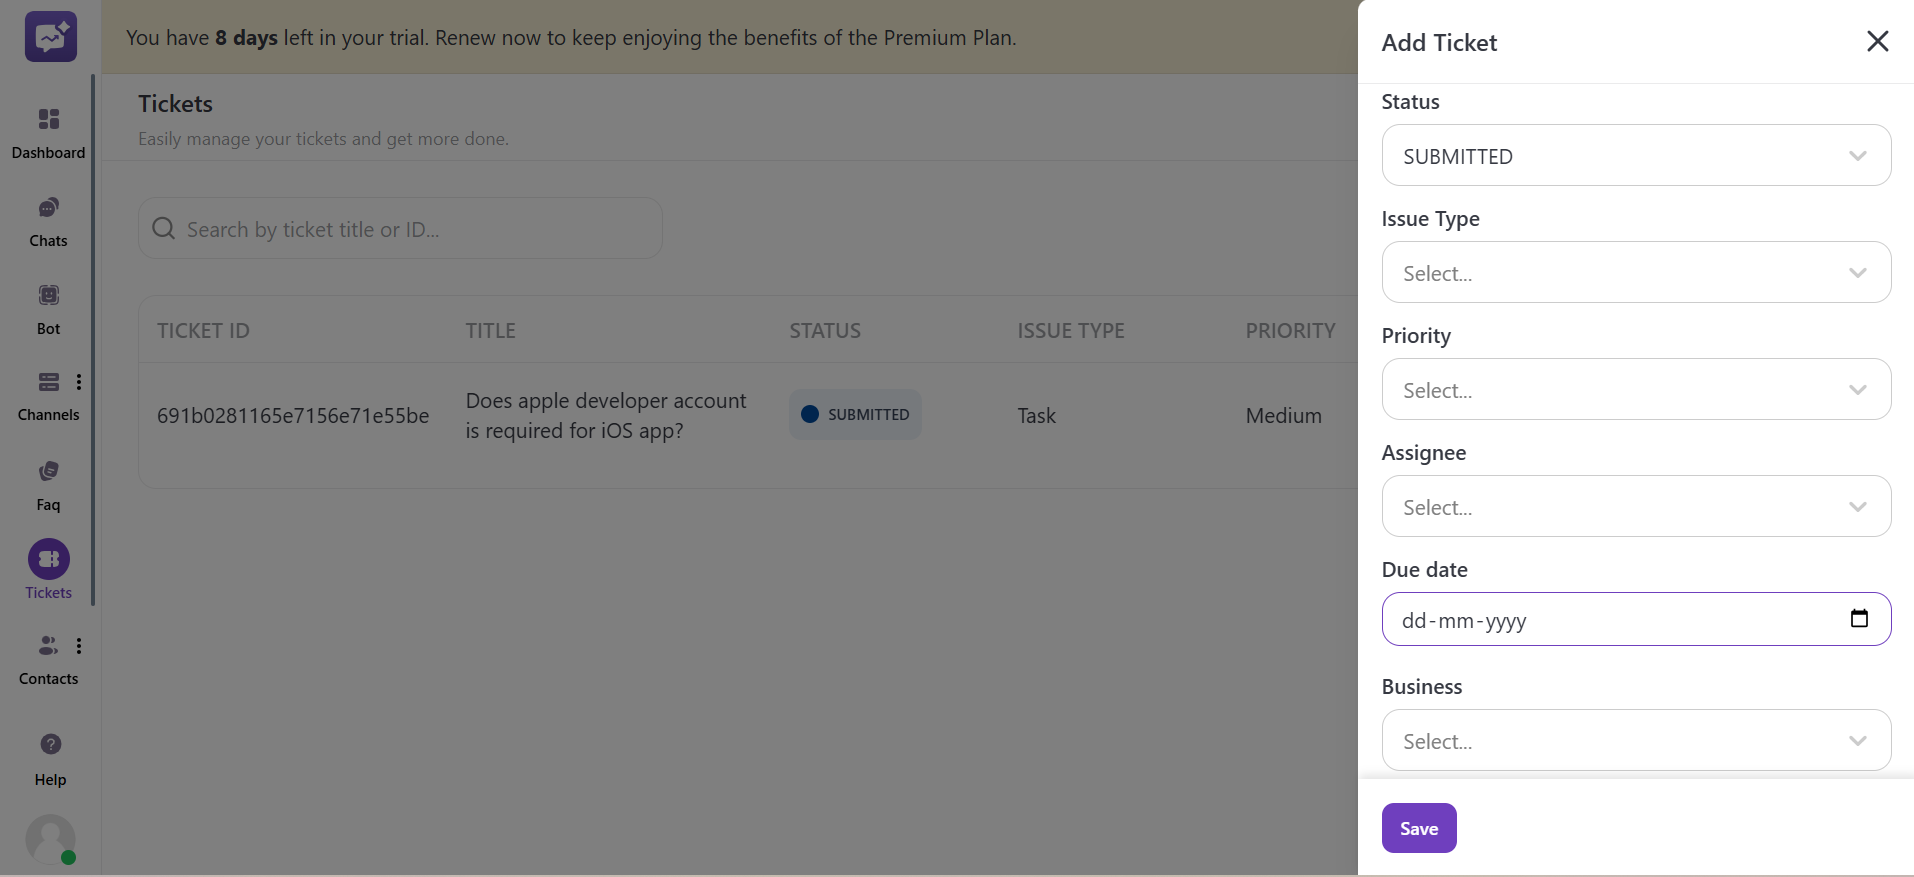
Status: It represents the current status of the ticket.
-
Issue Type: Select the issue type, such as Bug, Issue, or Feature, for the ticket to be raised.
-
Priority: Select how much importance the ticket holds: low, high, or medium.
-
Assignee: You can select the member to whom the ticket will be assigned.
-
Due Date: You have entered the due date by which the ticket will be submitted or resolved.
-
Business: You can select the businesses listed to which the ticket belongs.
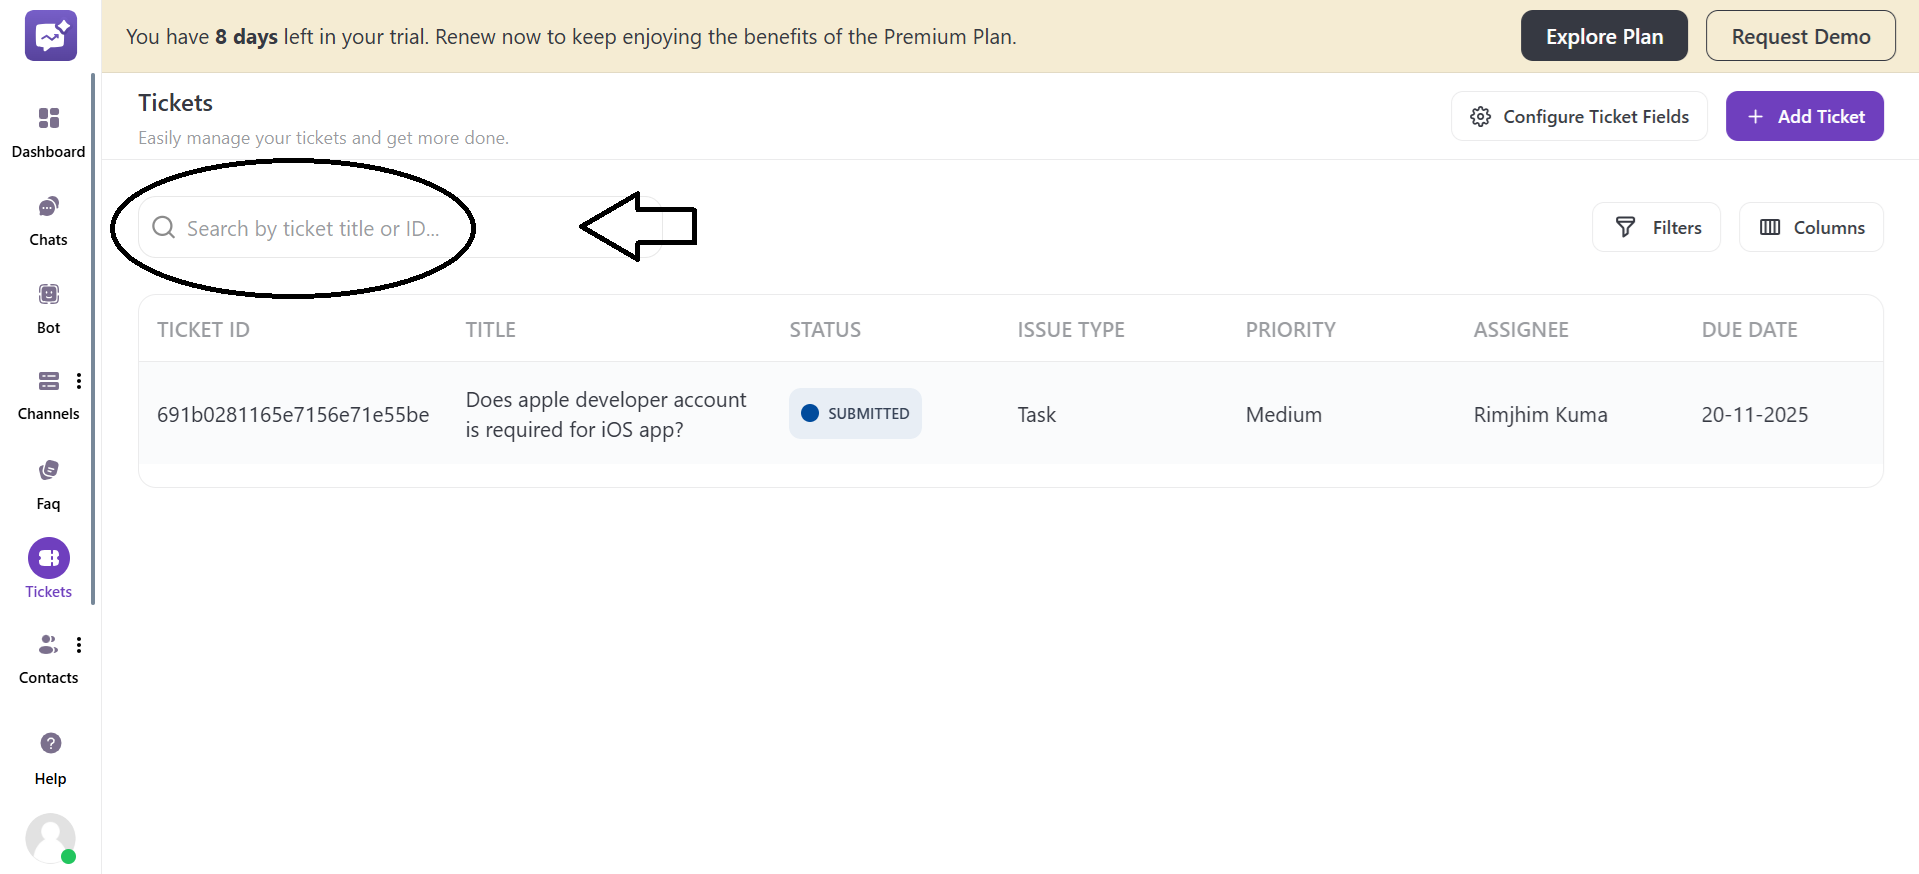
2. Search
The Search bar allows you to quickly search for a particular ticket through its title, ticket ID, or keywords related to the issue. It's especially useful when you have many tickets and need to view a specific one without scrolling through the entire list.
3. Actions
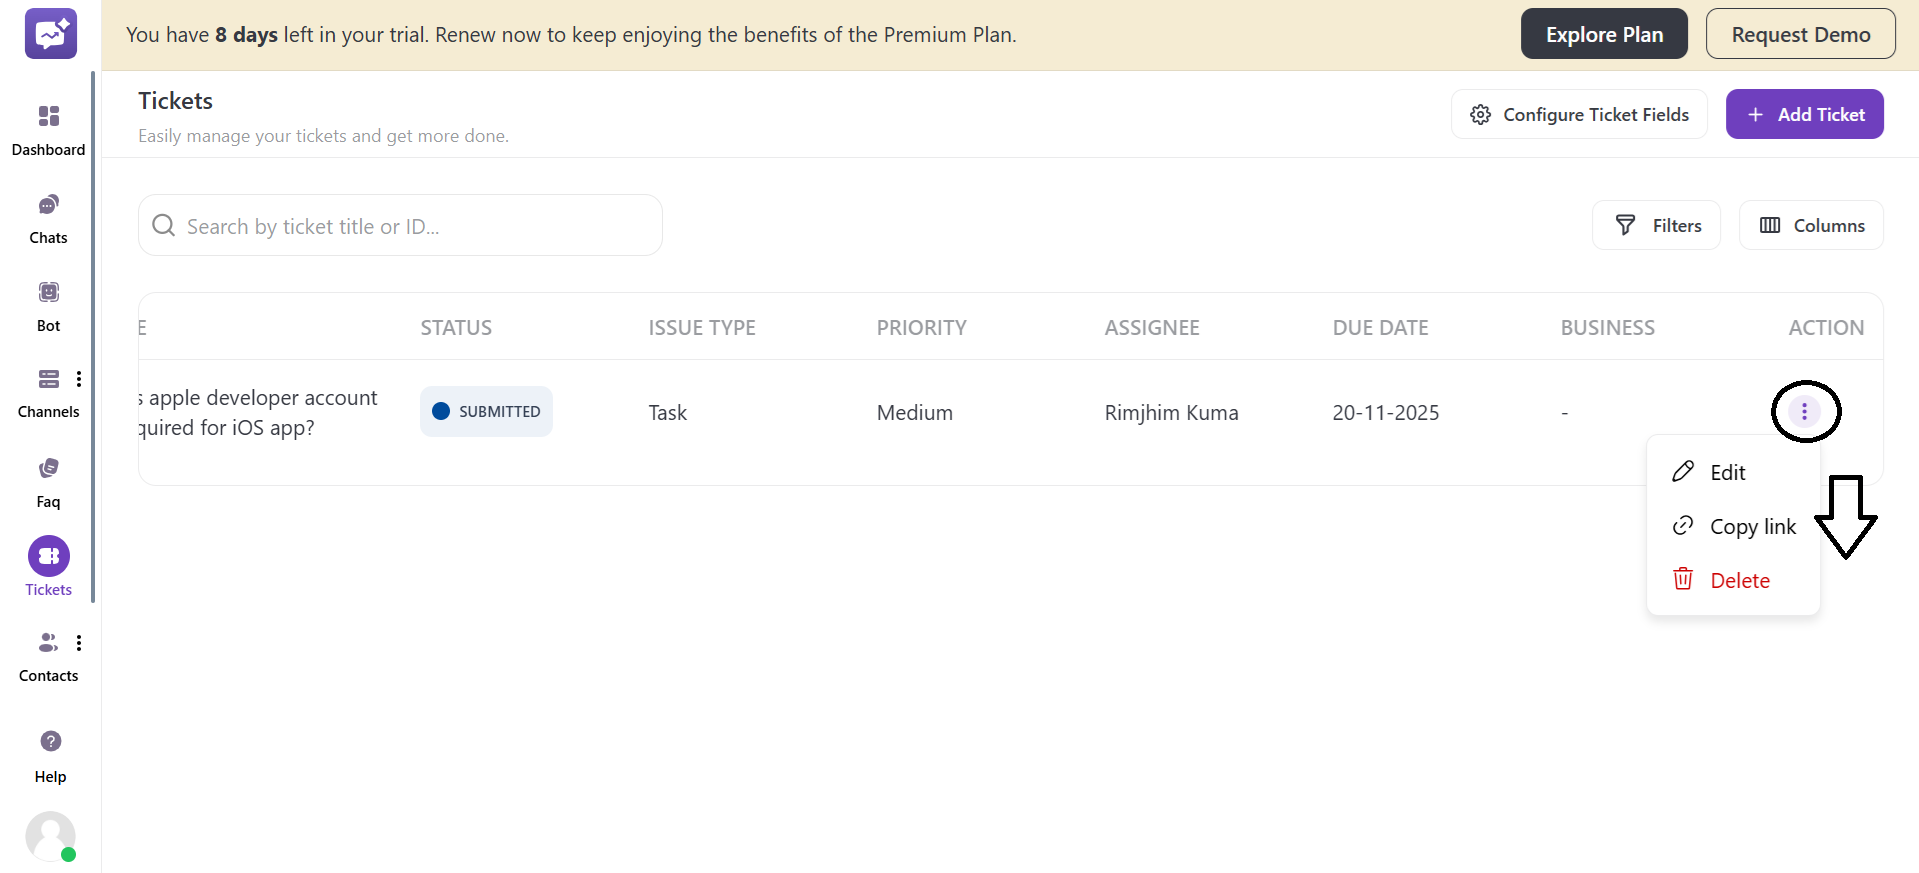
- Edit Ticket
1. Details
You can edit the all the details of the ticket including title, description, attachments and many more.
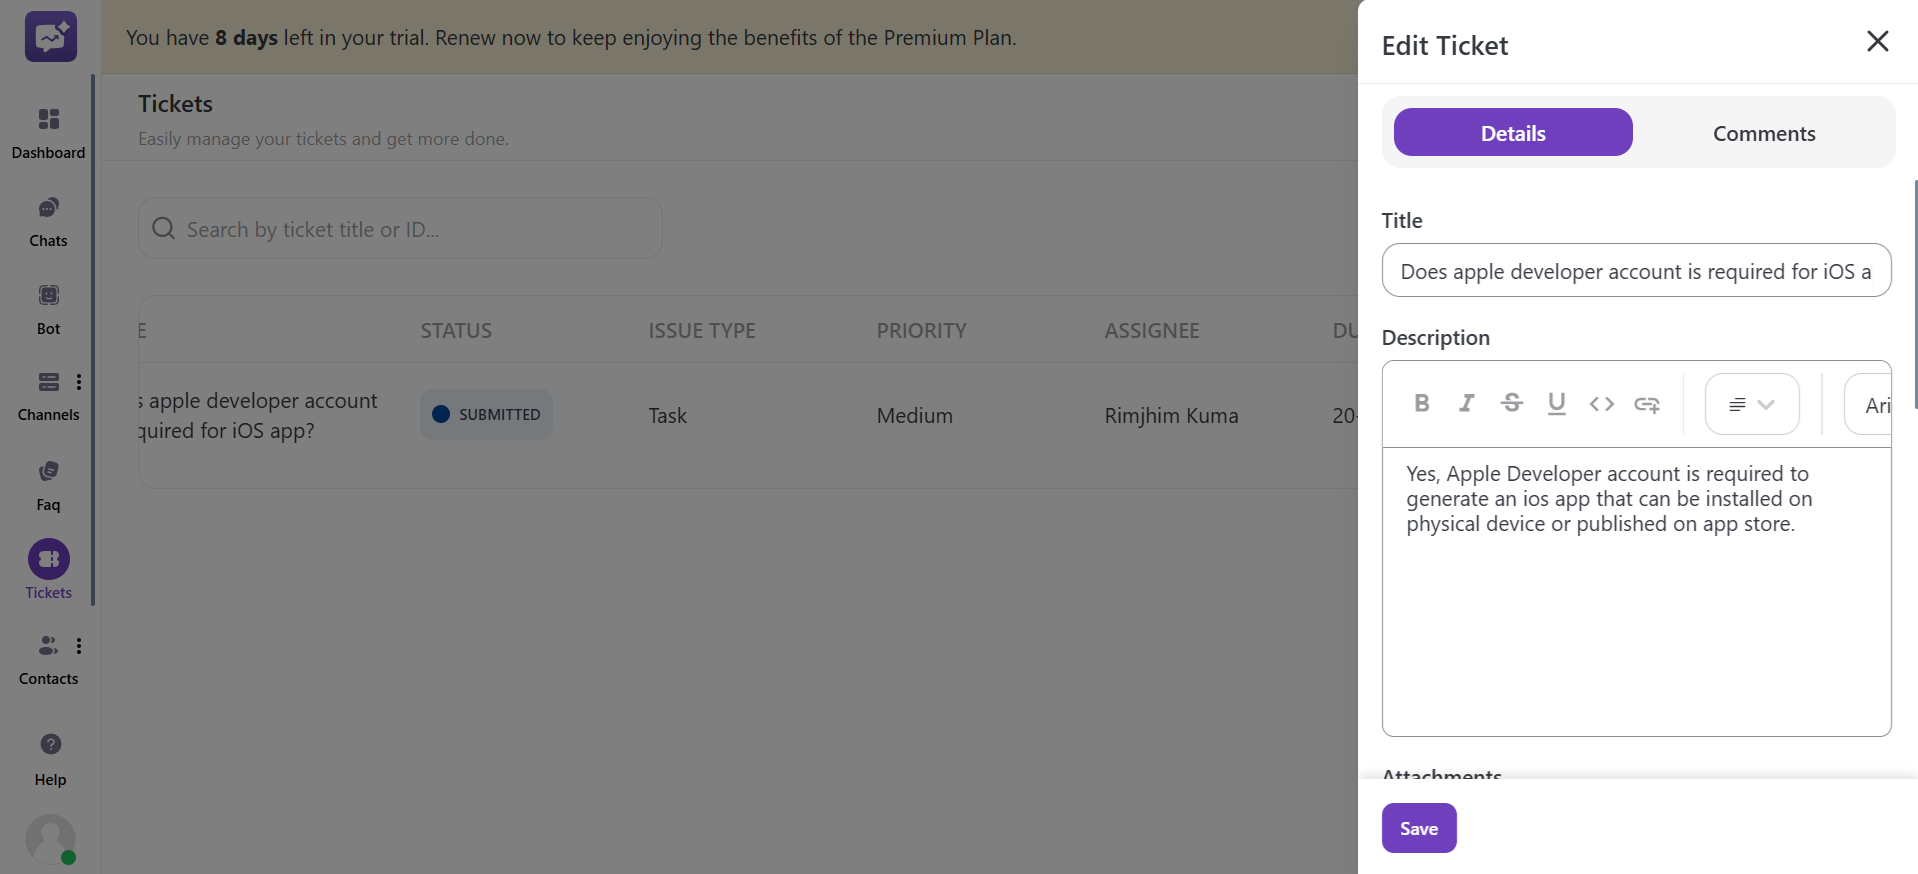
2. Comments
In Comments section, you can communicate seamlessly within a ticket by adding updates, clarifications, or follow-up information.

- Copy Link
You can copy the link of the particular ticket to share it with admin user ensuring effective communication.
- Delete
You can delete a particular ticket from the list of tickets.
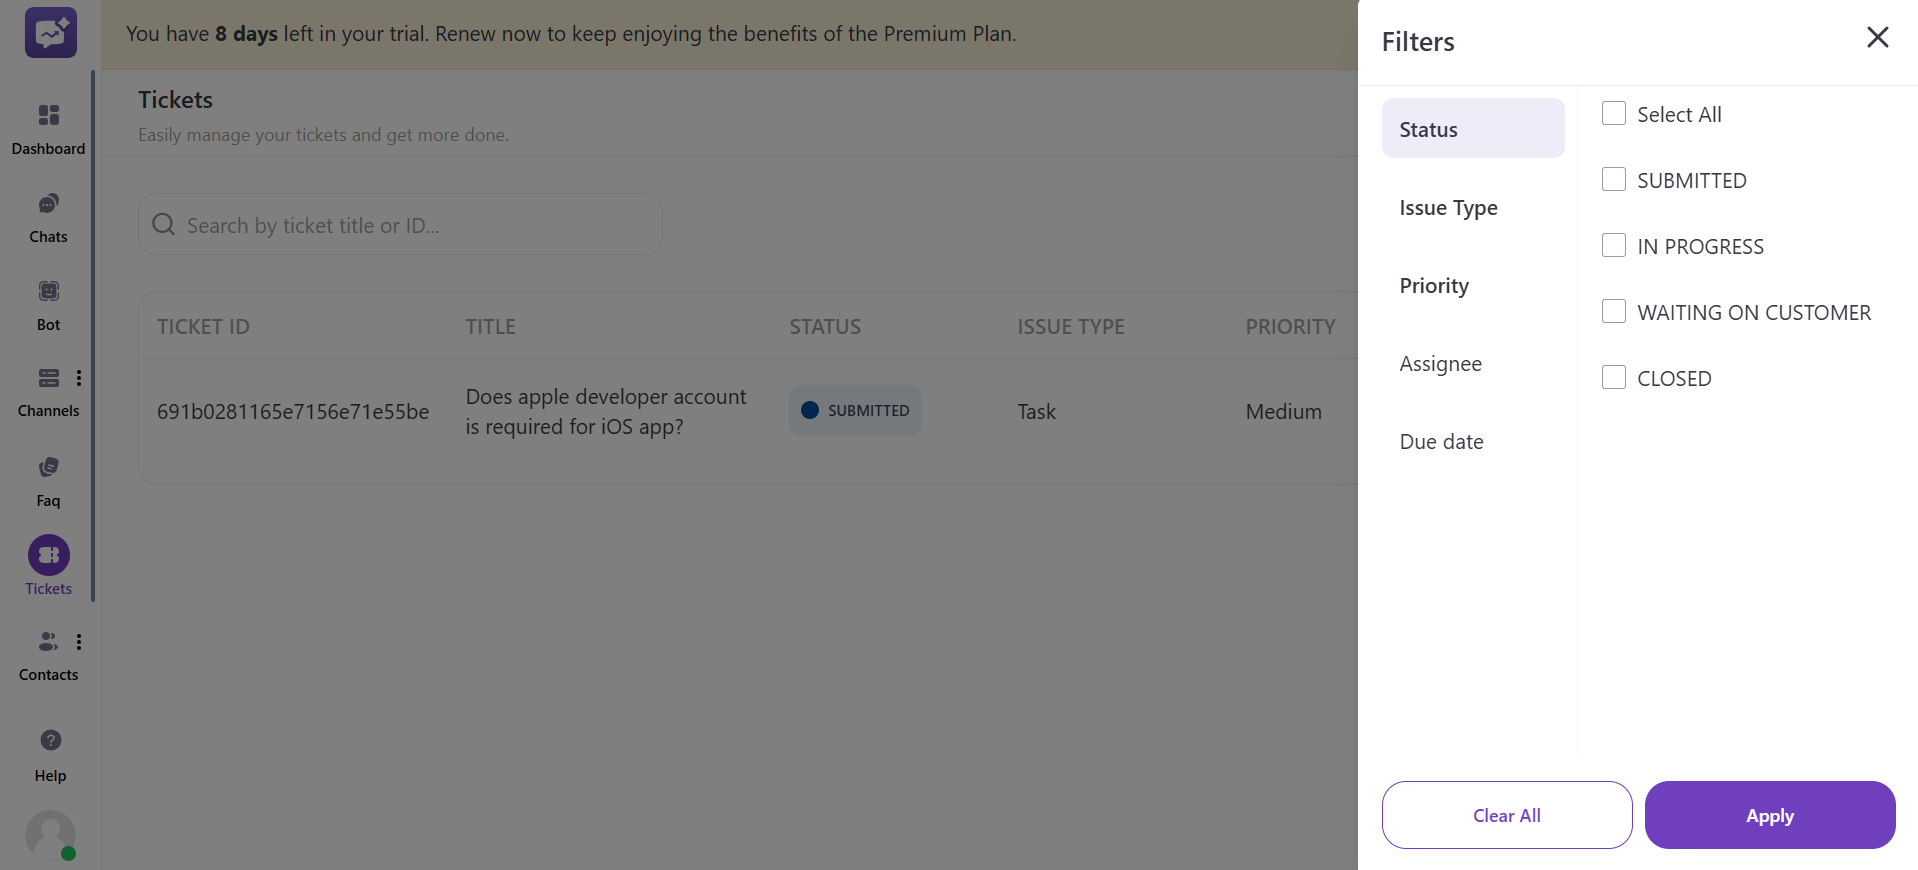
4. Filters
Filters allow you to filter tickets based on the selected criteria. You can select the different criteria and the filters that are given.
-
Status
-
Issue Type
-
Priority
-
Assignee
-
Due Date
-
Business
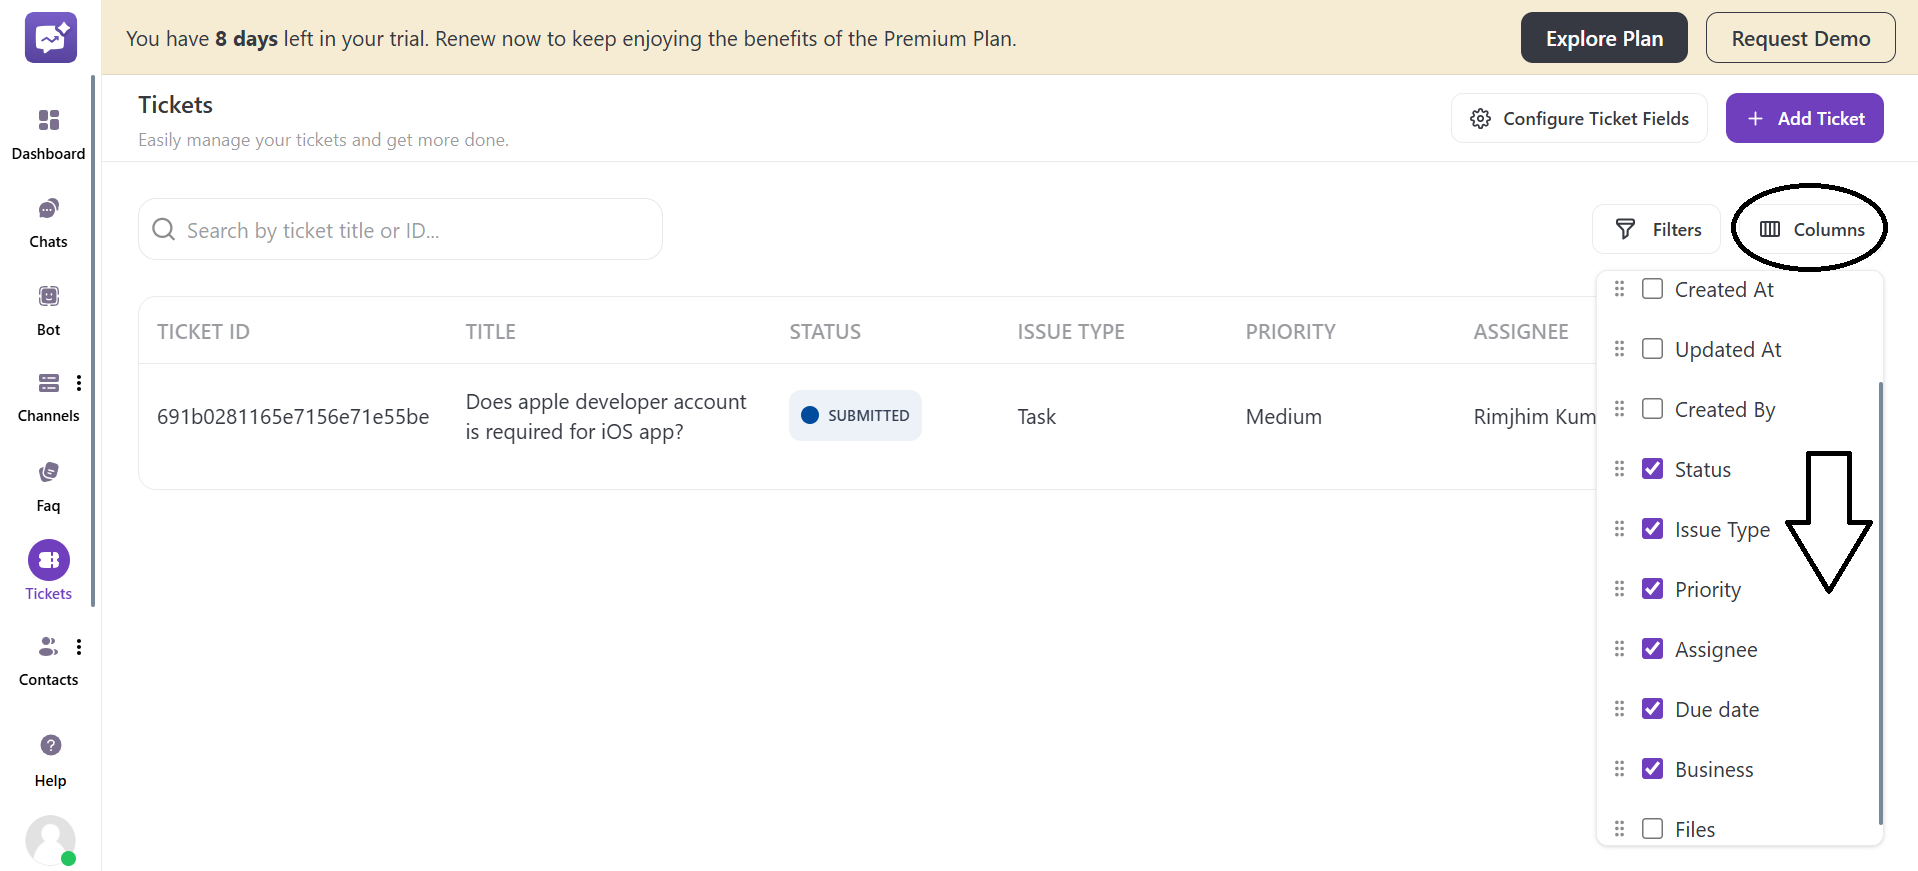
5. Columns
The Columns section allows you to select which data fields are displayed in the ticket list. You can select from the fields listed below:
-
Ticket ID (Default)
-
Title (Default)
-
Created At
-
Updated At
-
Created By
-
Status
-
Issue Type
-
Priority
-
Assignee
-
Due date
-
Business
-
Files
-
Phone Number (Created Field)

