Bot
Build your own chatbot and provide personalised experience to your customers.
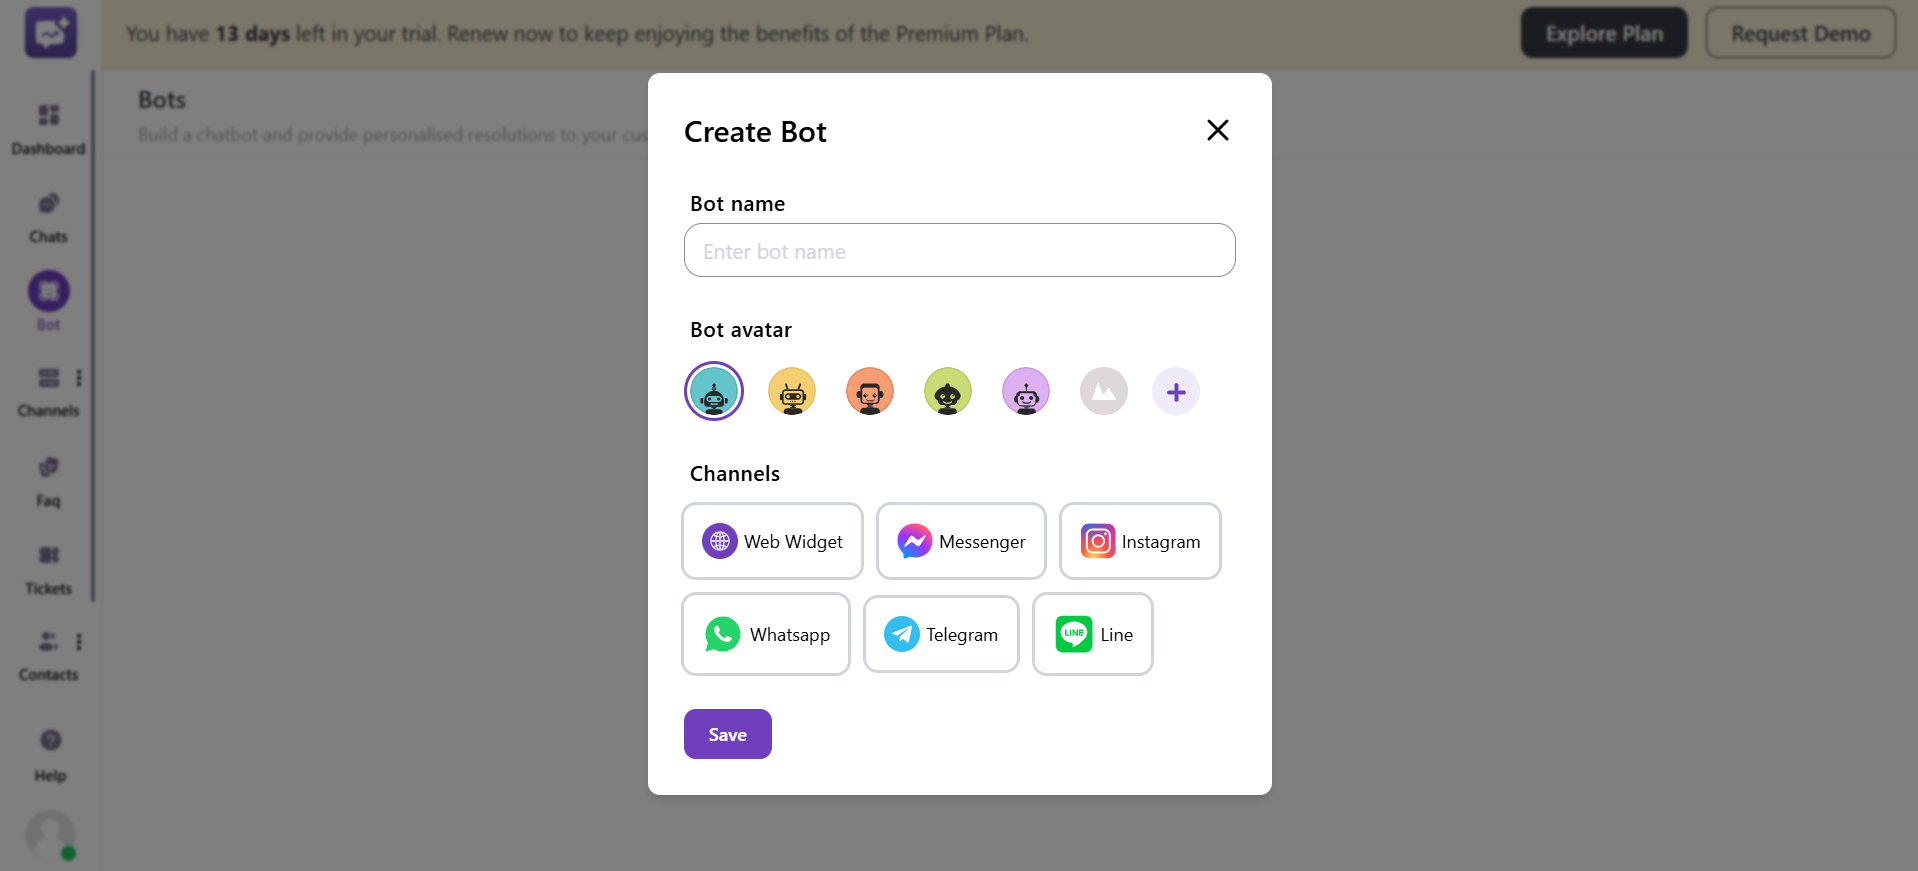
- Click on + Create Bot.

-
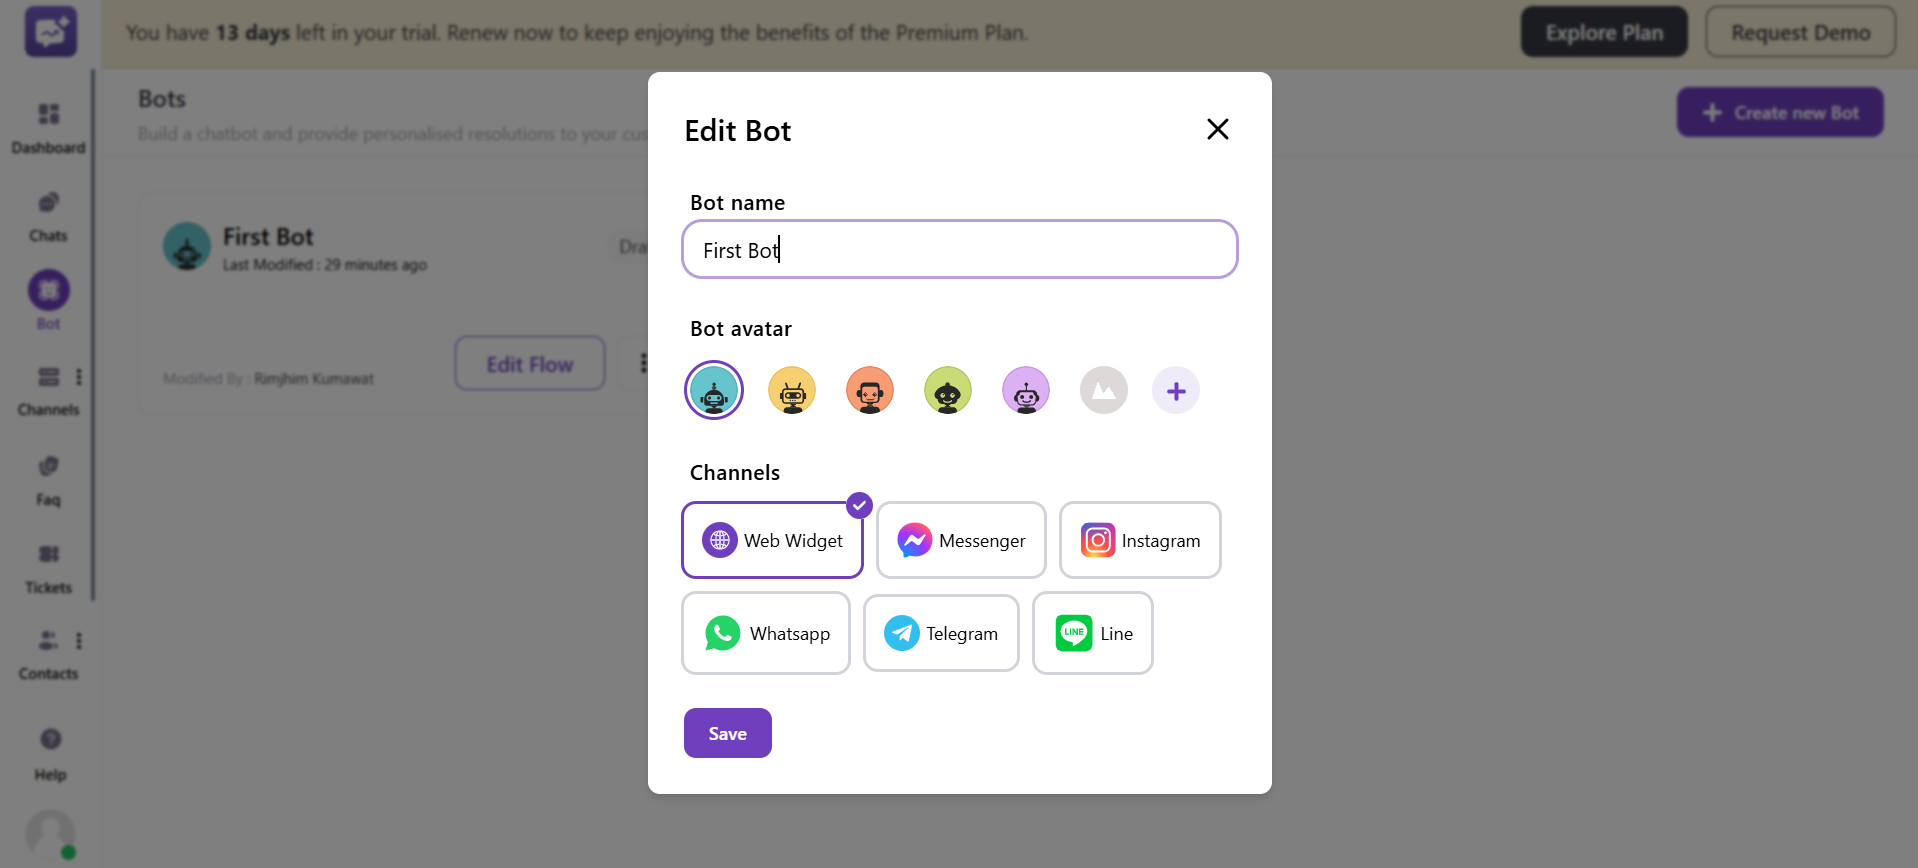
Bot Name: Enter the name of the chatbot.
-
Bot Avatar: You can choose an icon or upload an image. The image uploaded should be below 200 KB.
-
Channels: It allows you to select where your chatbot will operate. You can select multiple channels at one time.
- Web Widget - Messenger - Instagram - Whatsapp - Telegram - LINE
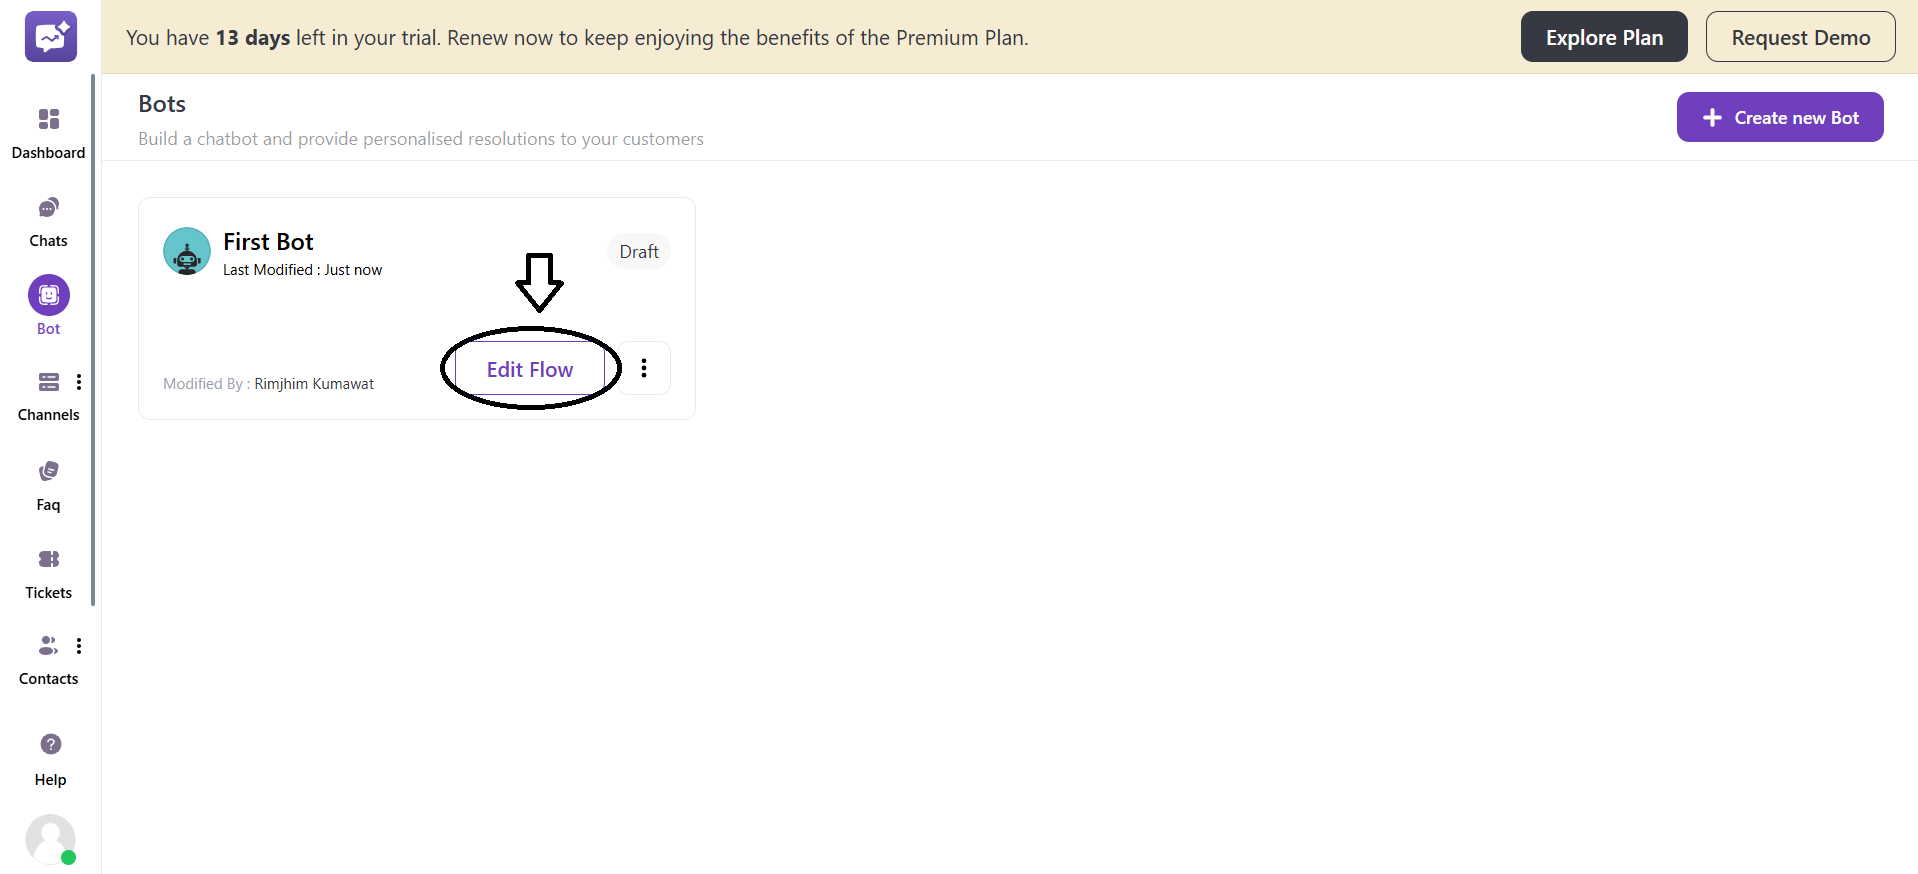
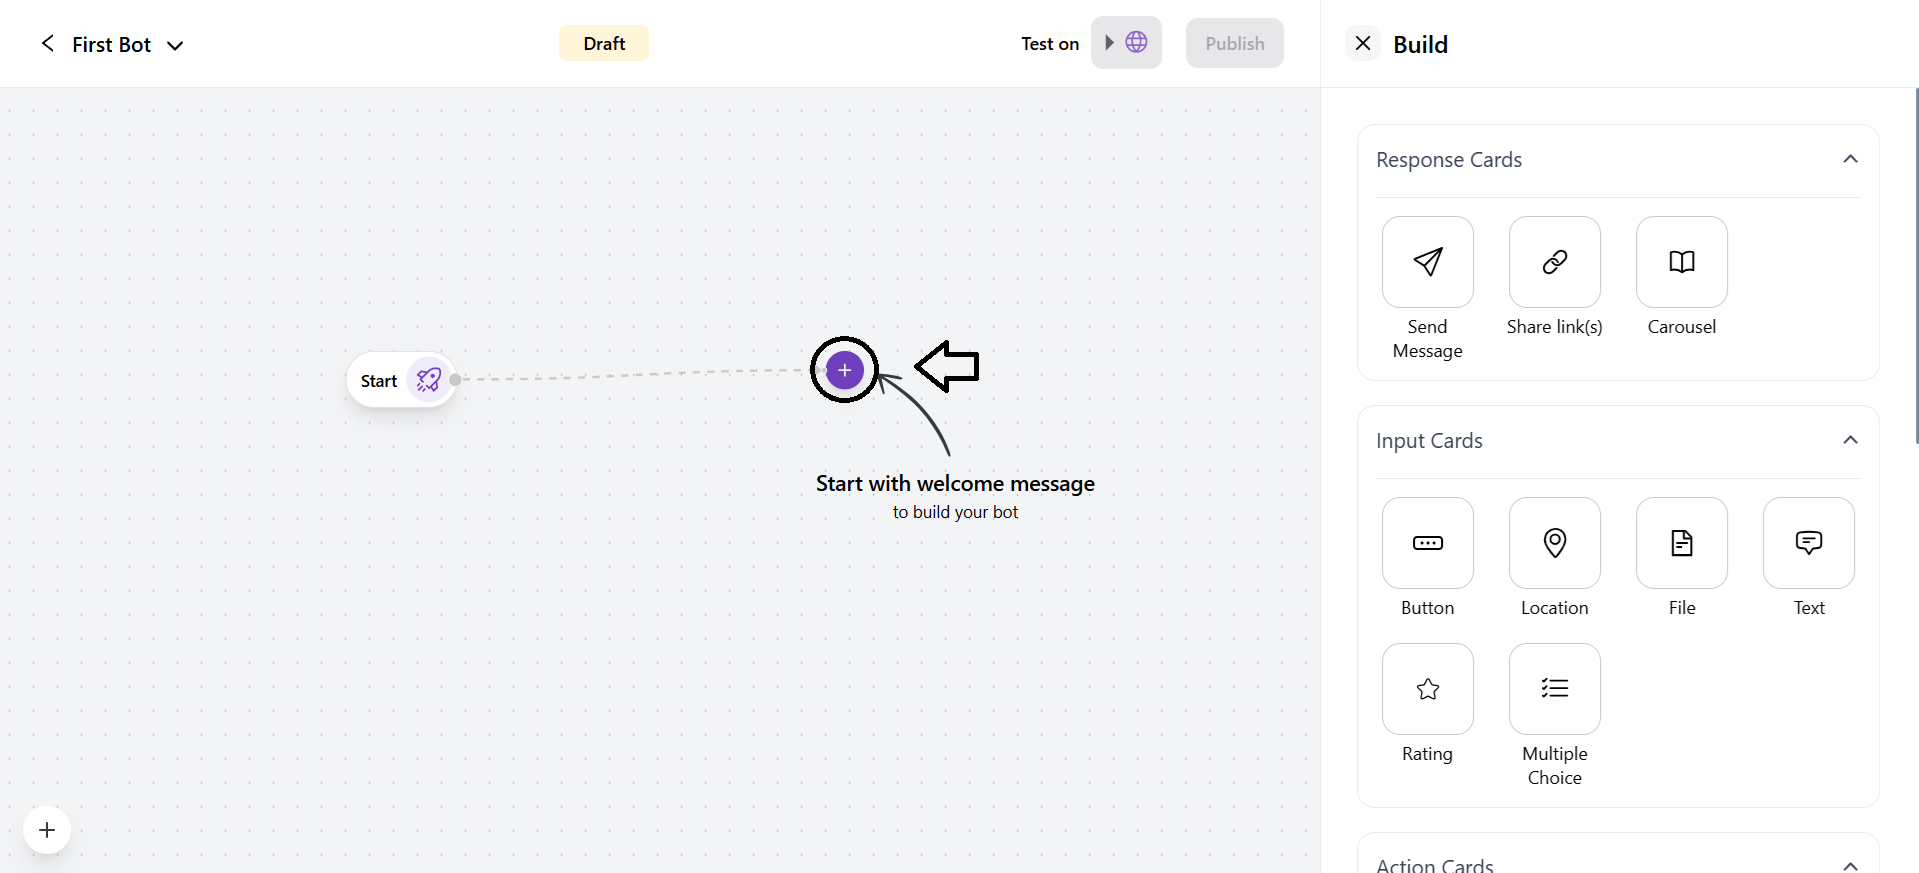
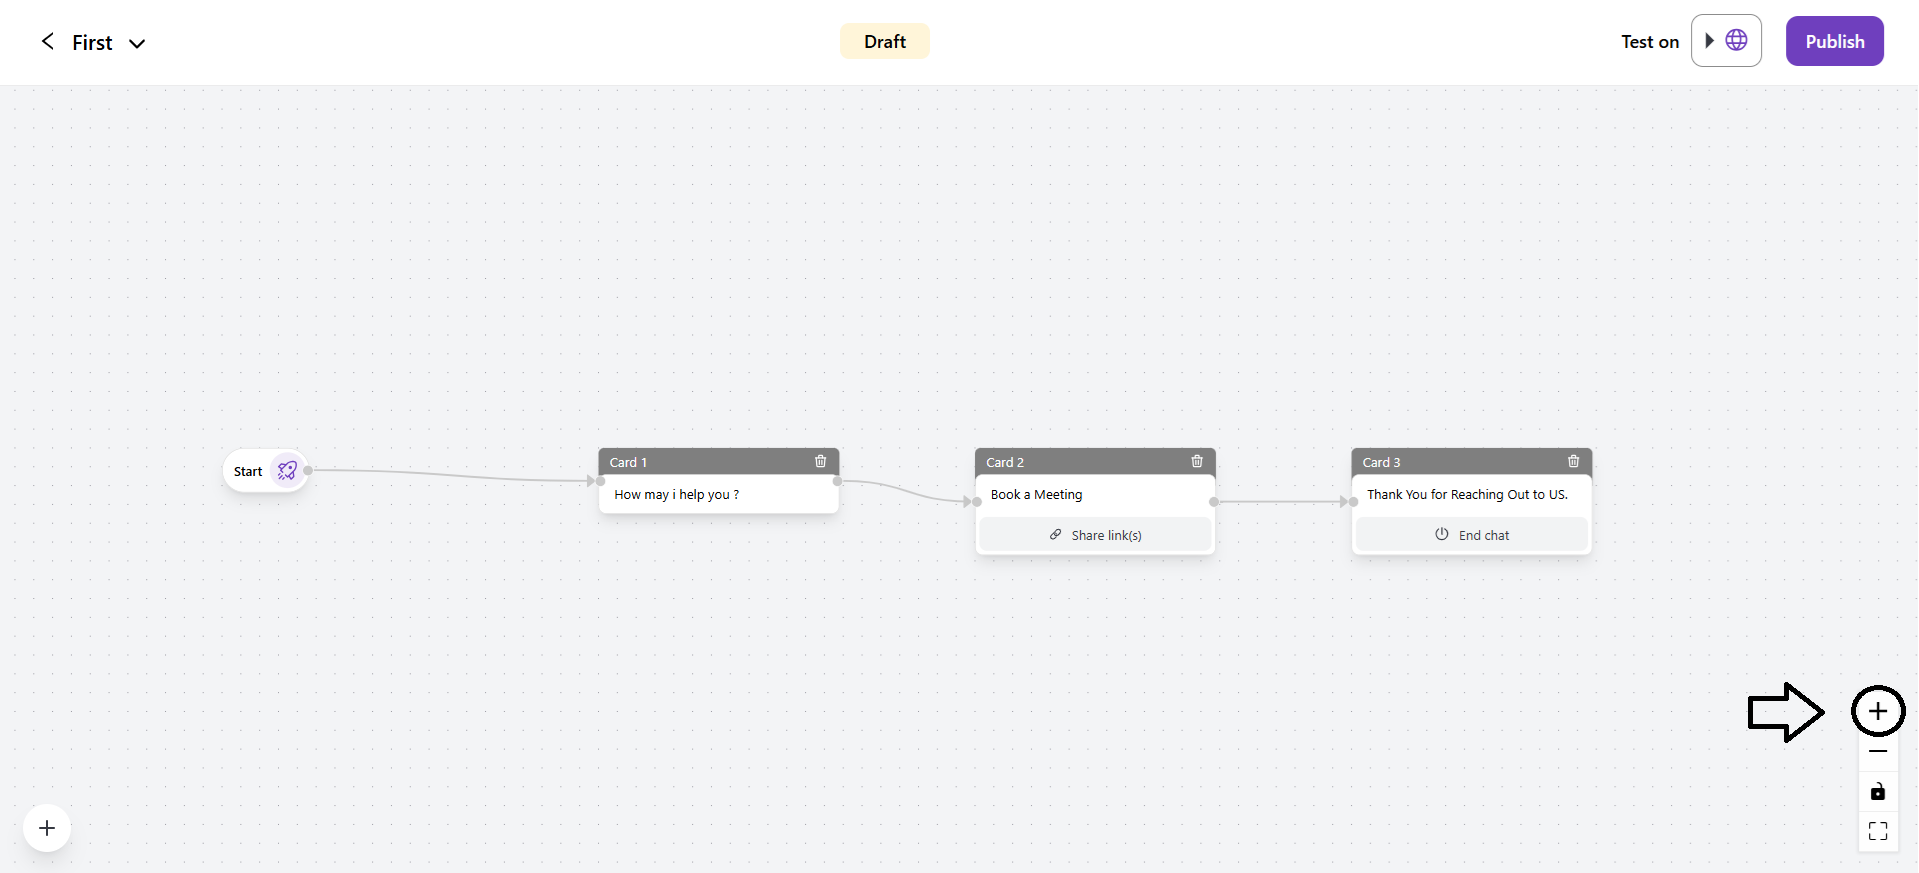
- Edit Flow: You can edit the flow of your bot.
- The Start node is created by default.
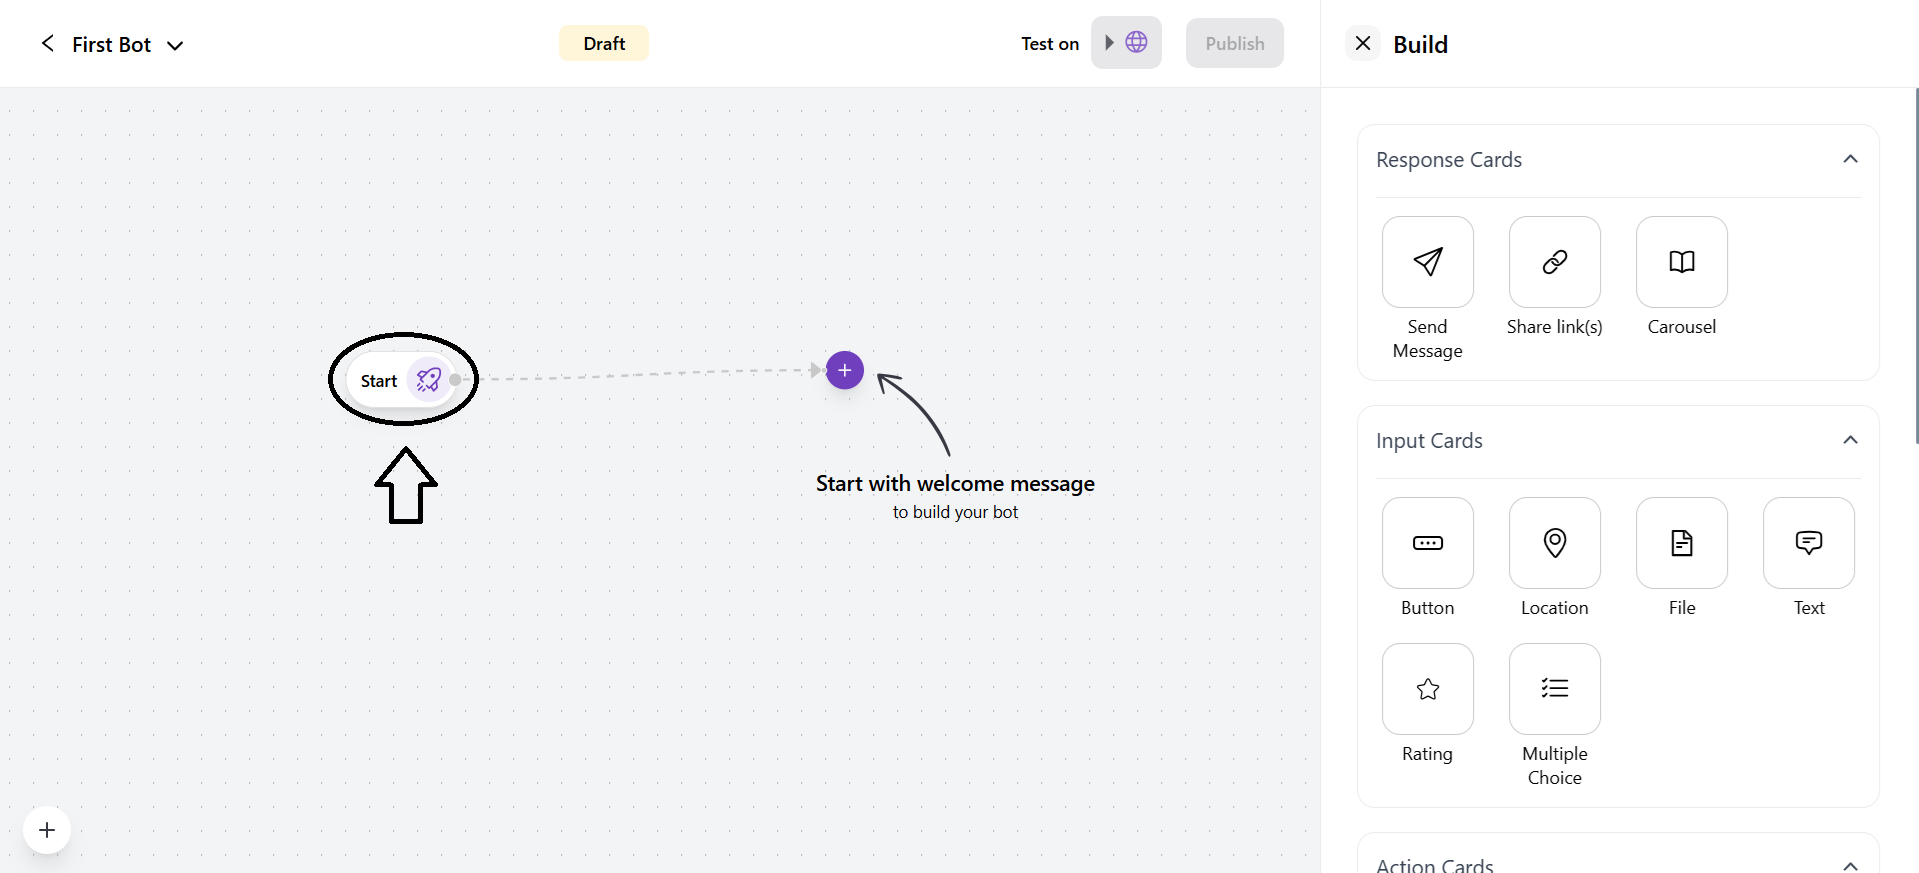
- As you click on the + icon, you can add various cards.
- More Options
1. Edit: It allows you to edit the bot name, avatar and channels.
2. Settings
- Response Interval: It refers to the time it takes for your chatbot to respond after a customer sends a message.
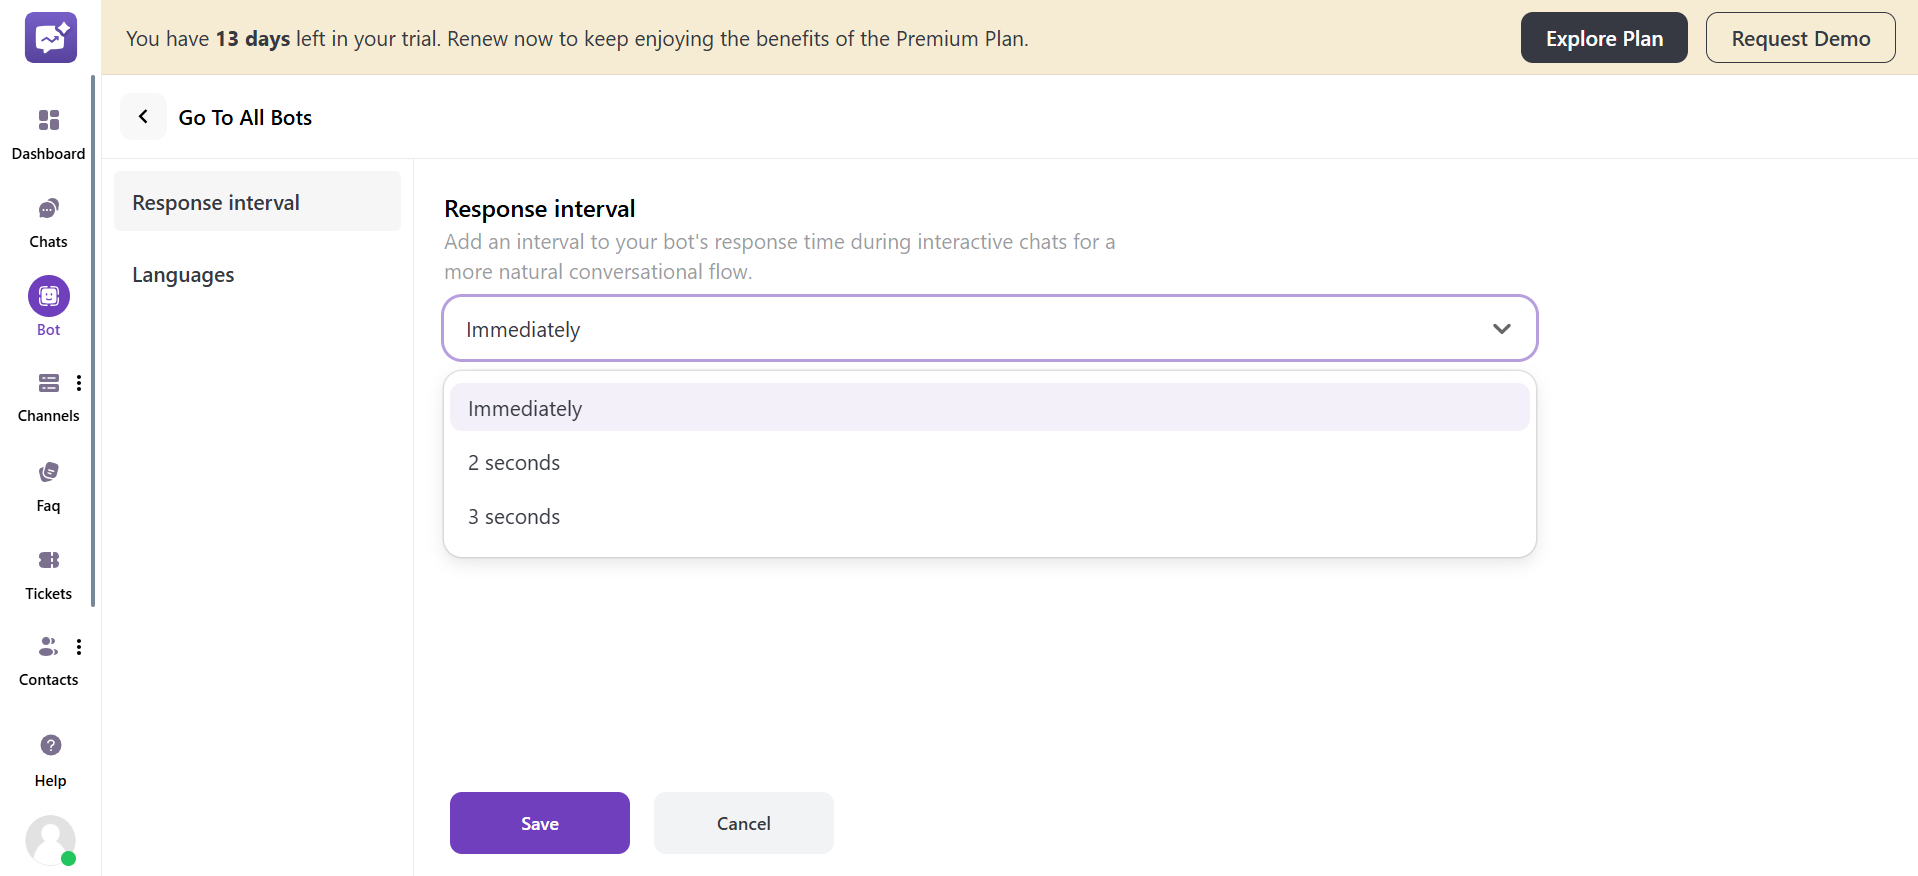
There are three response intervals available: 1. Immediately 2. 2 Seconds 3. 3 seconds
- Languages: You can manage the bots' responses with multiple languages.
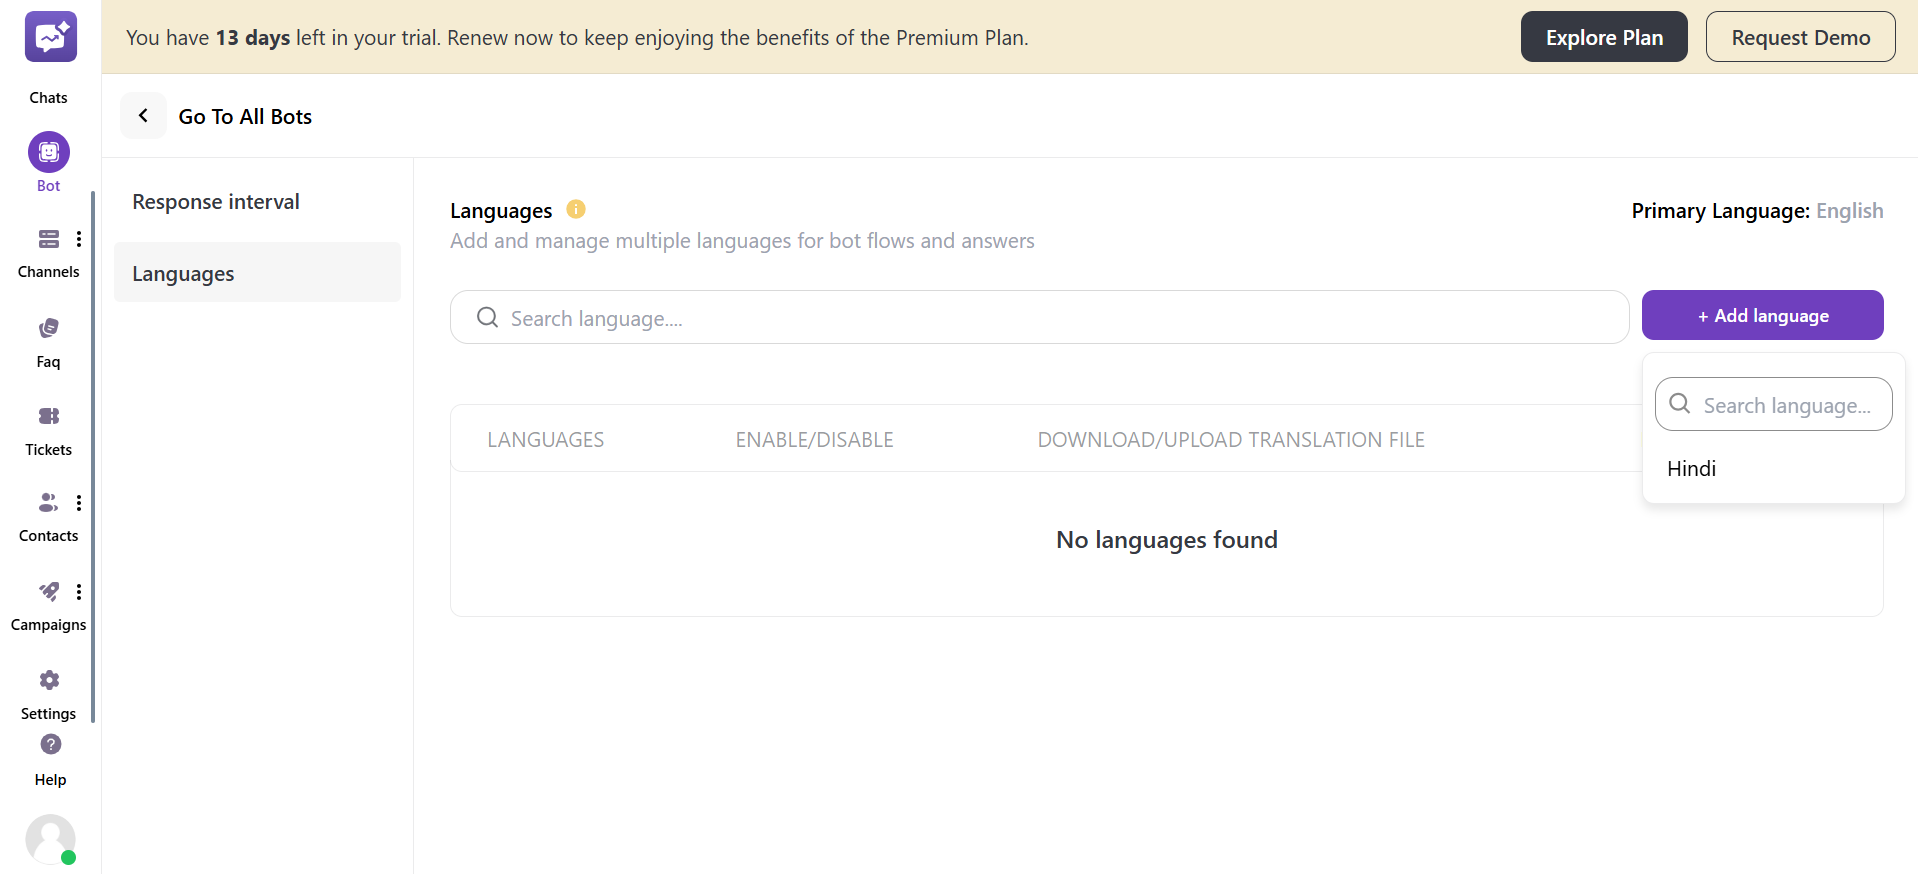
You can click on + Add Language to add a language in the section. Make sure you have added the languages in the settings also.
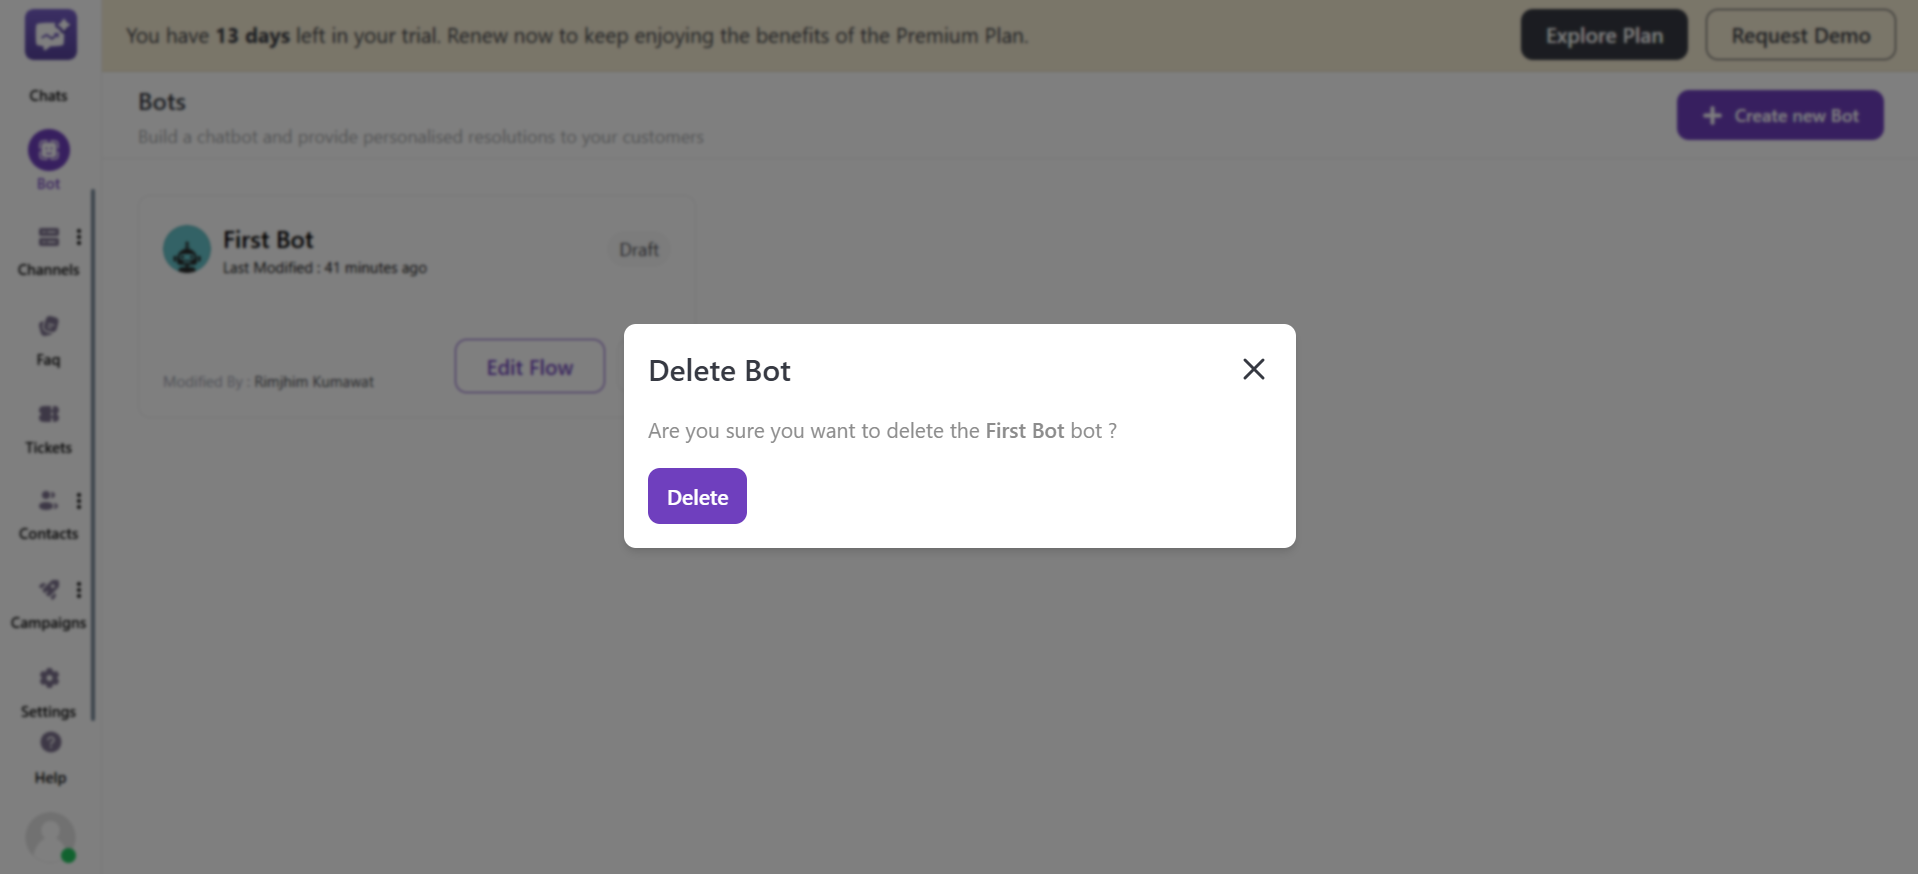
3. Delete: You can delete a particular chatbot from this button. If the bot is already assigned to a channel, then that bot will not be deleted.
- After creating the complete bot flow, follow the below instructions.
1. Test On: You can test the bot flow from your end.
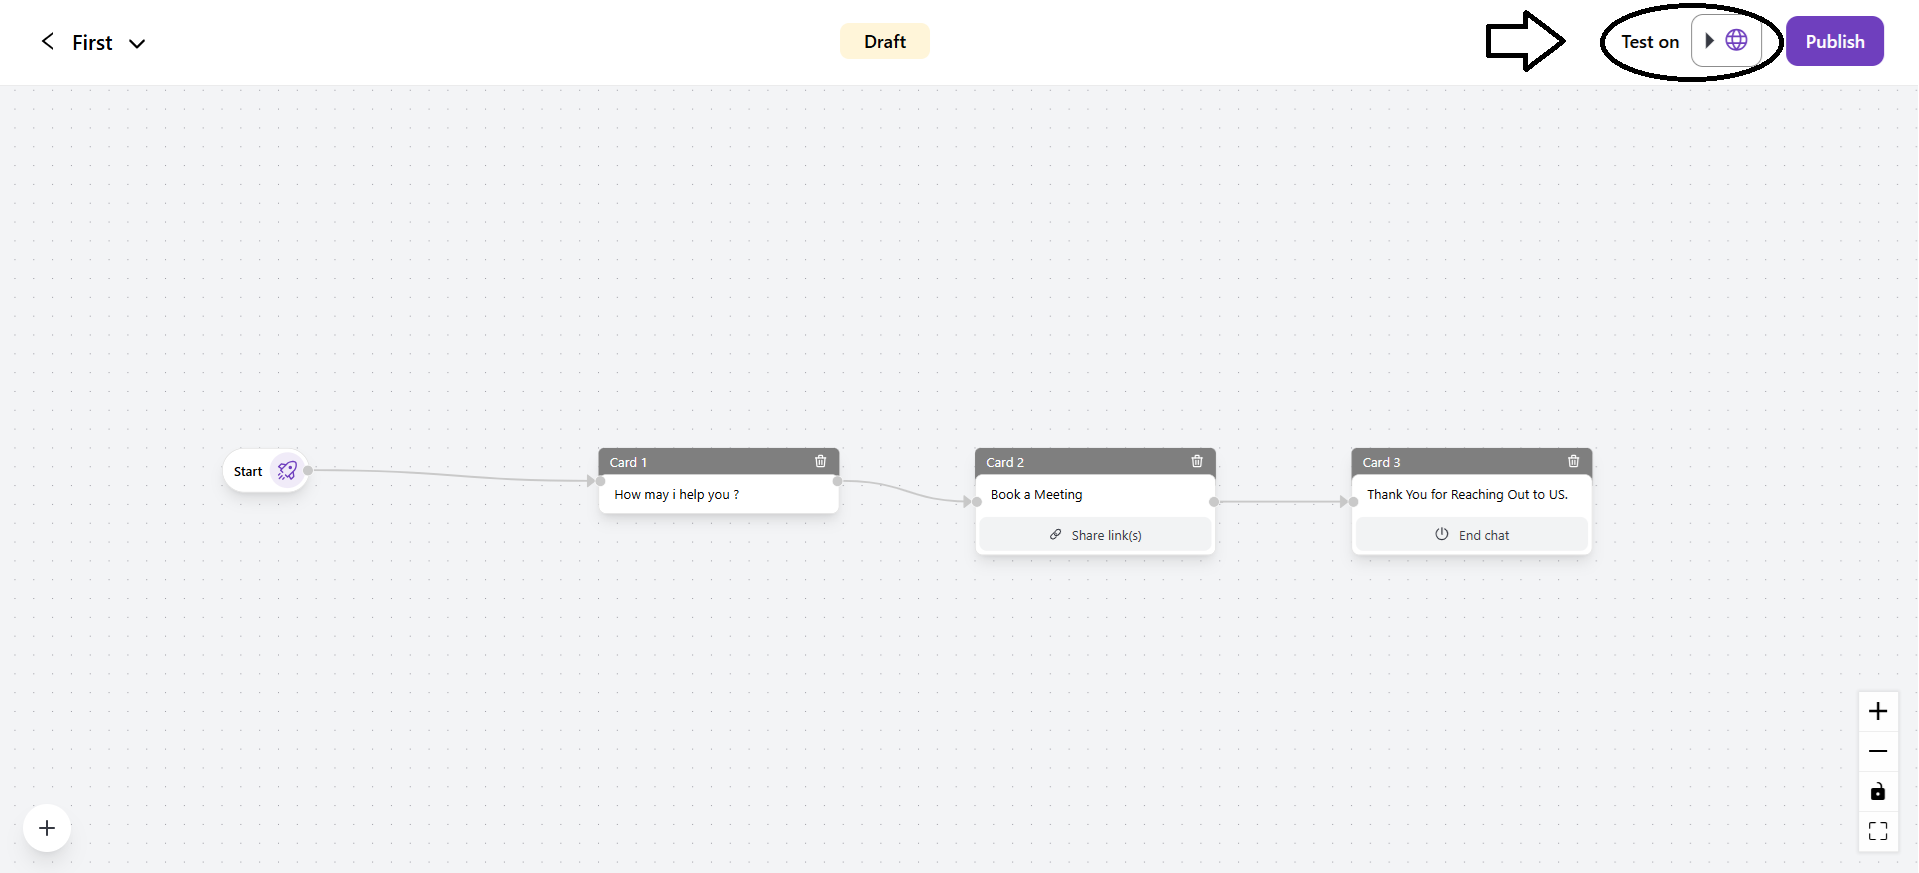
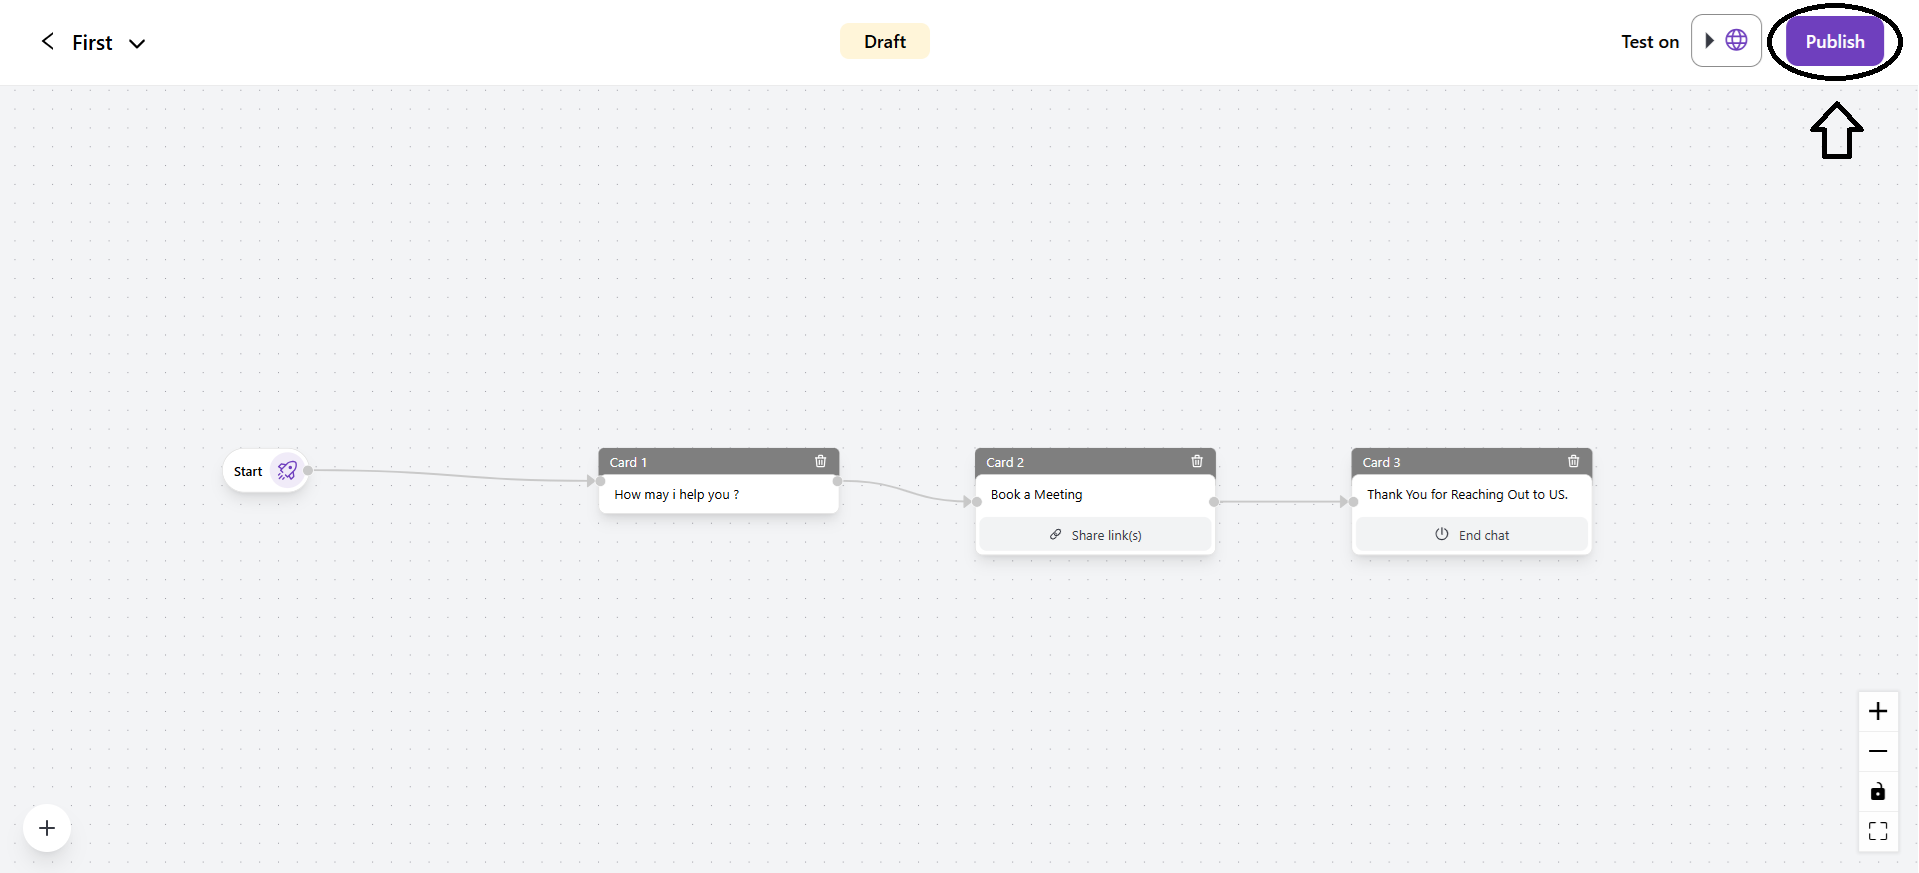
2. Publish: You can publish the bot after testing to ensure everything functions accordingly.
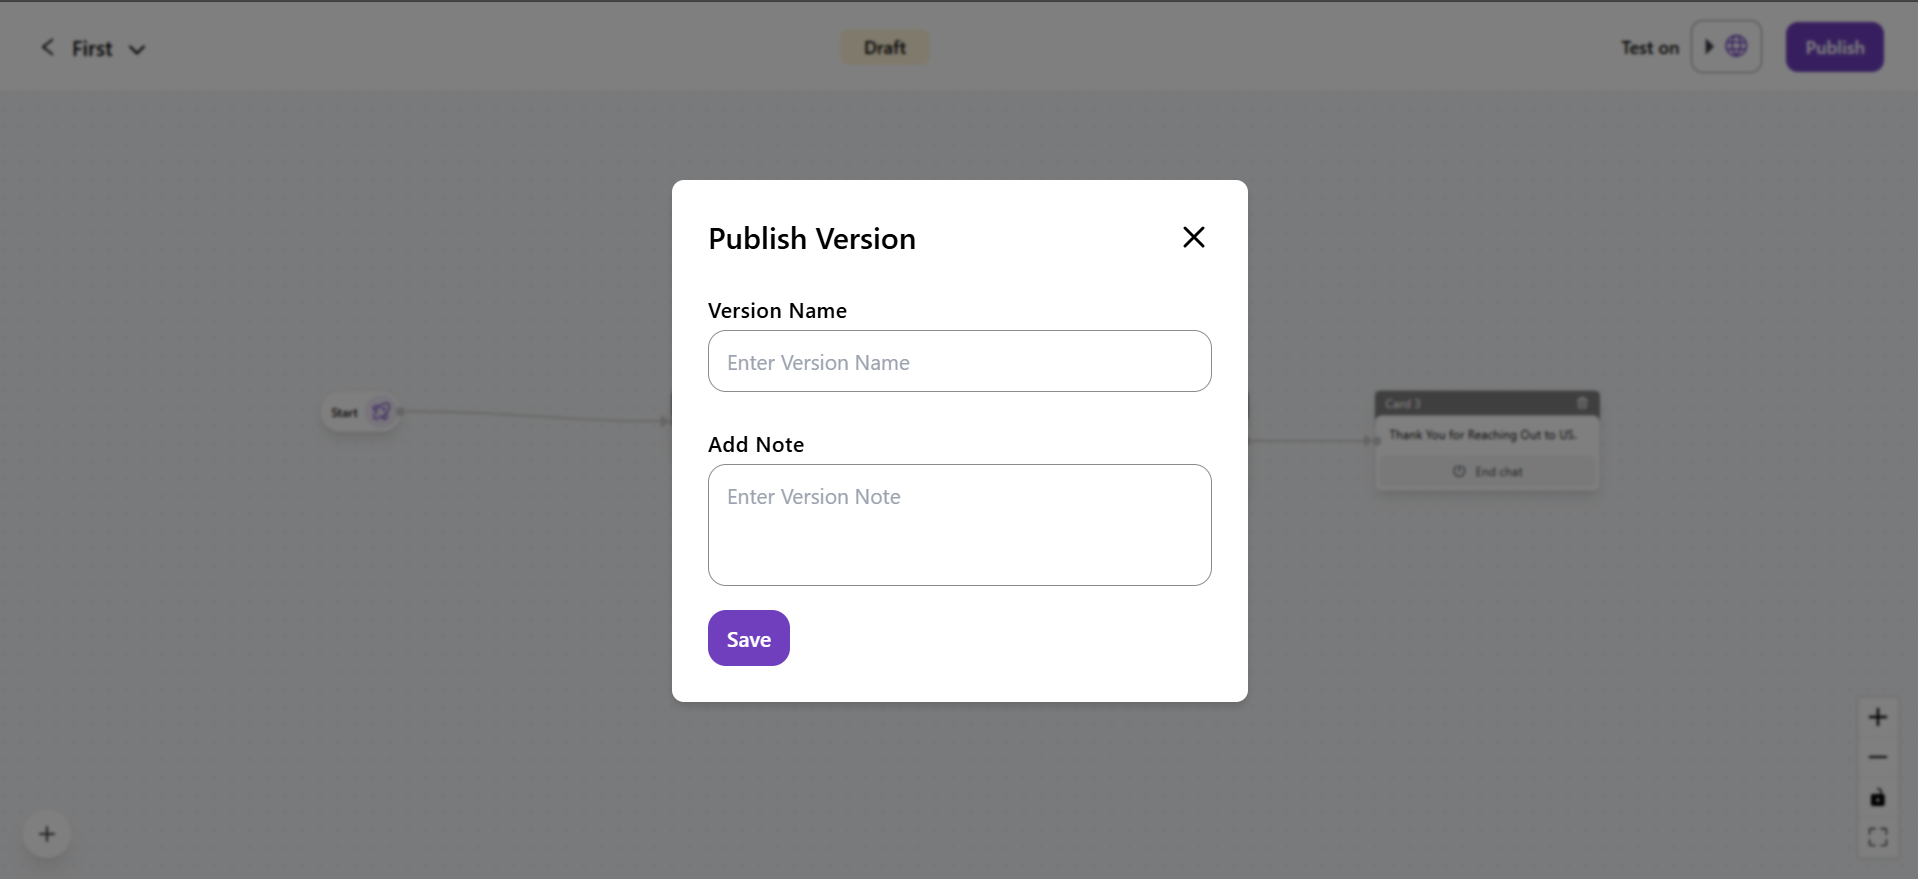
- Publish Version: You have to enter the publishing version name with a note.
3. More Options
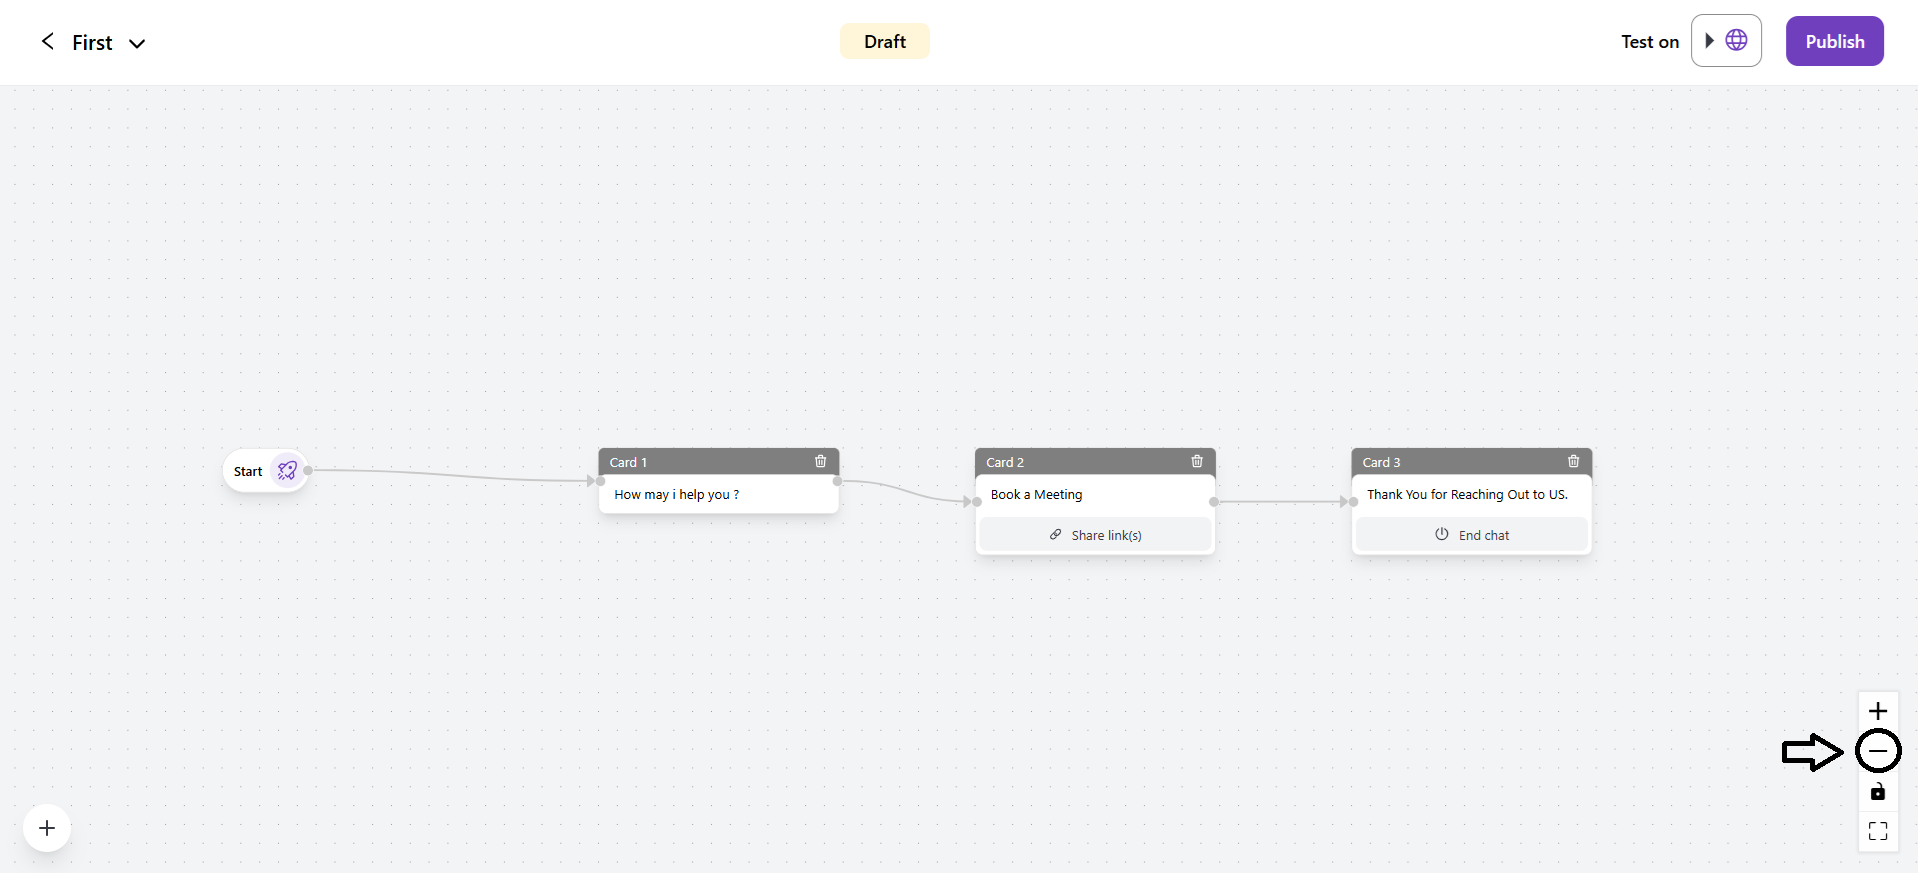
- +: You can click on this icon to zoom in on the bot flow.
- -: You can click on this icon to zoom out the bot flow.
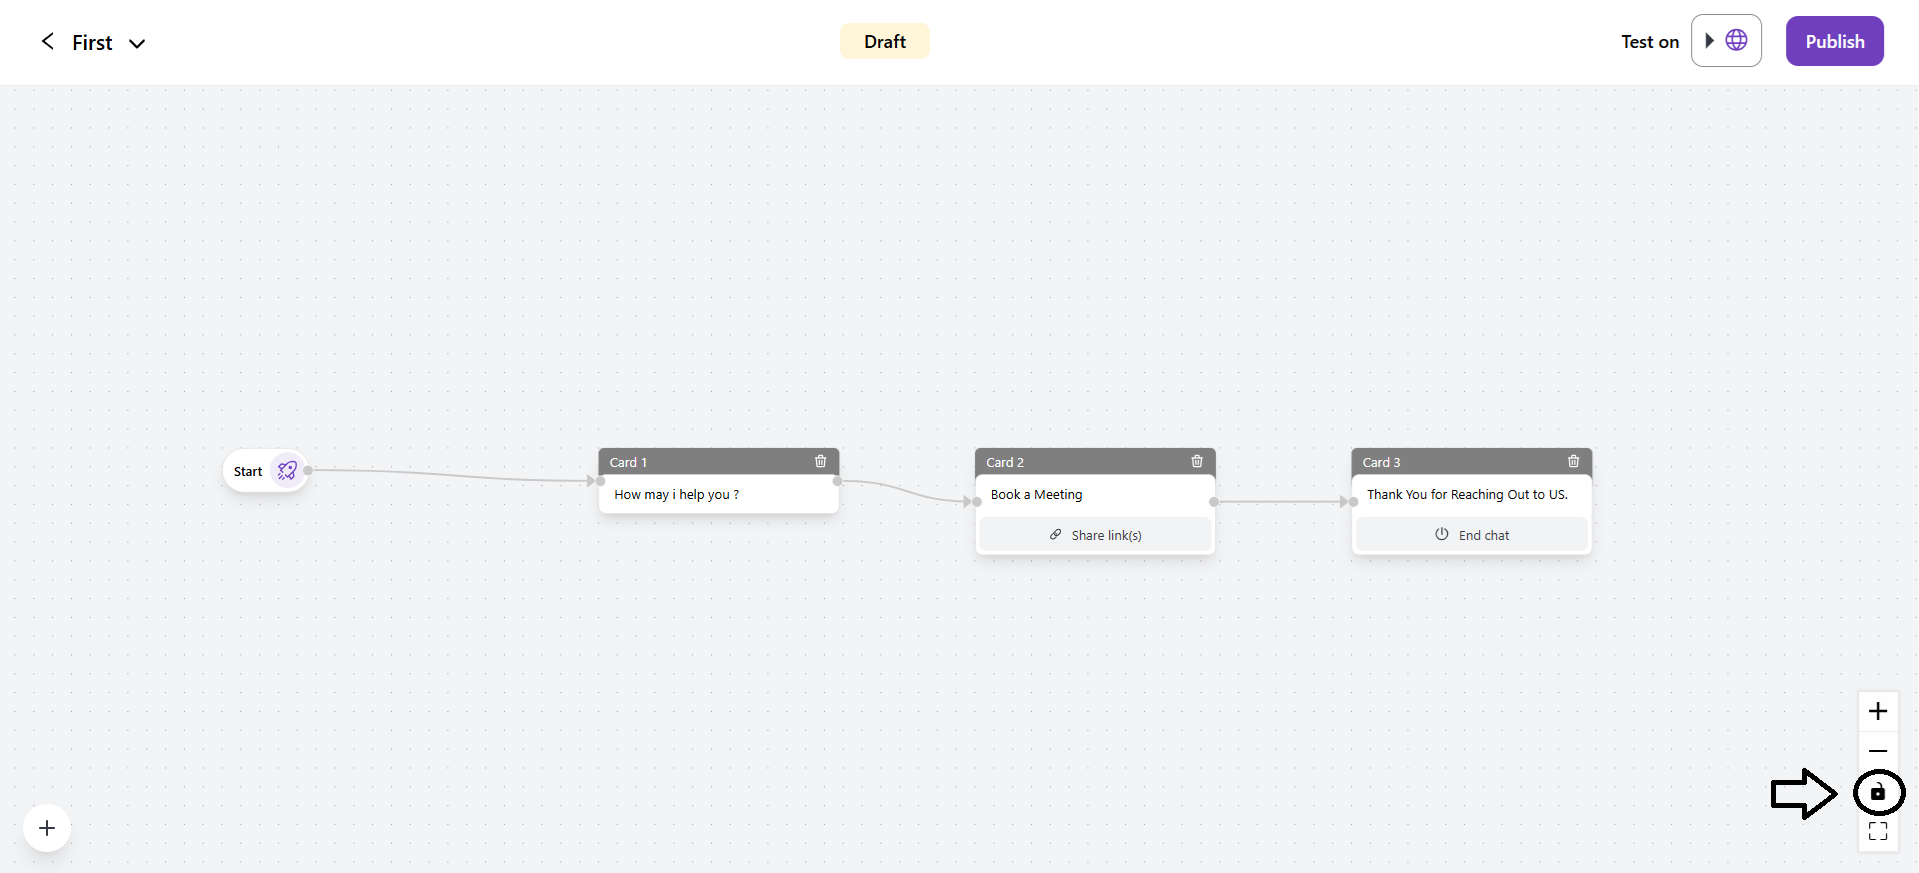
- Lock: You can lock the bot flow.
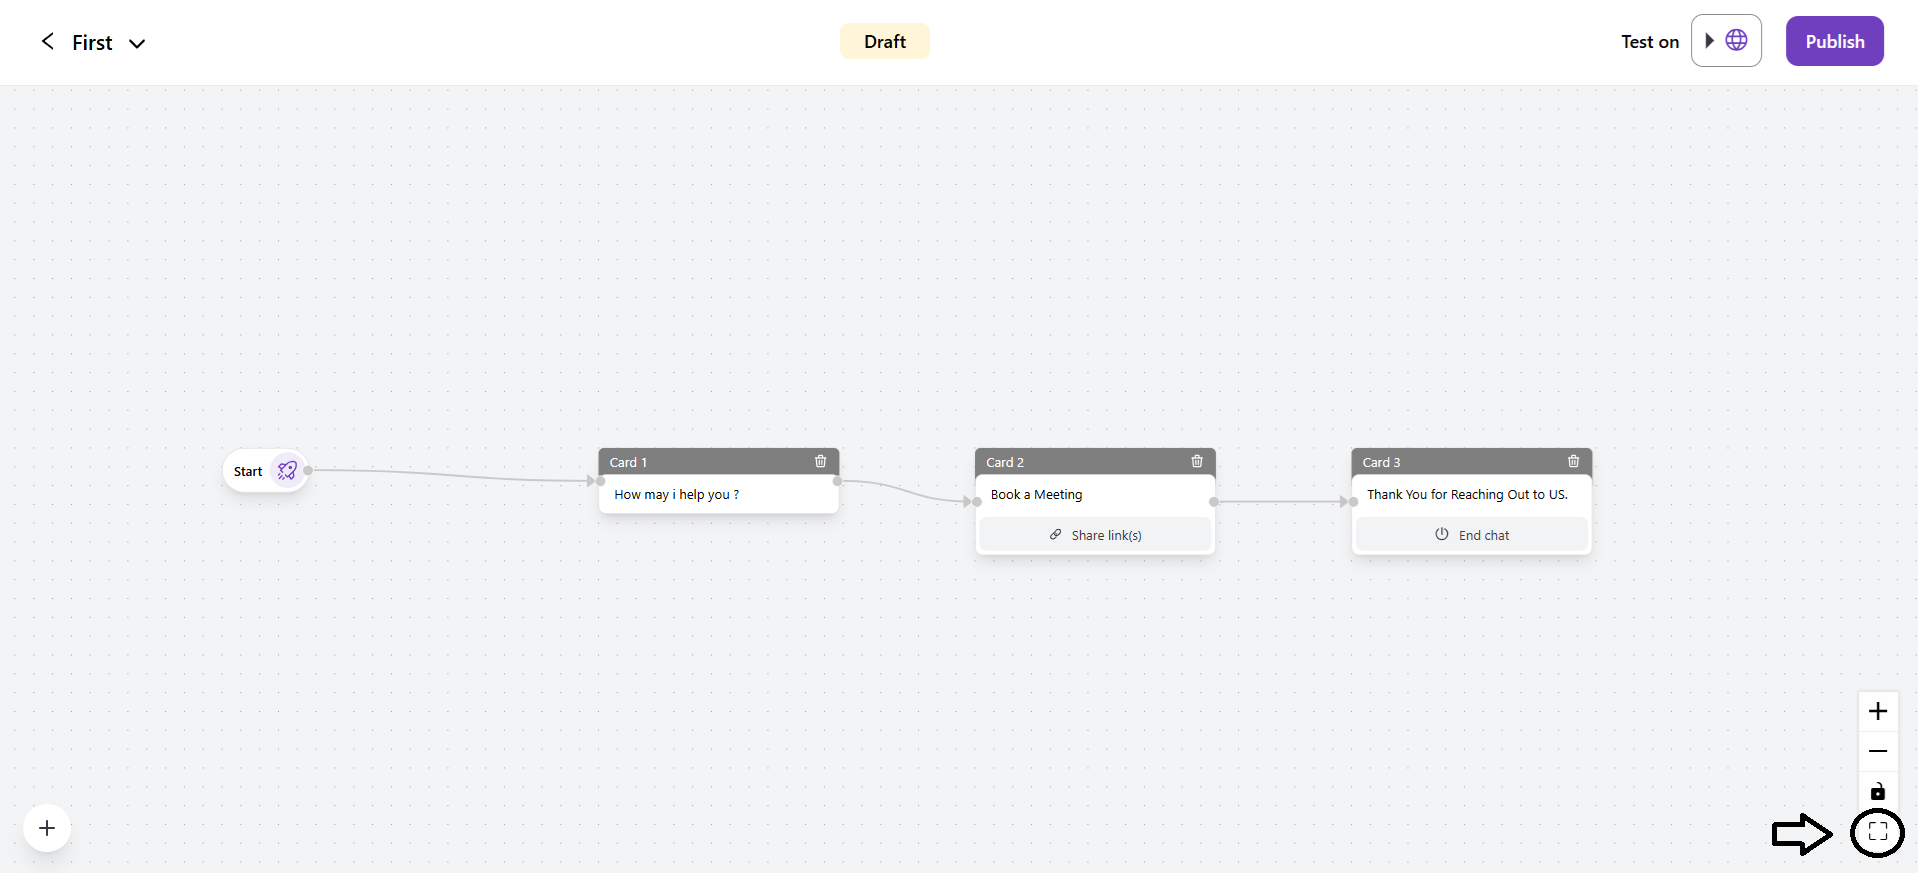
- Full Screen: You can view the complete bot flow in full screen.
- Show Version History
It shows all the previously saved versions of your chatbot flow. You can view all the changes that were made earlier and restore the older version if needed.
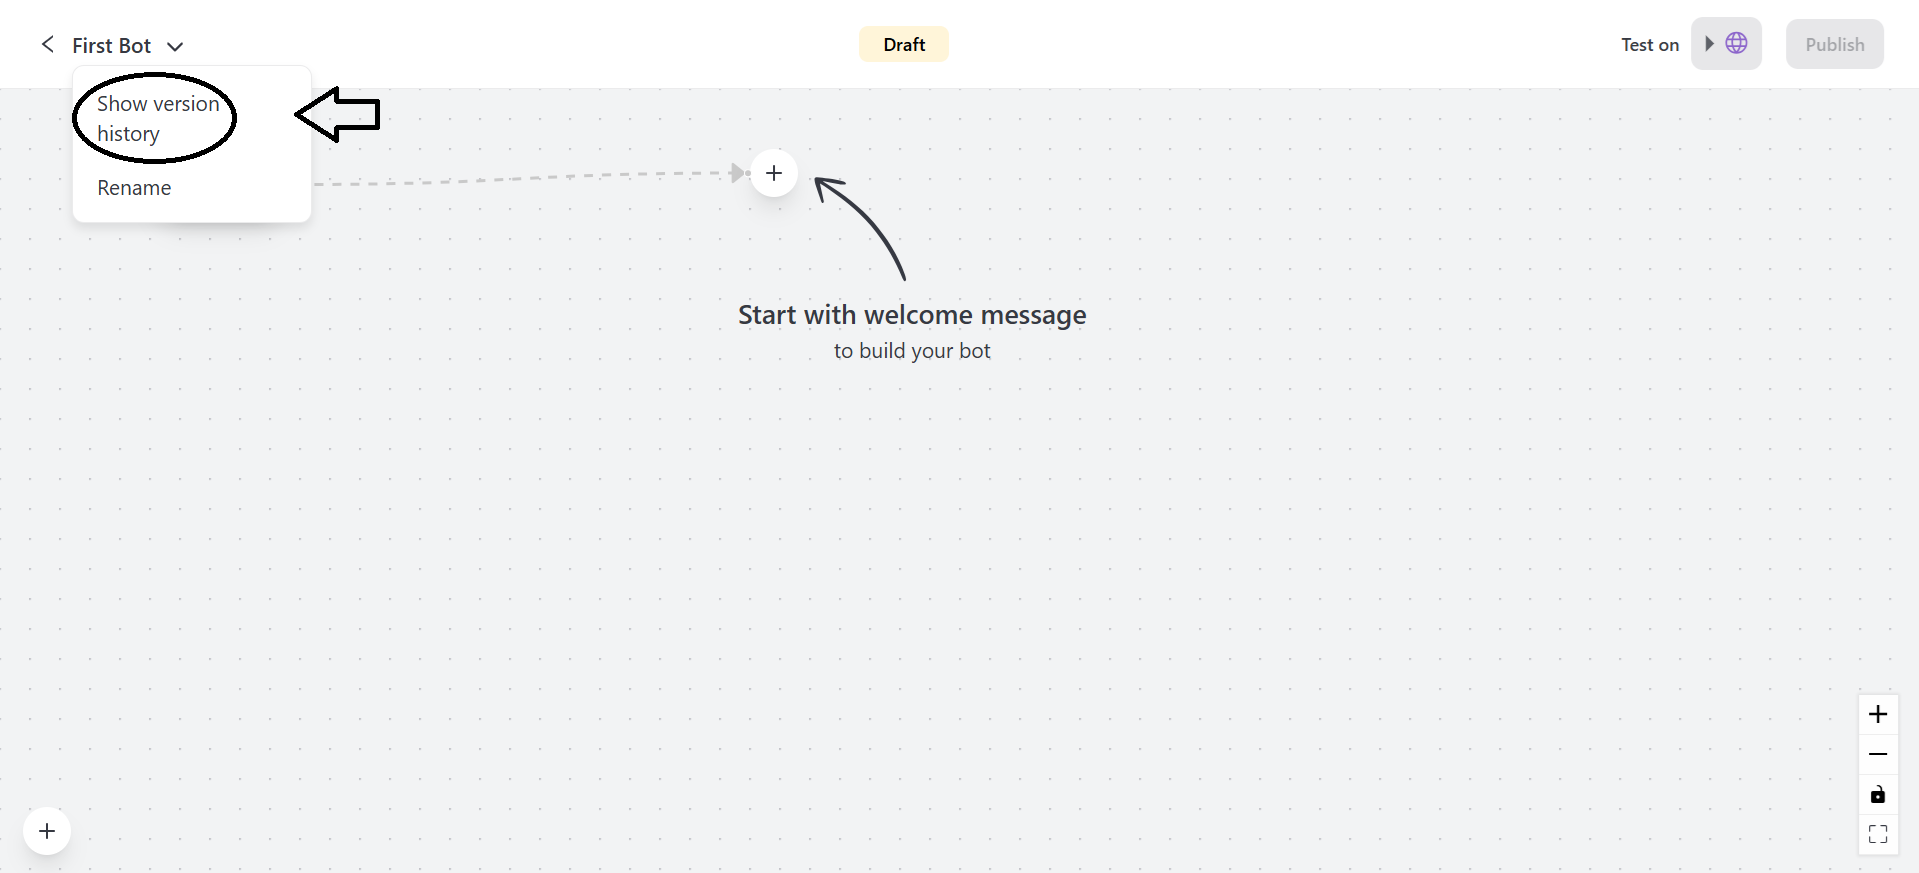
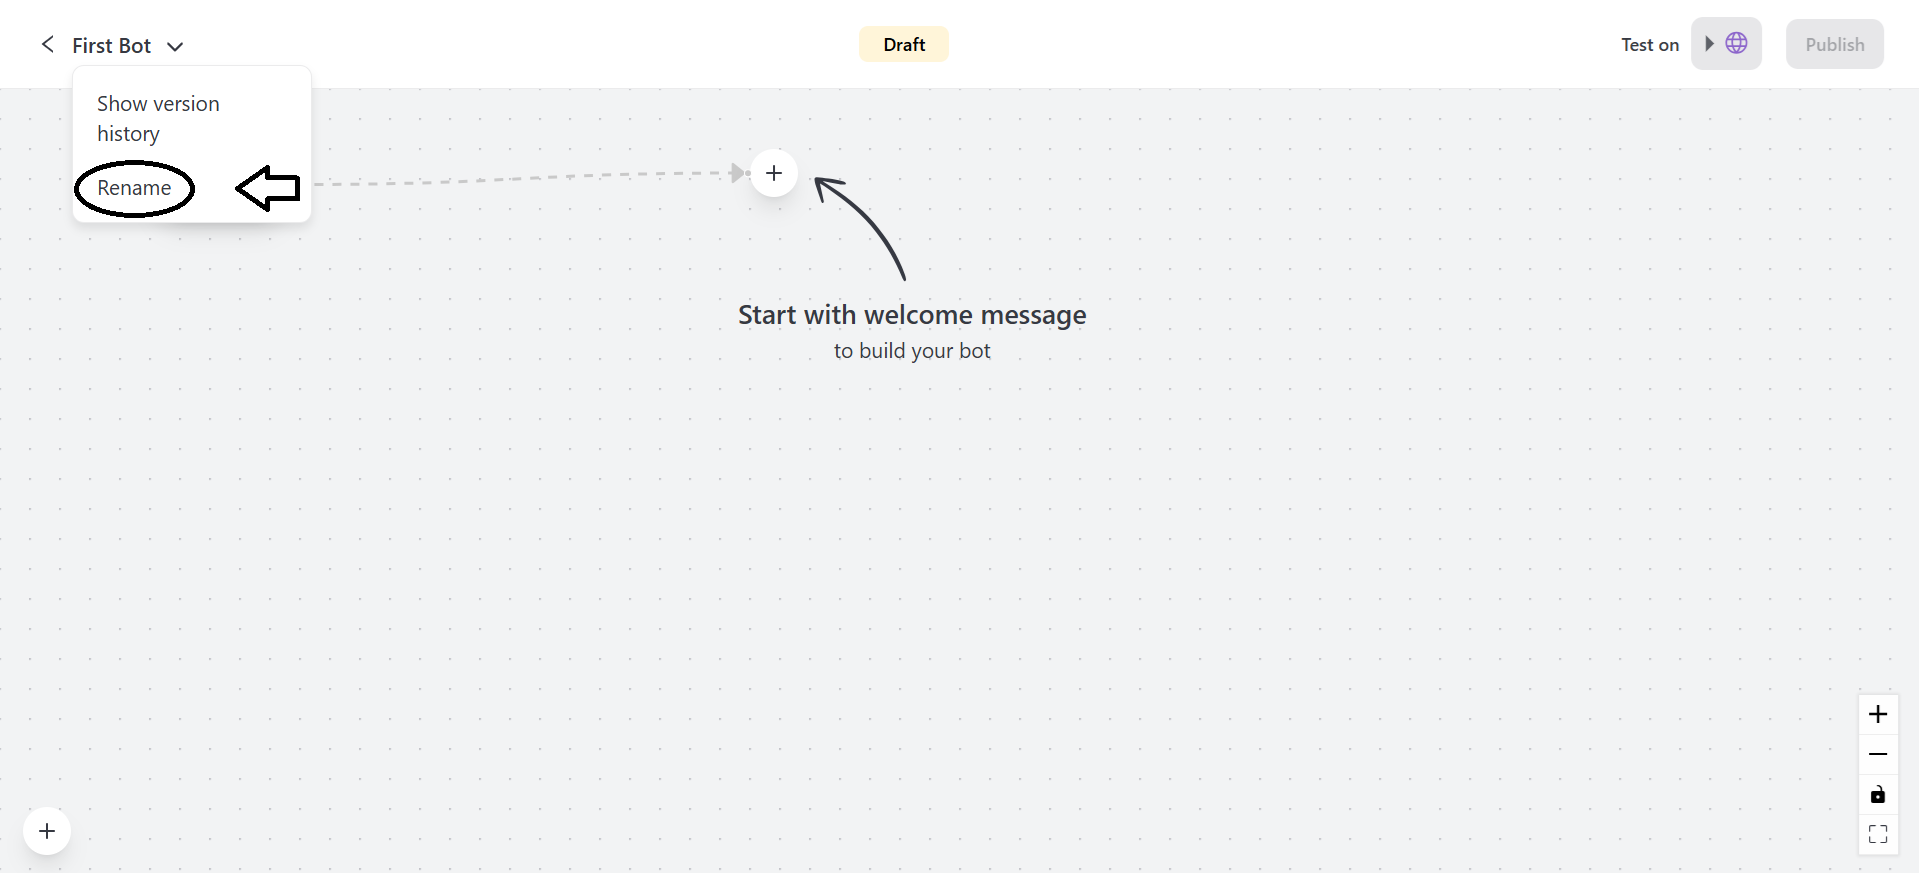
- Rename
You can edit the name of the chatbot.