
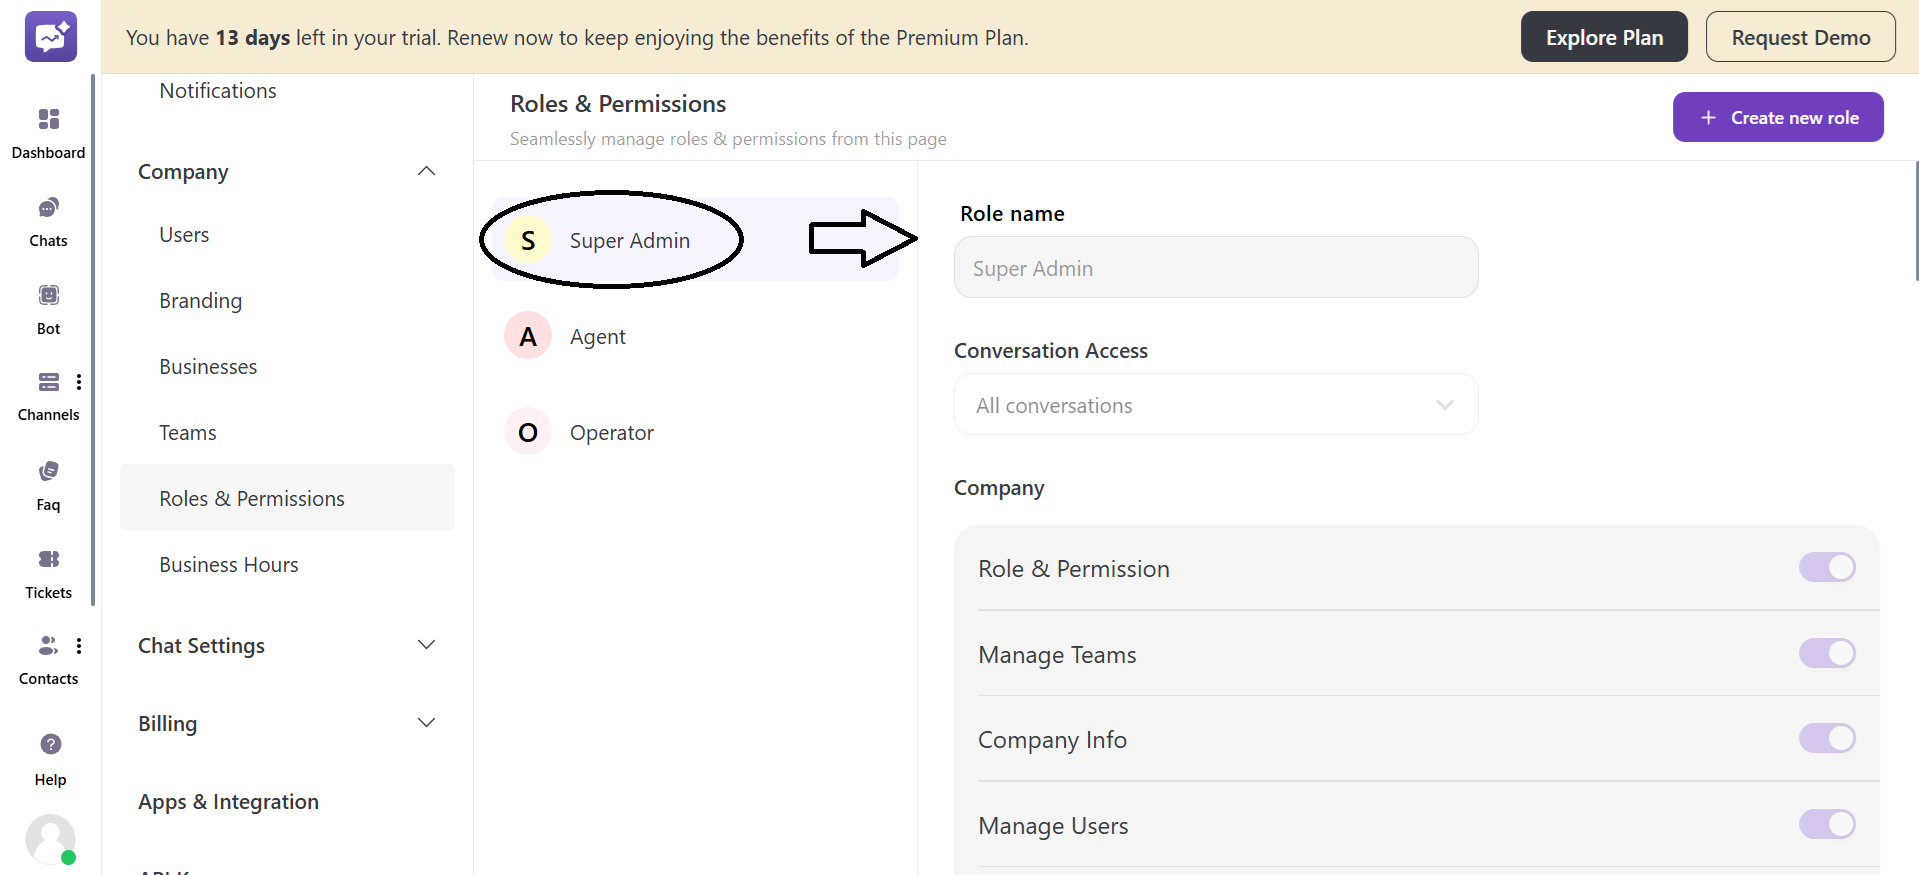
In the Roles & Permissions section, you can manage users’ roles and permissions effortlessly in one place. You have a default role that is Super Admin. Agent and Operator roles are the default created roles but can be deleted.
1. Super Admin
You cannot edit the permissions of this role or delete this role. This is mandatory (default).
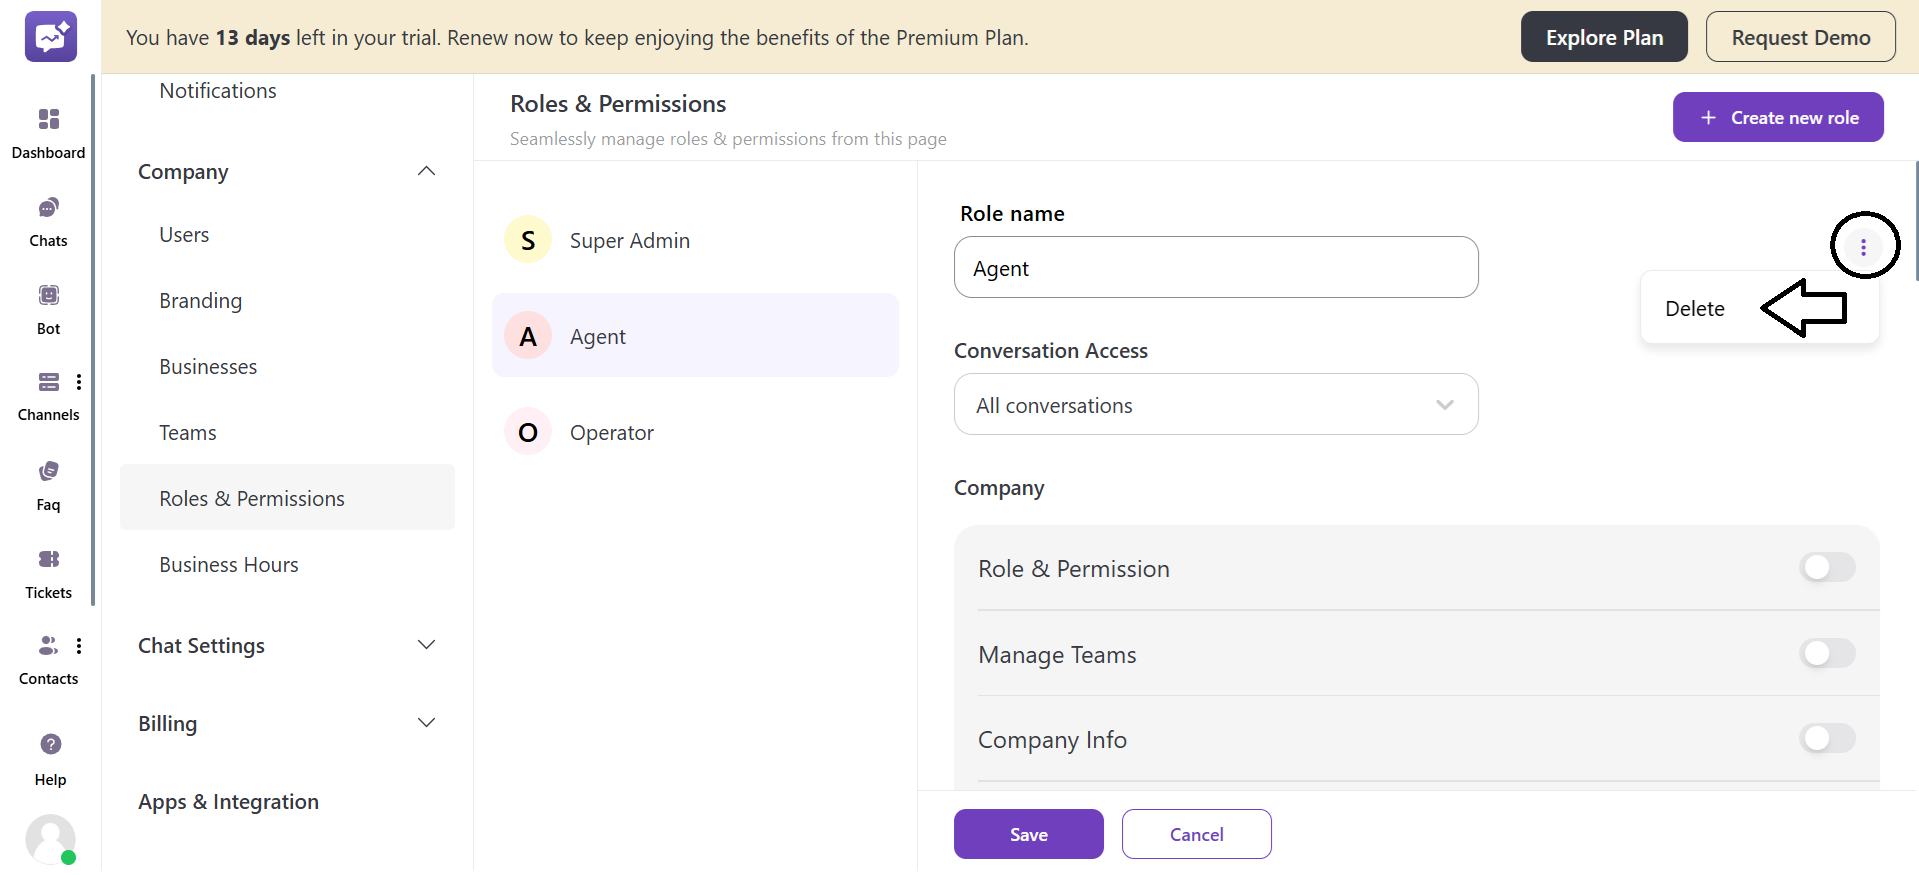
2. Agent
- Role Name: You can edit the name of this role.

- More Options: It allows you to delete the role.
- Conversation Access: This permission allows the user to access conversations.
There are three conversation access options.
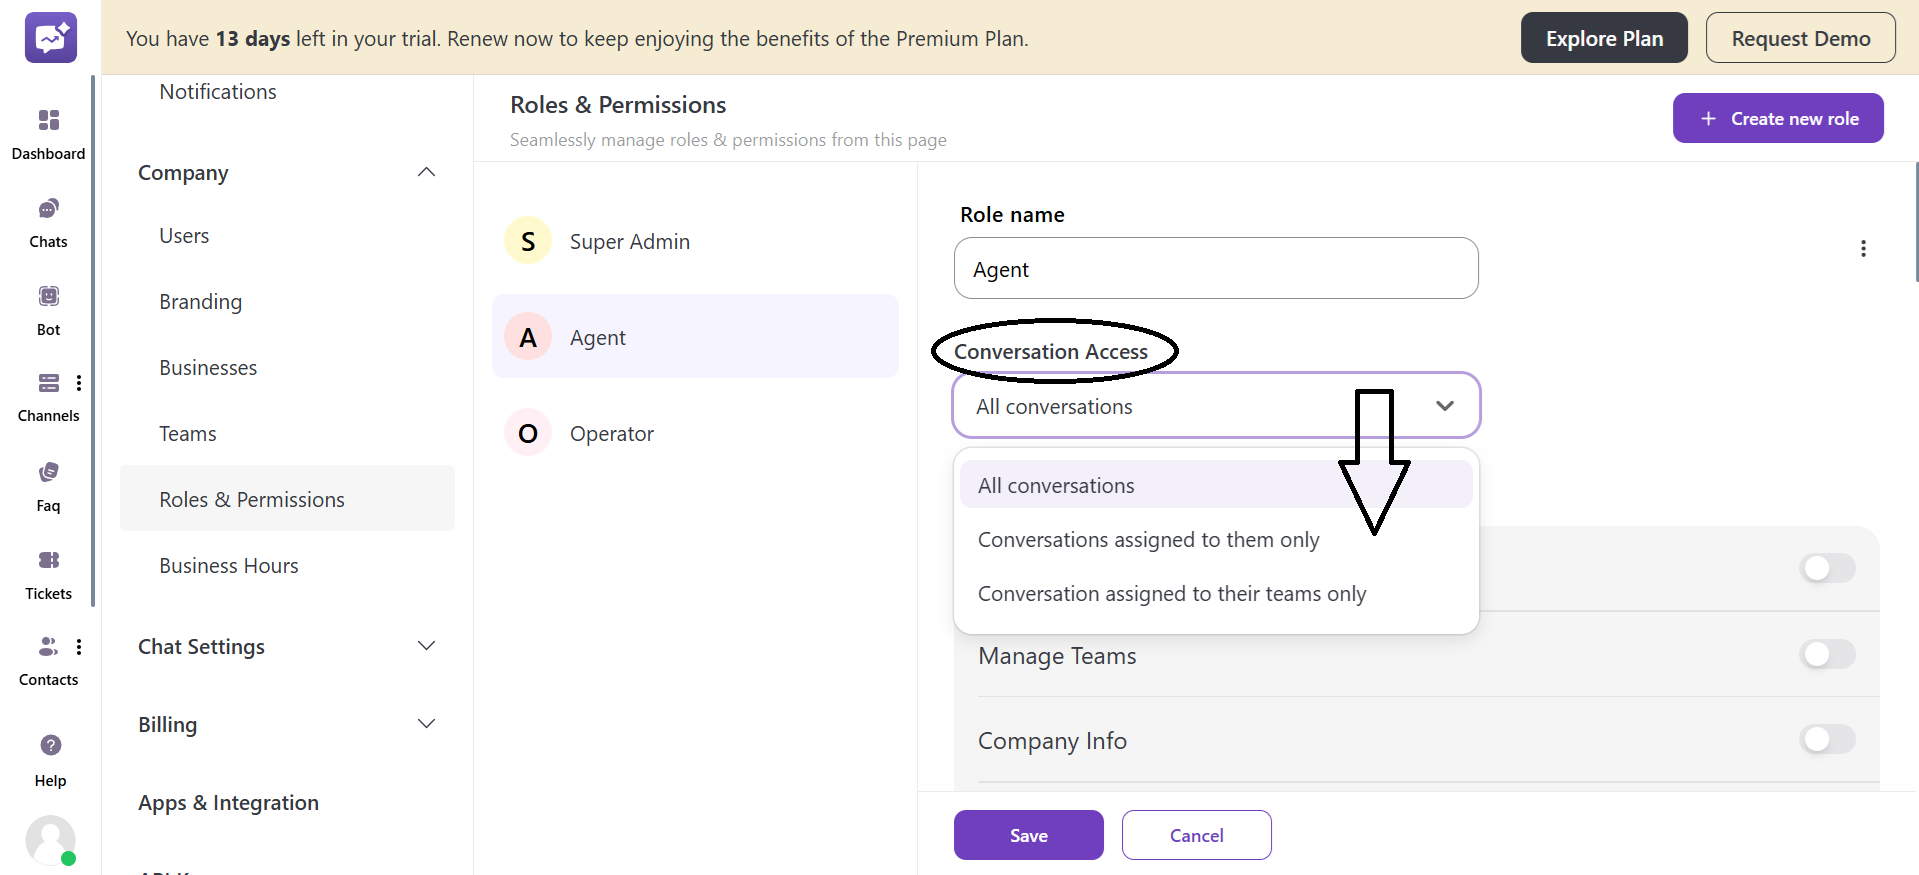
1. All conversations: It allows the user to have access to all the conversations.
2. Conversations assigned to them only: It allows the user to have access to conversations that are assigned to themself only.
3. Conversation assigned to their team only: It allows the user to have access to conversations that are assigned to their team.
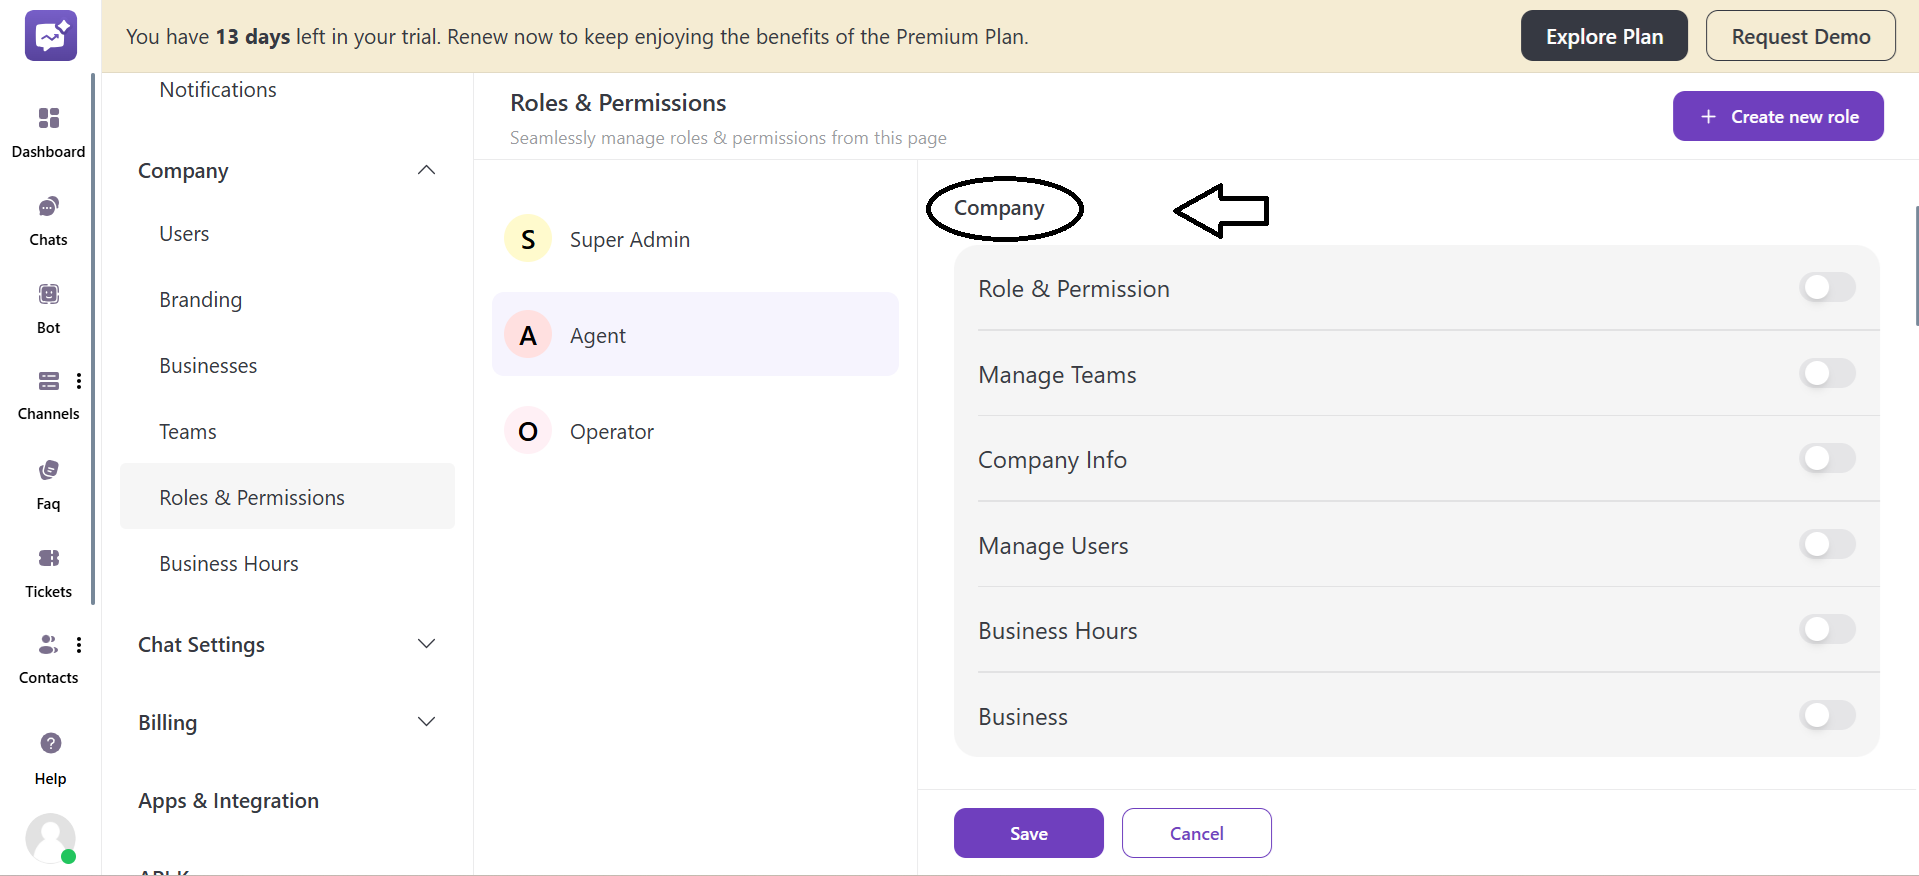
The permissions are divided into a few levels listed below:
1. Company
-
Roles & Permissions: This feature enables users to create, edit, and manage roles and permissions.
-
Manage Teams: This feature enables users to create, edit, and manage teams, as well as assign team members.
-
Company Info: It gives access to view or update general company details like company name, profile picture and company URL.
-
Manage Users: It enables managing user accounts — adding a new user, editing a user account, or removing users.
-
Business Hours: It allows a user to access or set the company’s working hours.
-
Business: It gives access to manage additional businesses under a single company.
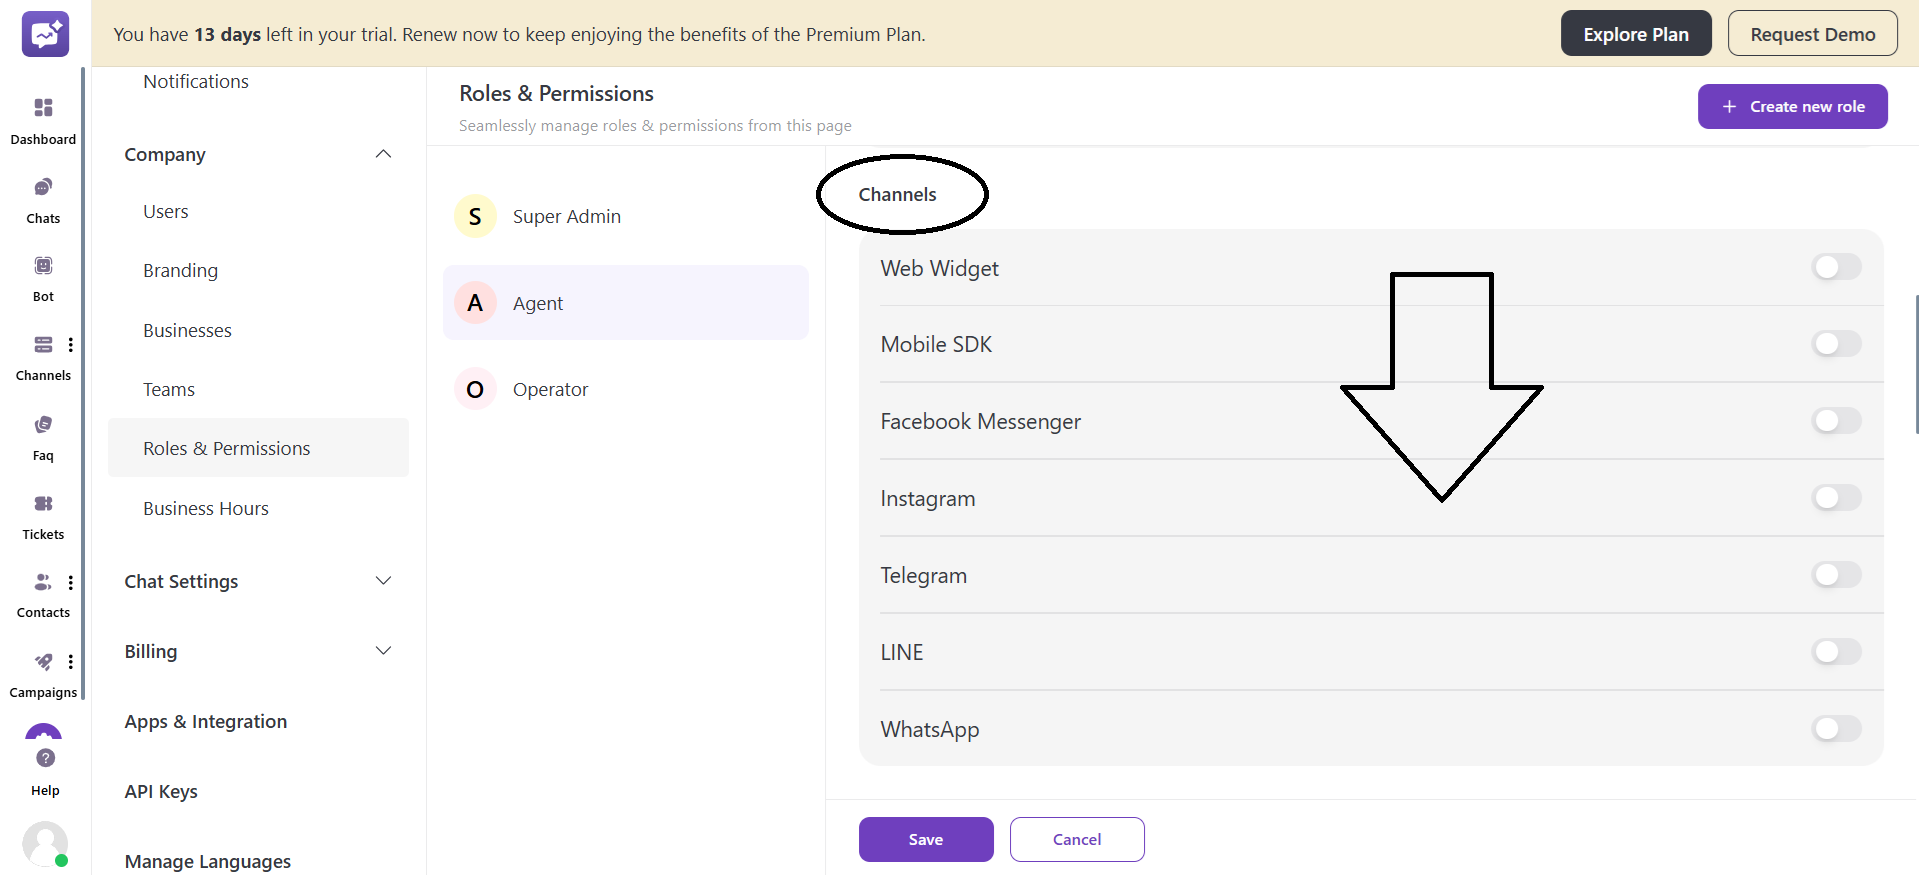
2. Channels
-
Web Widget: It allows users to create, manage, and customise web widgets.
-
Mobile SDK: It allows users to integrate and respond to in-app chats to assist mobile customers.
-
Facebook Messenger: It allows the user to access the Facebook page. It manages and replies to customer queries through the Facebook Messenger app.
-
Instagram: It allows the user to access the Instagram page. It manages and replies to customer queries through the Instagram direct message.
-
Telegram: It allows users to send automated replies to customers and also set bot-specific permissions.
-
LINE: It allows users to set up or access their LINE accounts. It helps to manage customer messages and conversations.
-
WhatsApp: It allows users to set or access their WhatsApp account. They can send or receive messages to handle customer queries.
3. Billing
It allows users to view or manage payment details. Includes access to package info, storage, marketing credits, and billing details.
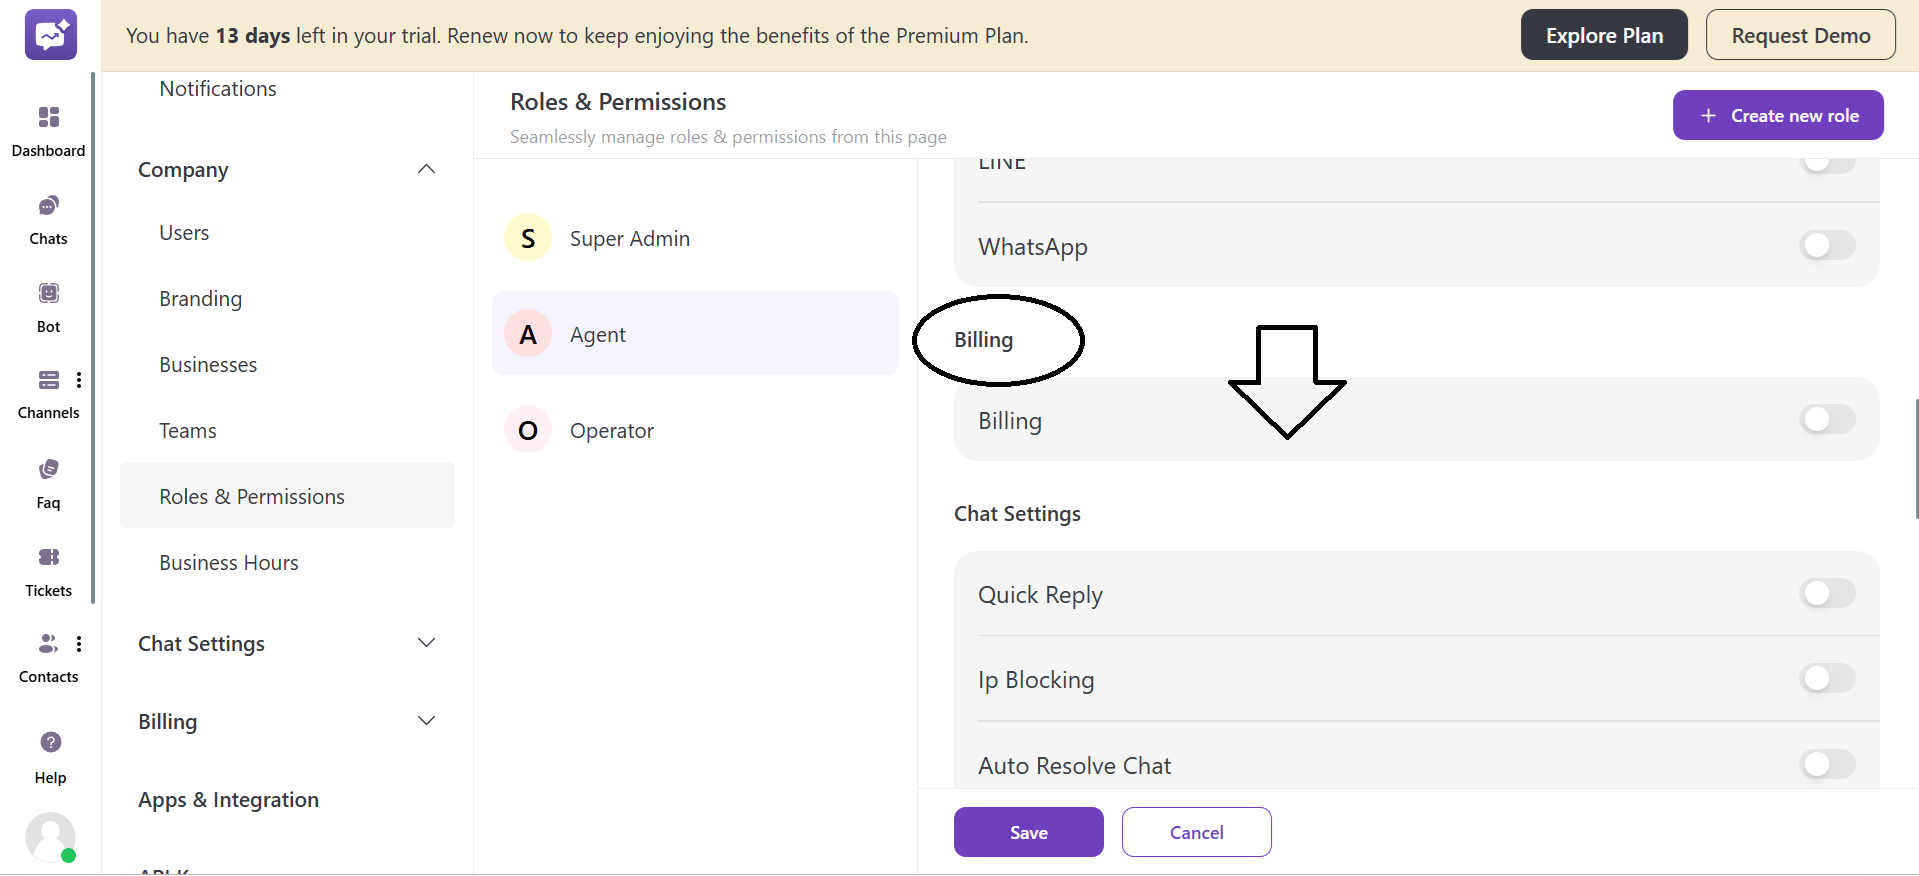
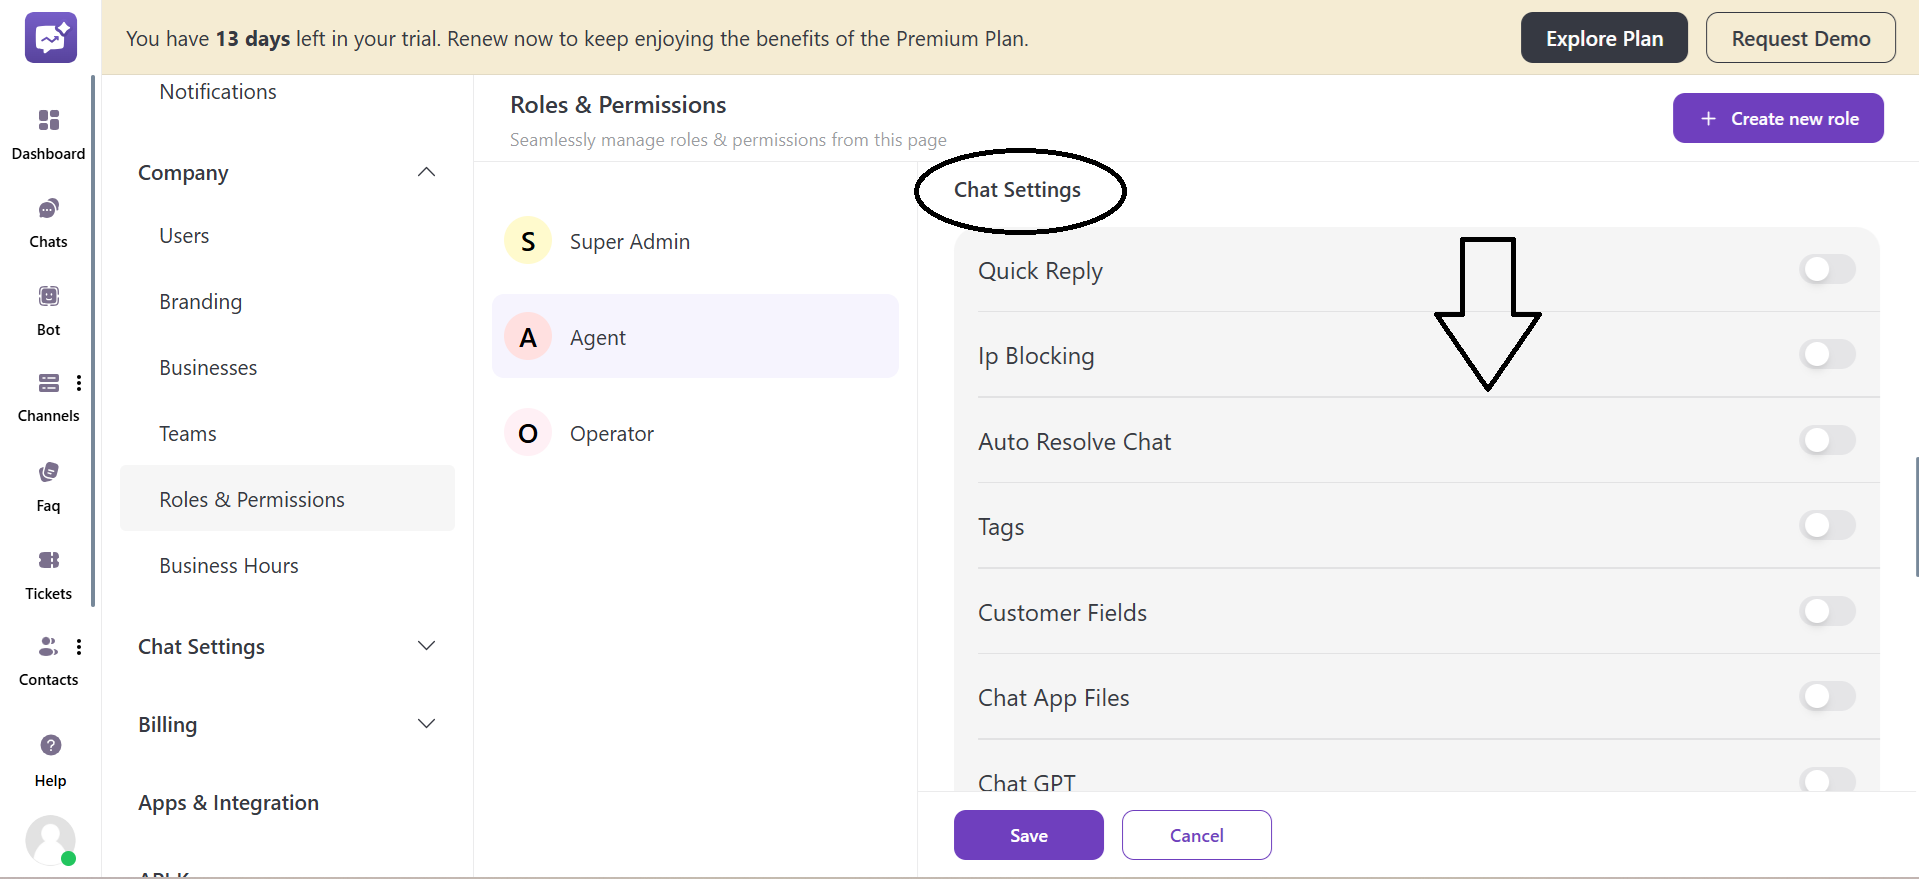
4. Chat Settings
-
Quick Reply: It allows users to create and use predefined responses in chats. It helps save time and effort by replying faster to customers.
-
IP Blocking: It gives users the permission to block messages from a particular IP address. It is useful for preventing spam or unwanted chats.
-
Auto Resolve Chat: It allows you to set a global or team-specific timer to automatically resolve chats after a particular period of inactivity, followed by the last message sent by the team member.
-
Tags: It allows user to add and manage tags to categorise chats. It helps in filtering and analysing conversations quickly.
-
Customer Fields: It allows customising and managing customer data fields. It stores additional information about each customer.
-
Chat App Files: It helps manage files and attachments shared in chat conversations. You can set the chat files' access to users or team members.
-
Chat GPT: Integrates an AI chat assistant for automated responses. It helps agents by suggesting replies instantly.
-
Plugins: It allows integrating additional tools or extensions to enhance chat features.
-
Filters: Enables filtering chats based on conditions like status, tags, or agents. Makes it easier to manage and locate specific conversations.
-
Advanced Settings: It gives access to advanced settings to make customisation as per requirements.
5. Faq
The FAQ allows access to create, edit, or manage Frequently Asked Questions. It helps customers to find the answer to their questions on their own.
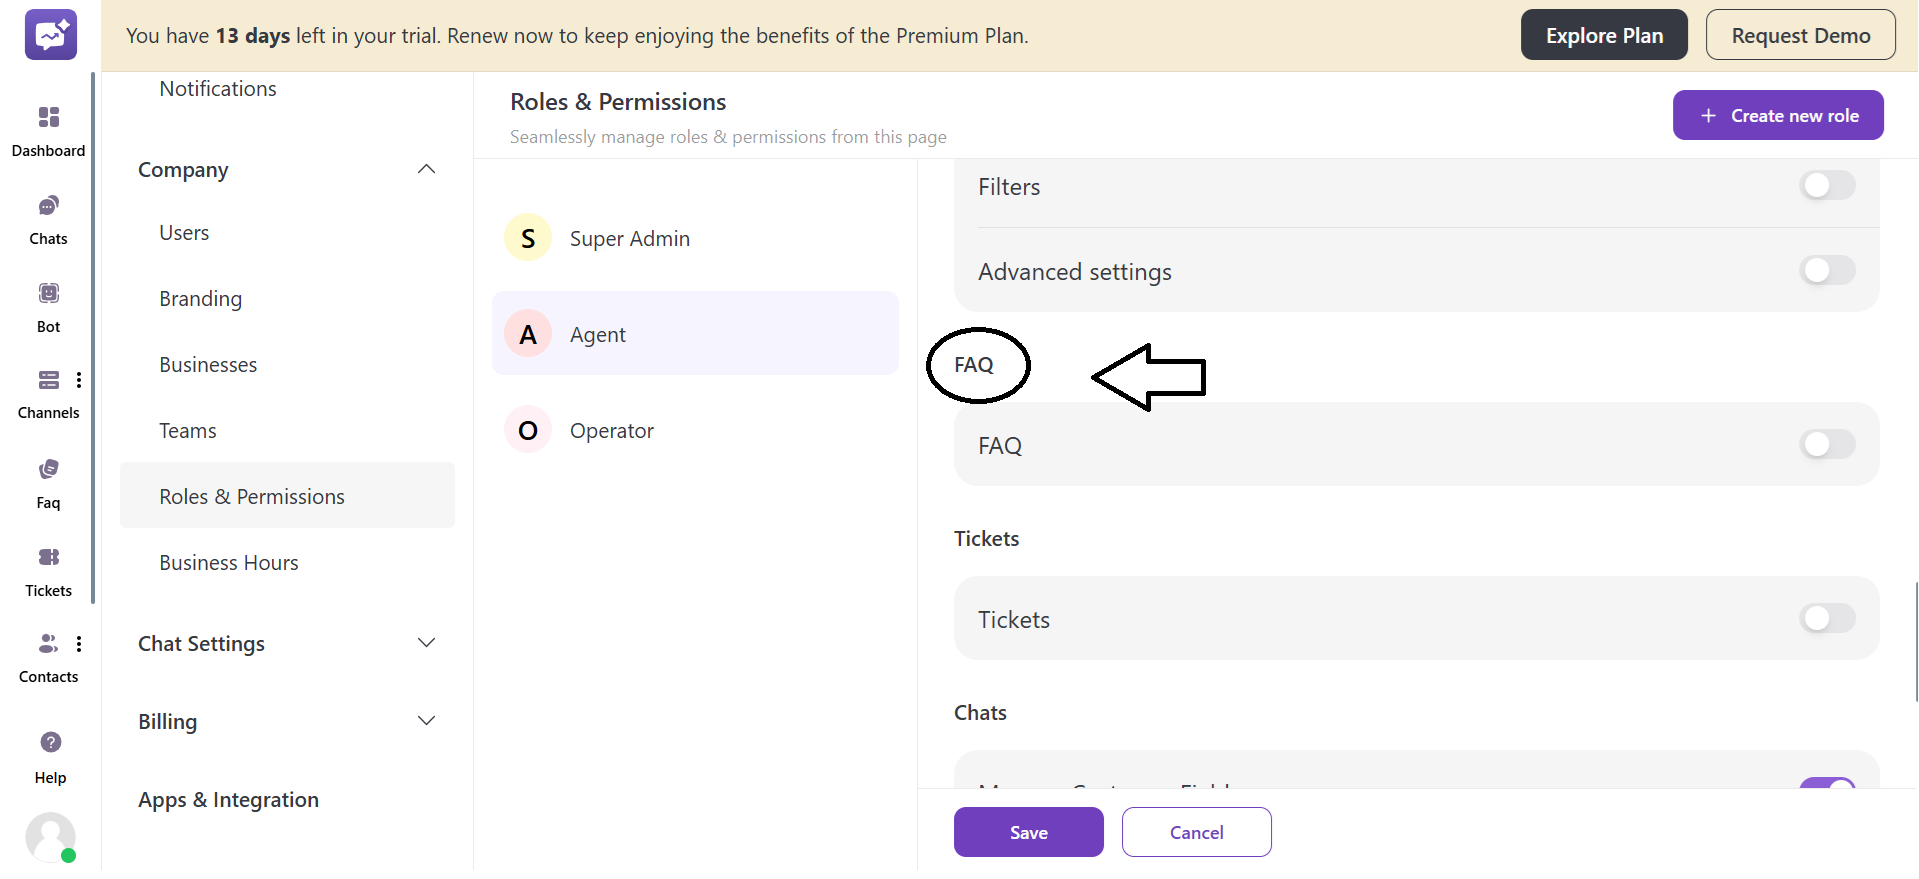
6. Tickets
The users can view, create, or manage customer support tickets used for tracking and resolving customer queries systematically.

7. Chats
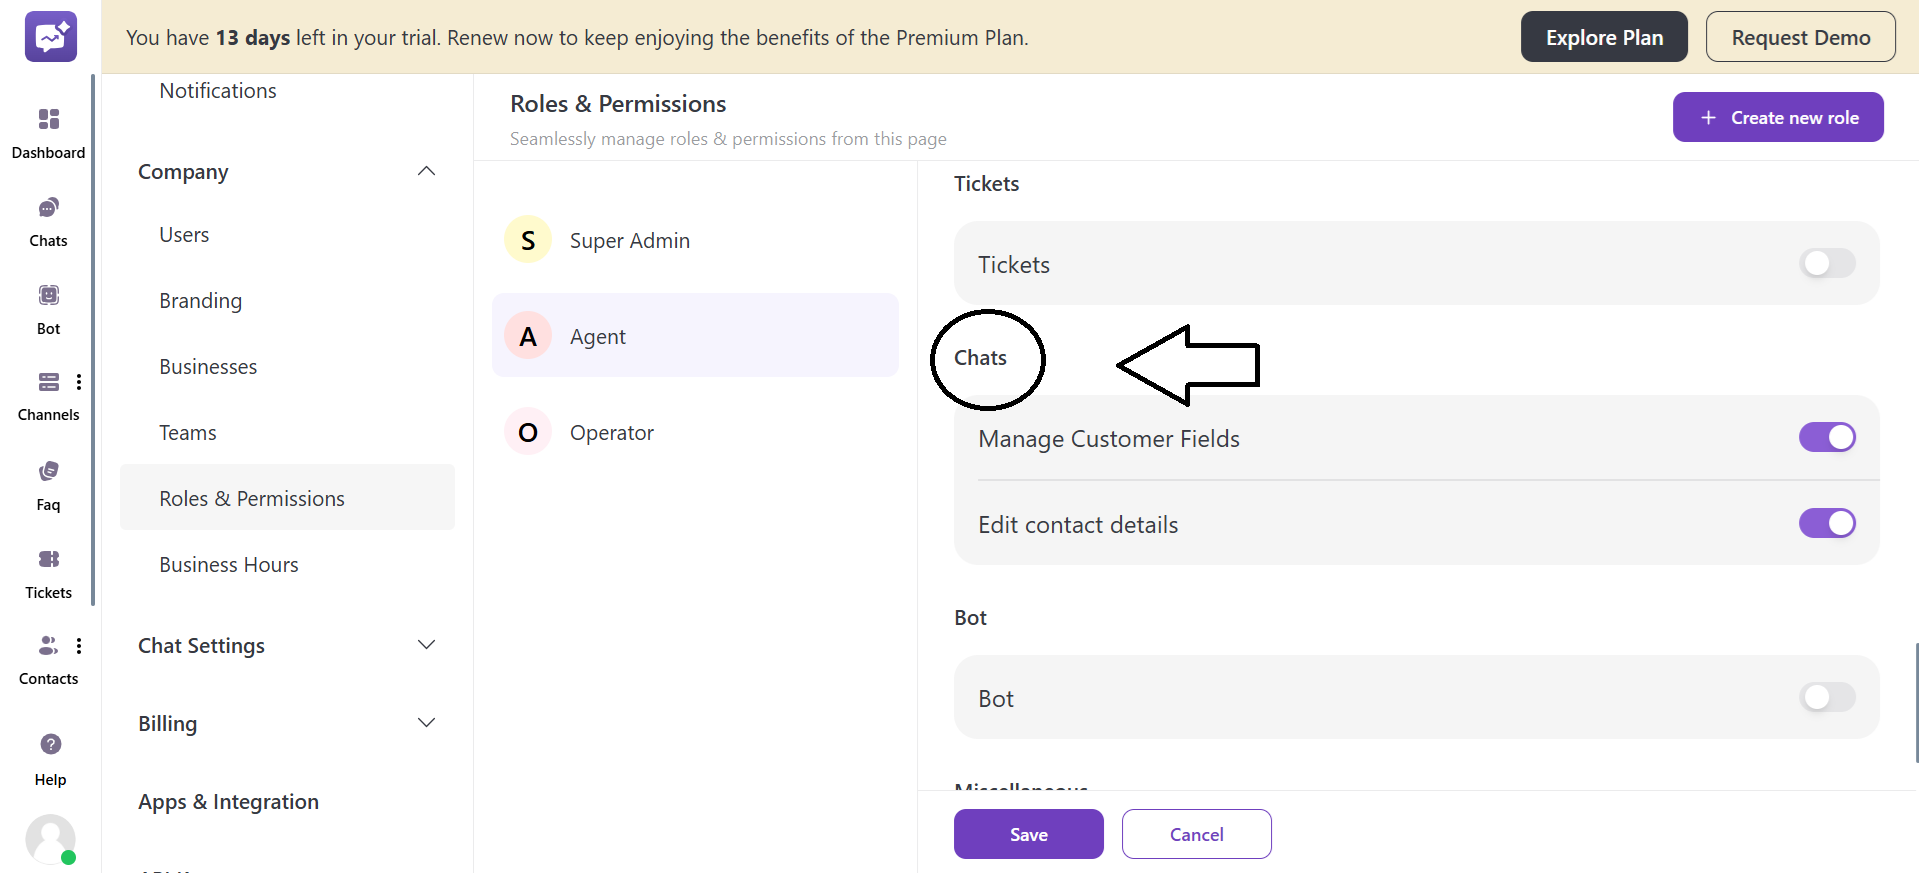
- Manage Customer Fields
It allows user to add or edit custom fields for customer information to get customer information.
- Edit Contact Details
It allows users to modify customer contact details, like name, email address, phone number and other details, ensuring customer profiles remain accurate and up to date.
8. Bot
It allows users to create, configure, or manage chatbots for automated replies.

9. Miscellaneous

-
Manage Campaign: Enables creating and managing marketing or engagement campaigns.
-
Manage Broadcasting: It allows users to send bulk messages or announcements to multiple customers at once.
-
Manage Contacts: It allows you to view, edit, or organise customer contact lists.
-
Apps & Integration: It provides permission to connect third-party tools or apps with the platform.
-
Generate API Key: It allows users to create API keys for system integrations. It helps developers connect with third-party tools safely and securely.
10. Manage Languages
You can add multiple languages.

3. Operator
You can customise according to your requirements.
Create New Role.
- Click on + Create New Role.

- Role Name: Enter the name of the role you want to create.
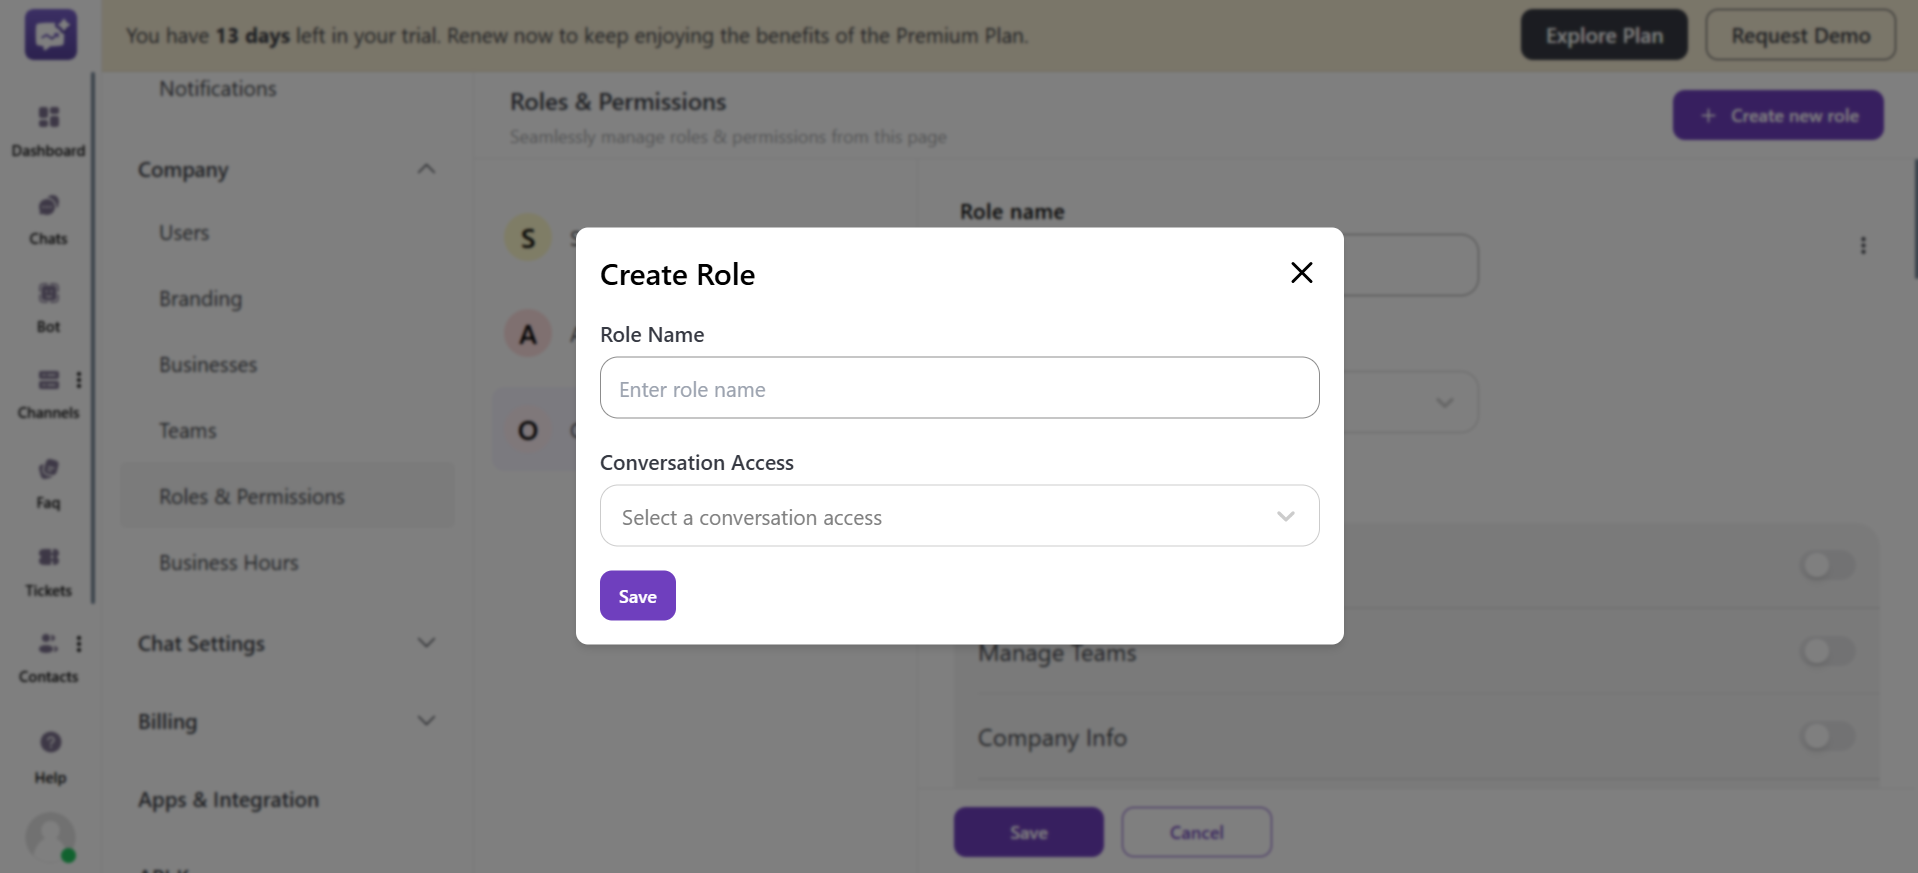
-
Conversation Access: Select what type of conversation access you want to give to this role.
-
Edit the permissions according to the role.

