
Input Cards
1. Button
It allows the bot to show a message to the customer with interactive buttons that they can click to continue the flow.
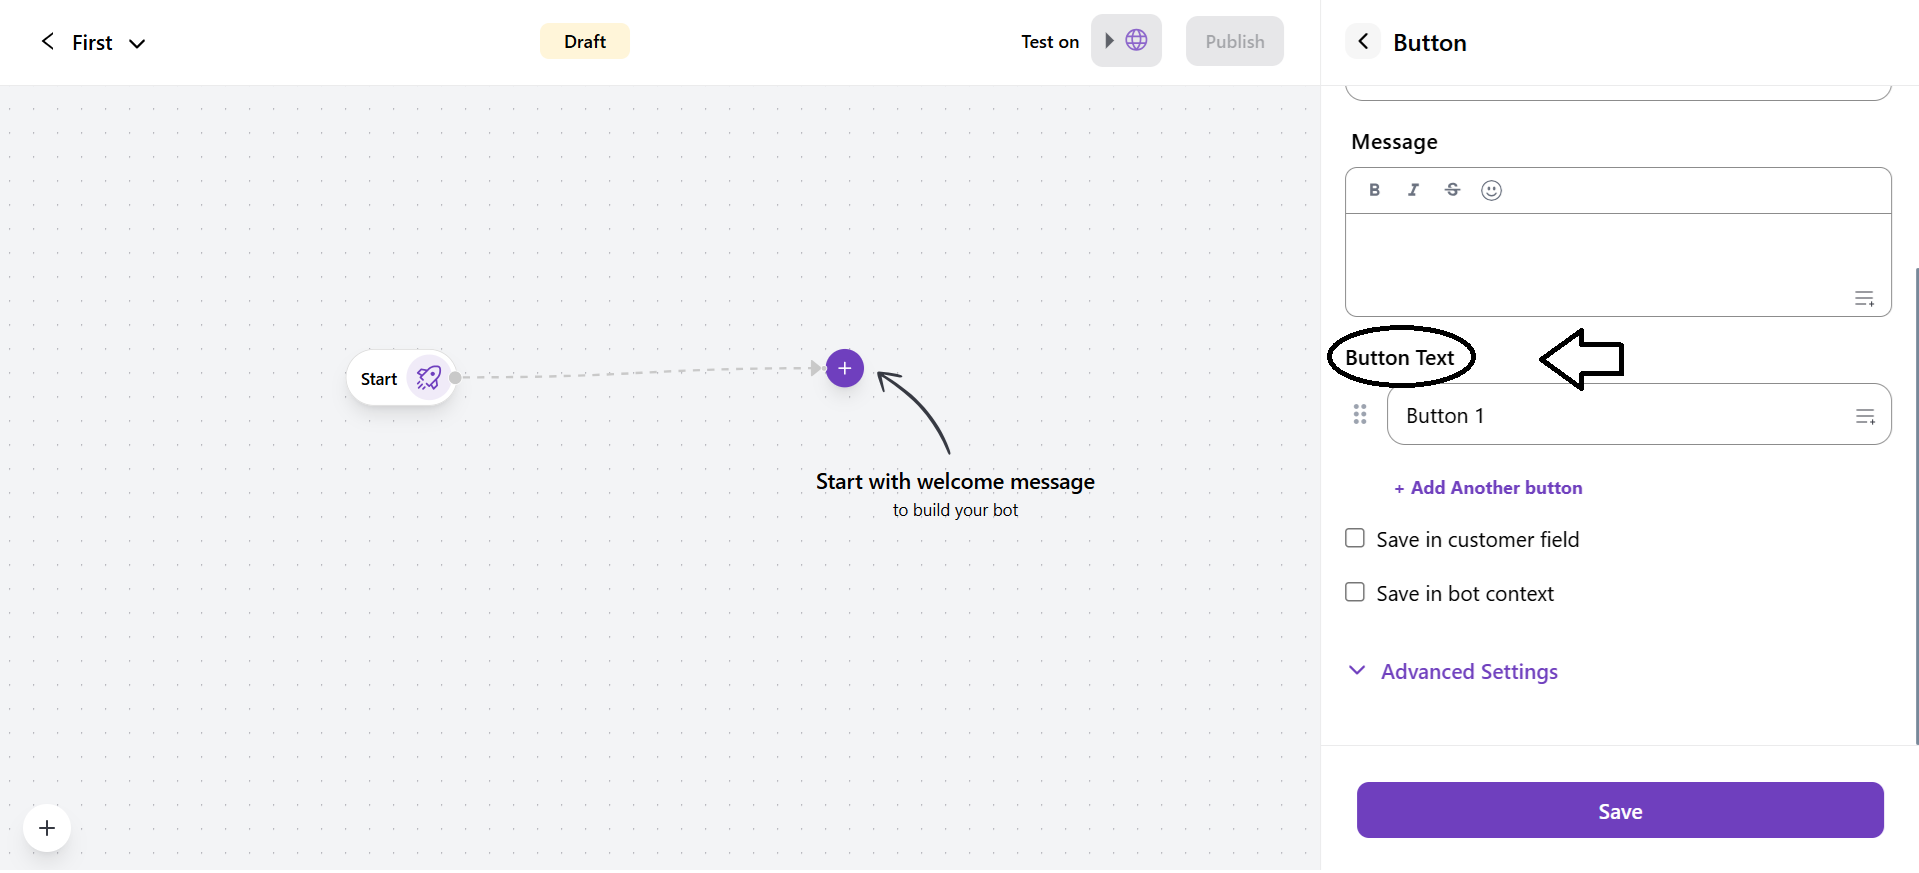
- Button text: You can edit the button text and also add a variable to it. The default button text is Button 1 or Button 2. You can add multiple buttons using + Add another button.
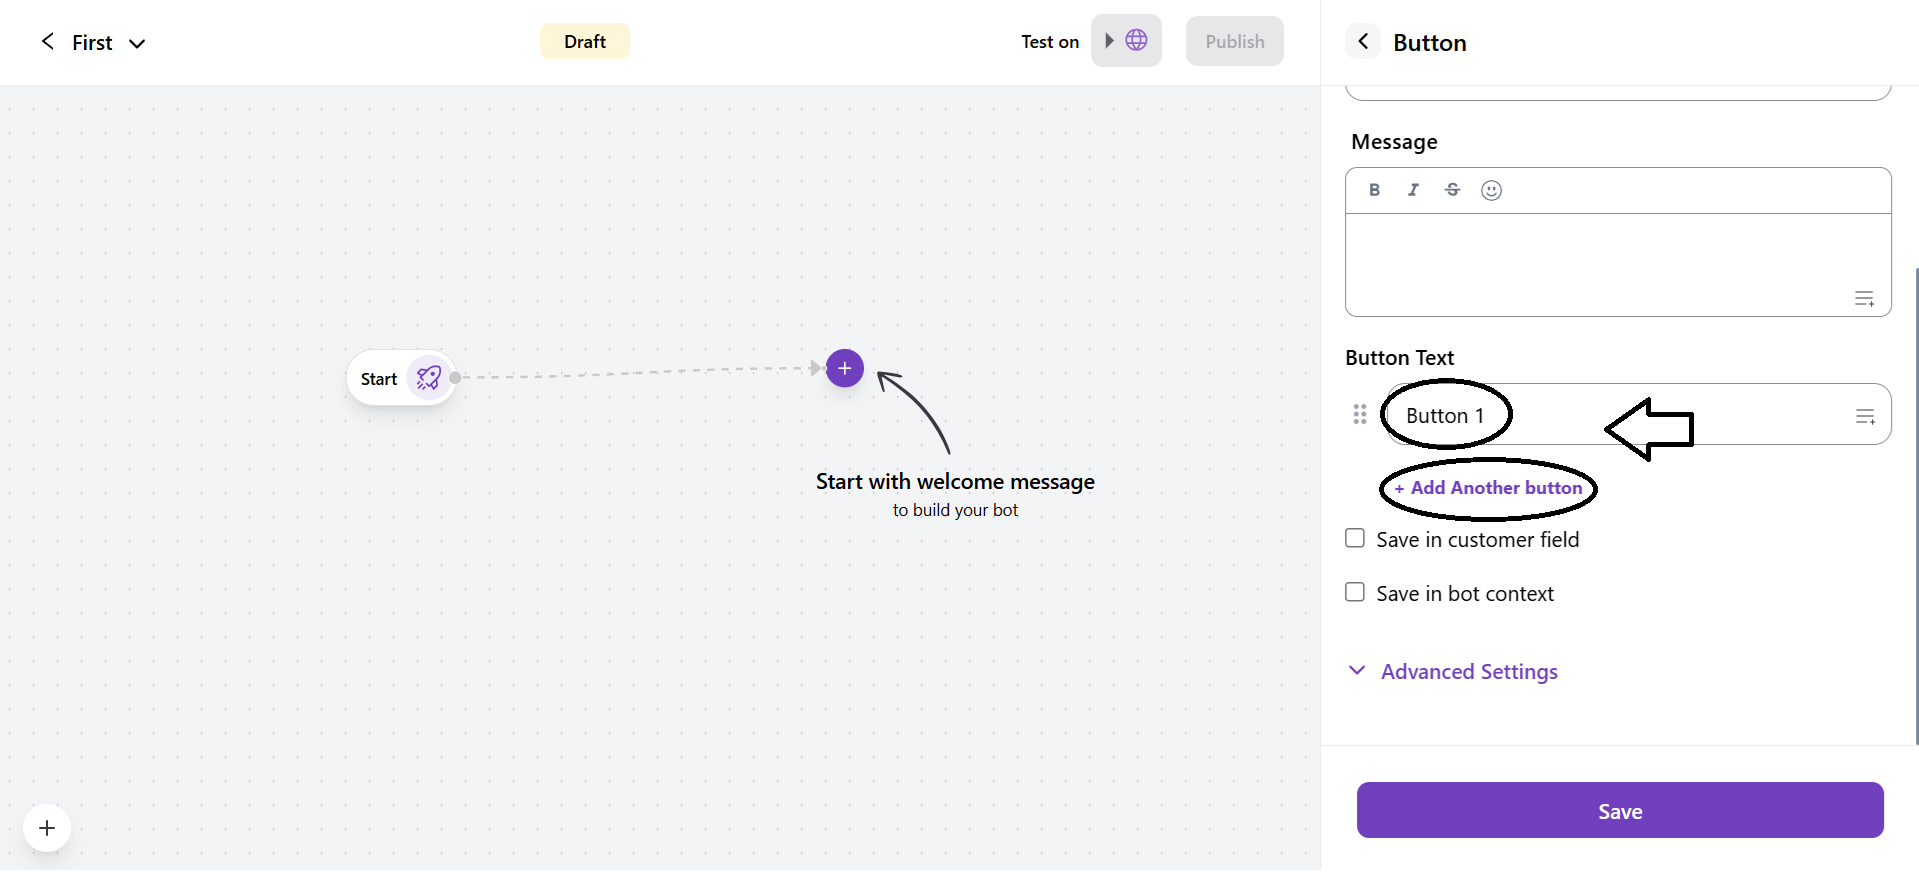
- It allows a drag-and-drop option to arrange the cards sequentially.

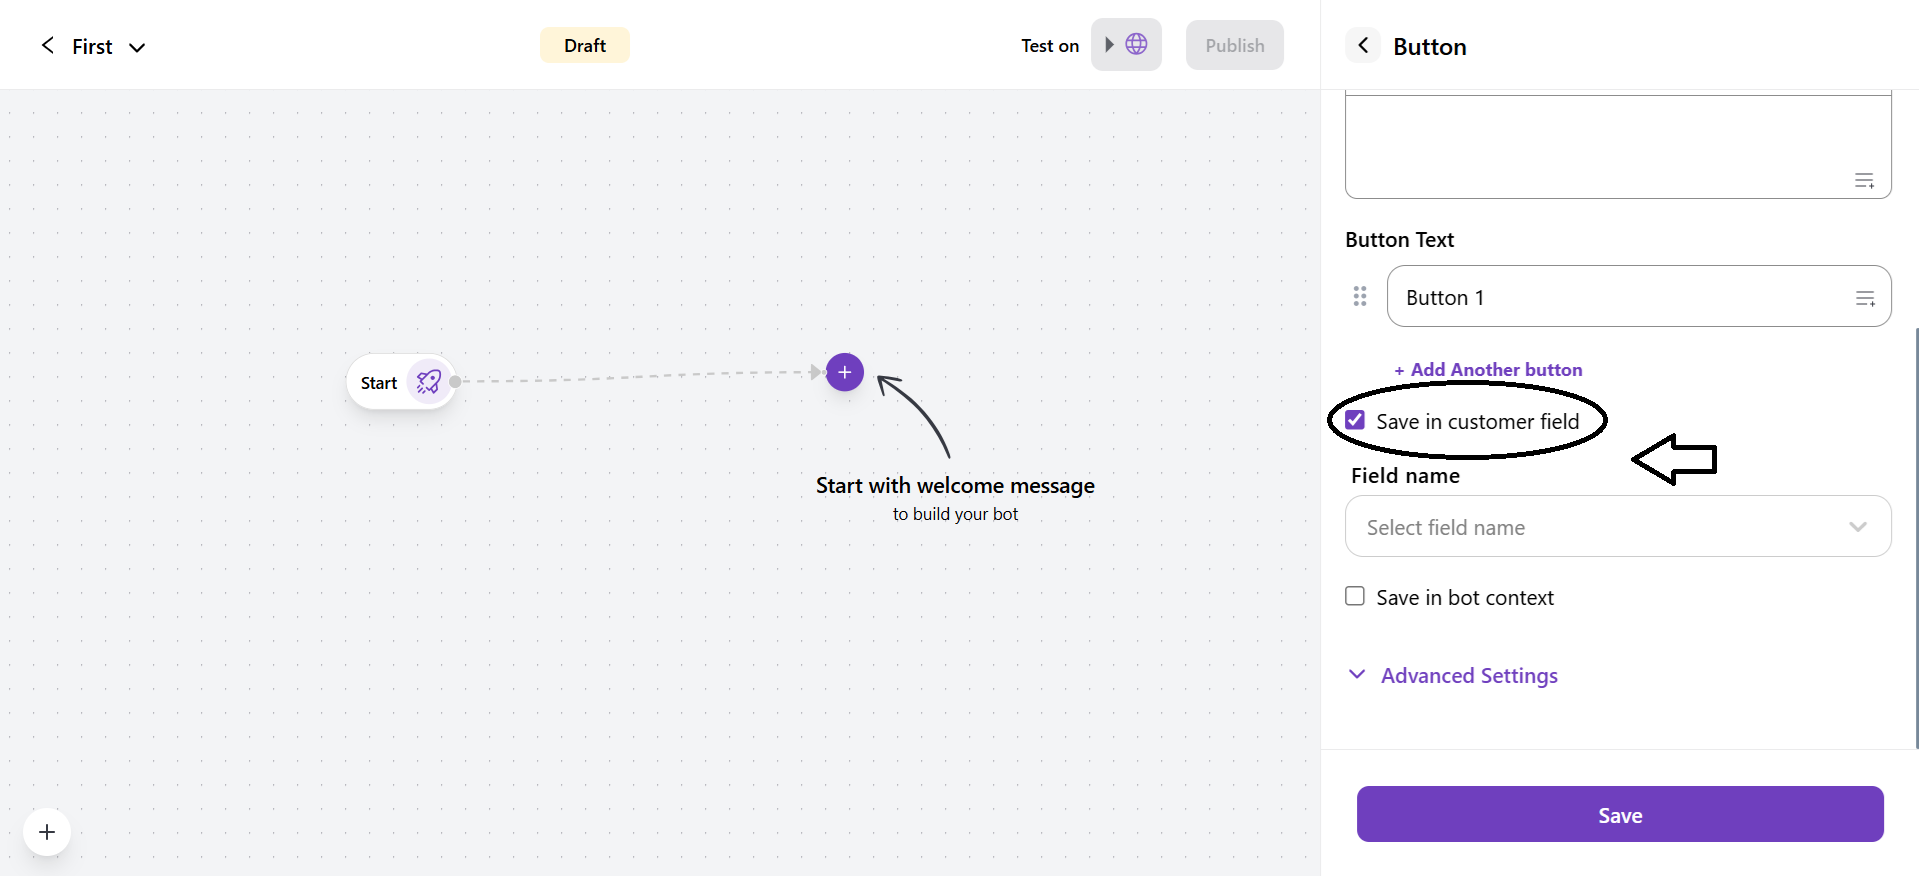
- Save in Customer field: If you checked this, the button’s value will be stored in a customer fields. Select the customer field from teh drop-down list.
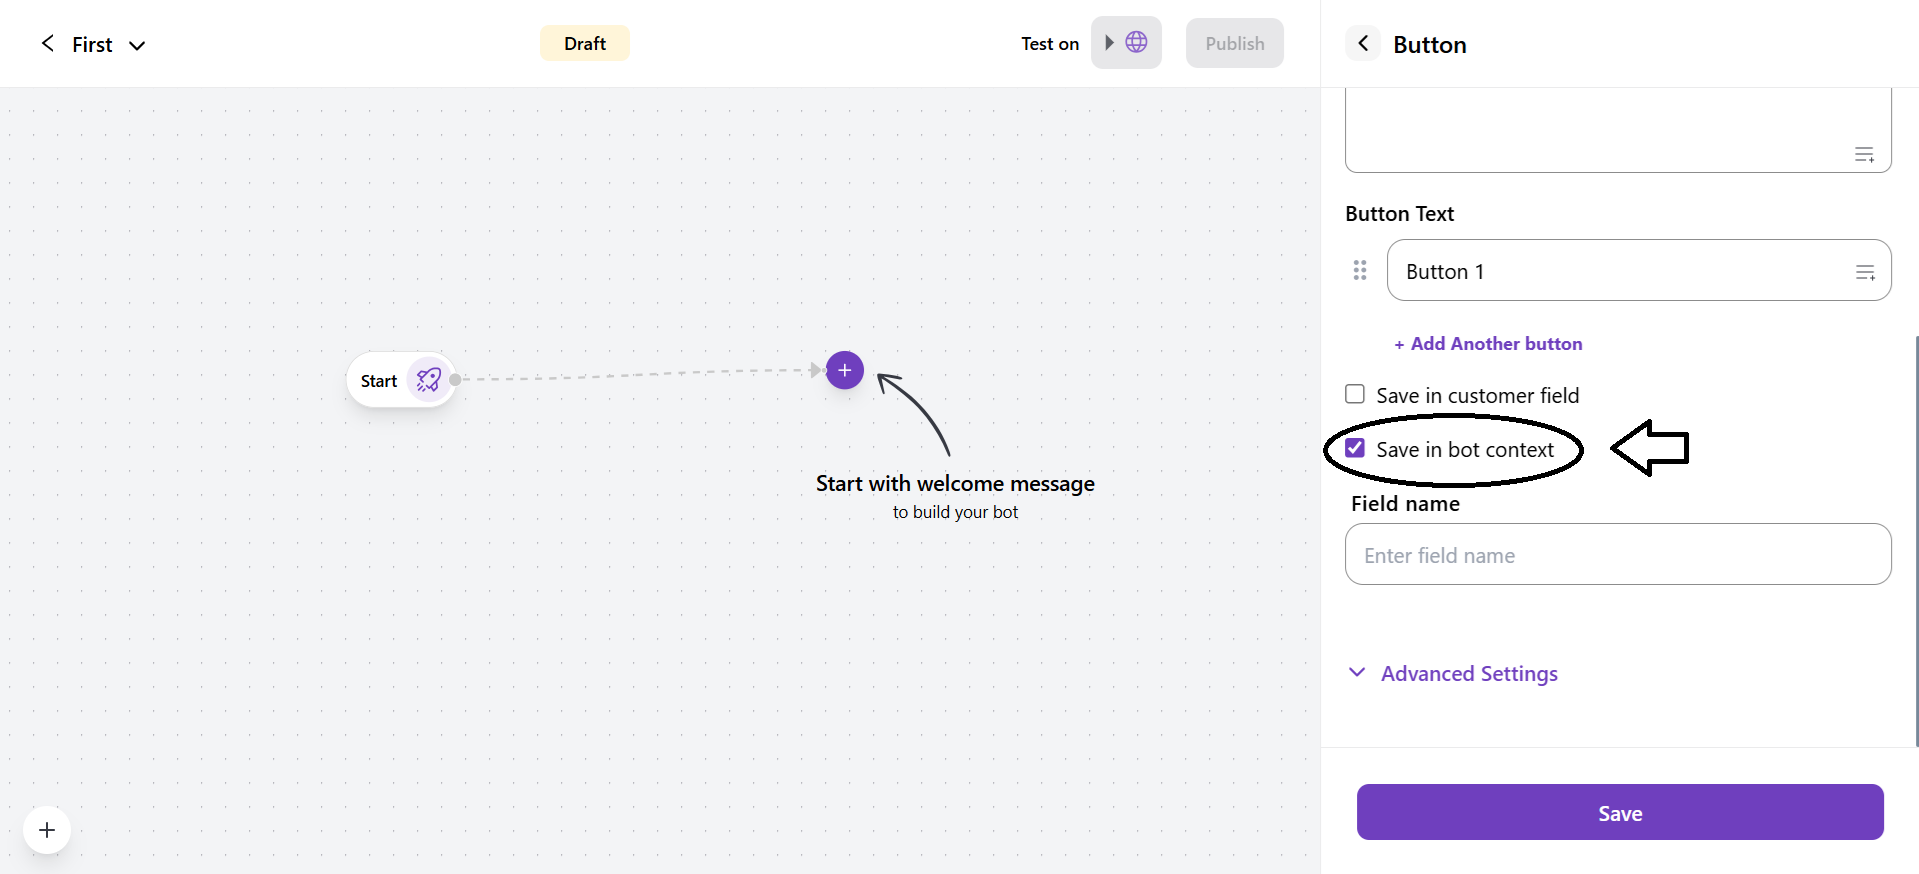
- Save in bot context: If you checked this, this button’s value will be stored in the bot context field. Enter the bot context field.
2. Location
It allows the bot to ask customers for their location through GPS-based location sharing.
-
You can write the message that will be sent by the bot to the customers. It is similar in all cards.
-
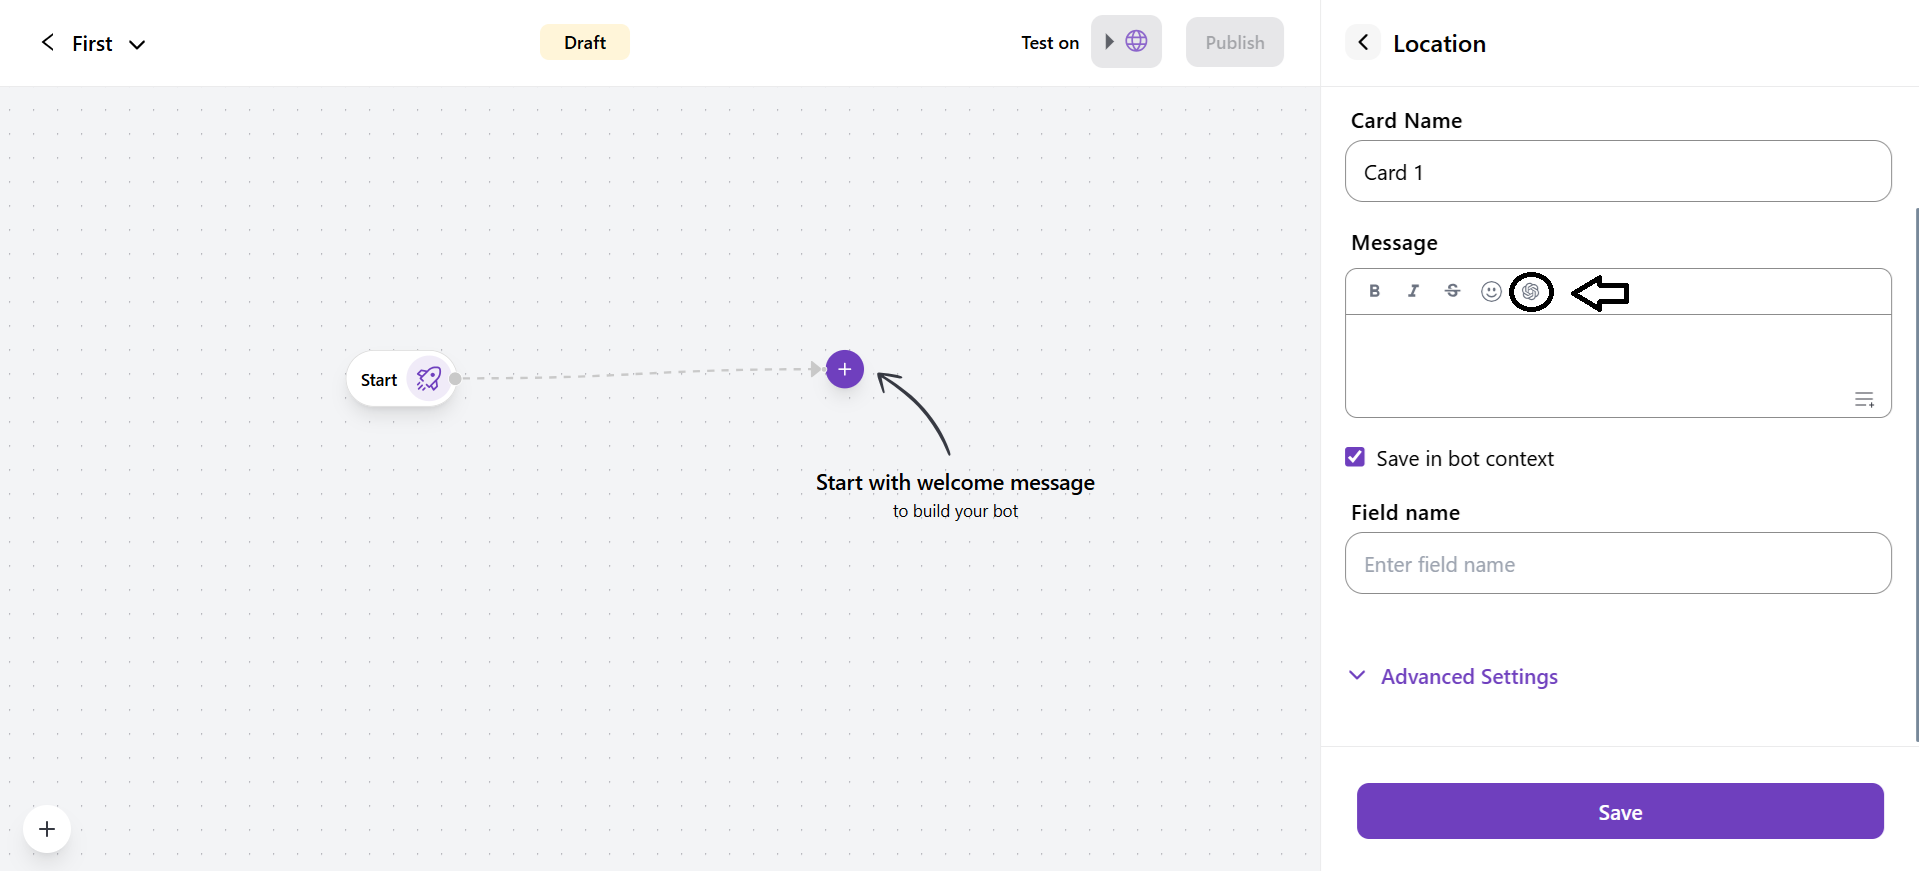
You can customise the message with more customisations, such as Bold, Italic, emoji and etc.
-
You can also use ChatGPT as a message assistant. It will work only when you have integrated ChatGPT into the system.
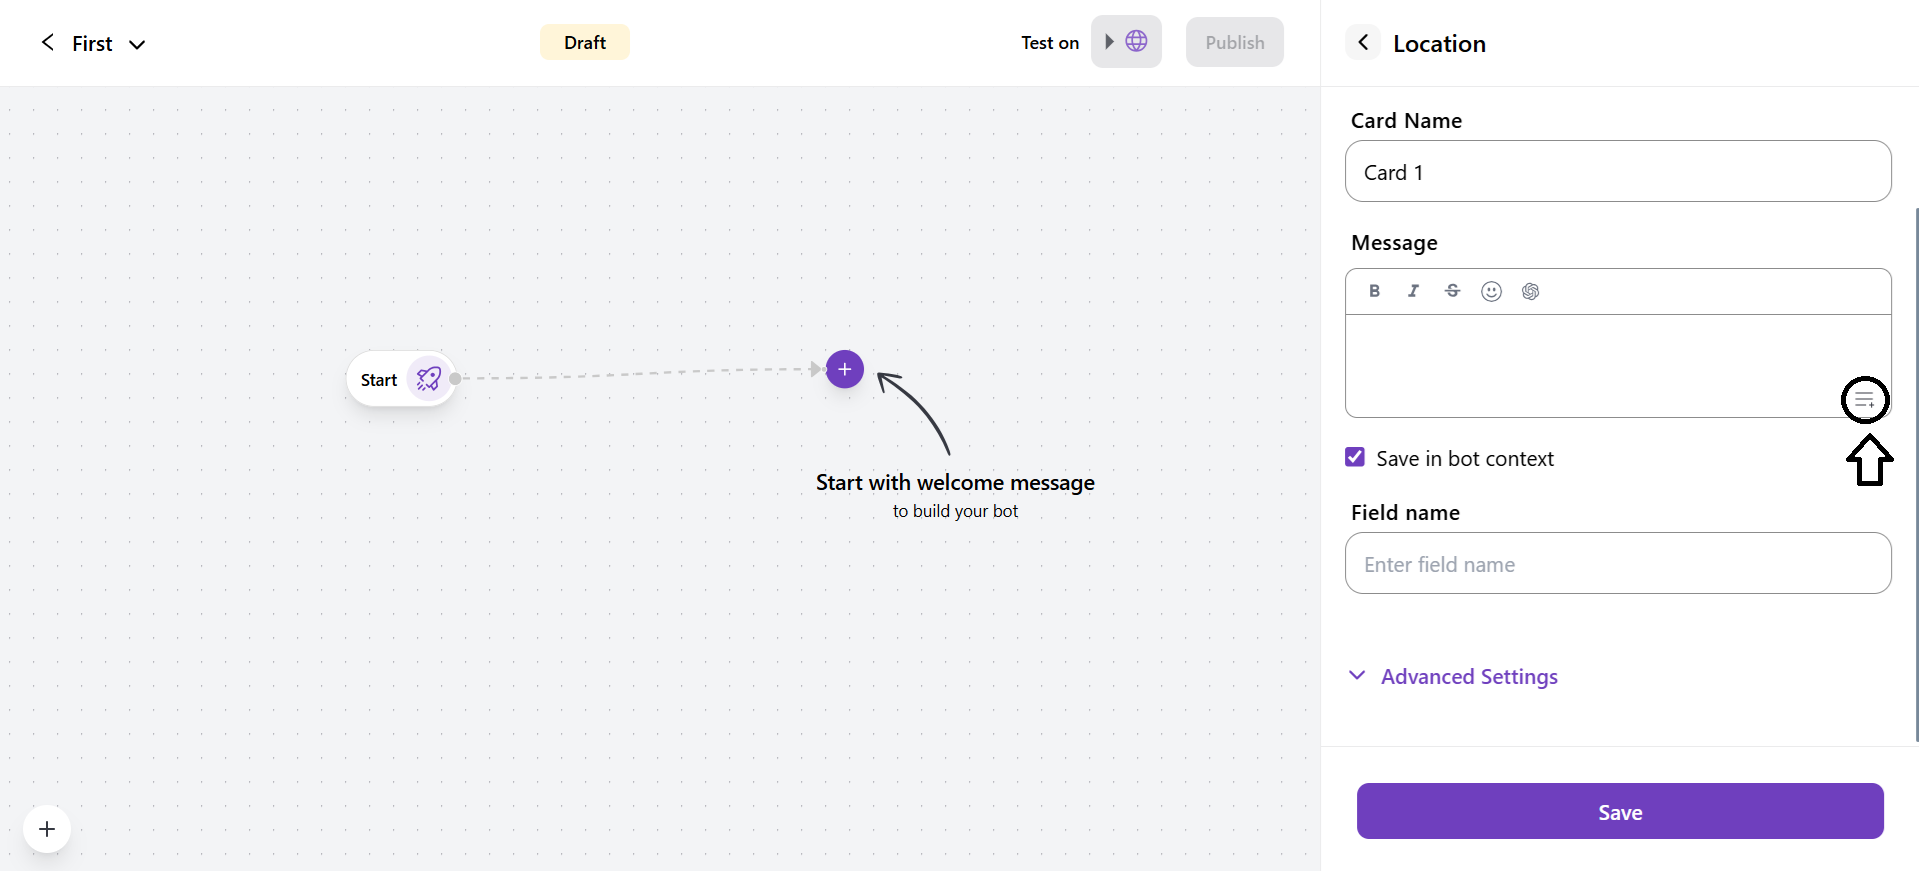
- You can Add Variables to a message. It includes company, customer detail fields, and bot customer context fields(default).
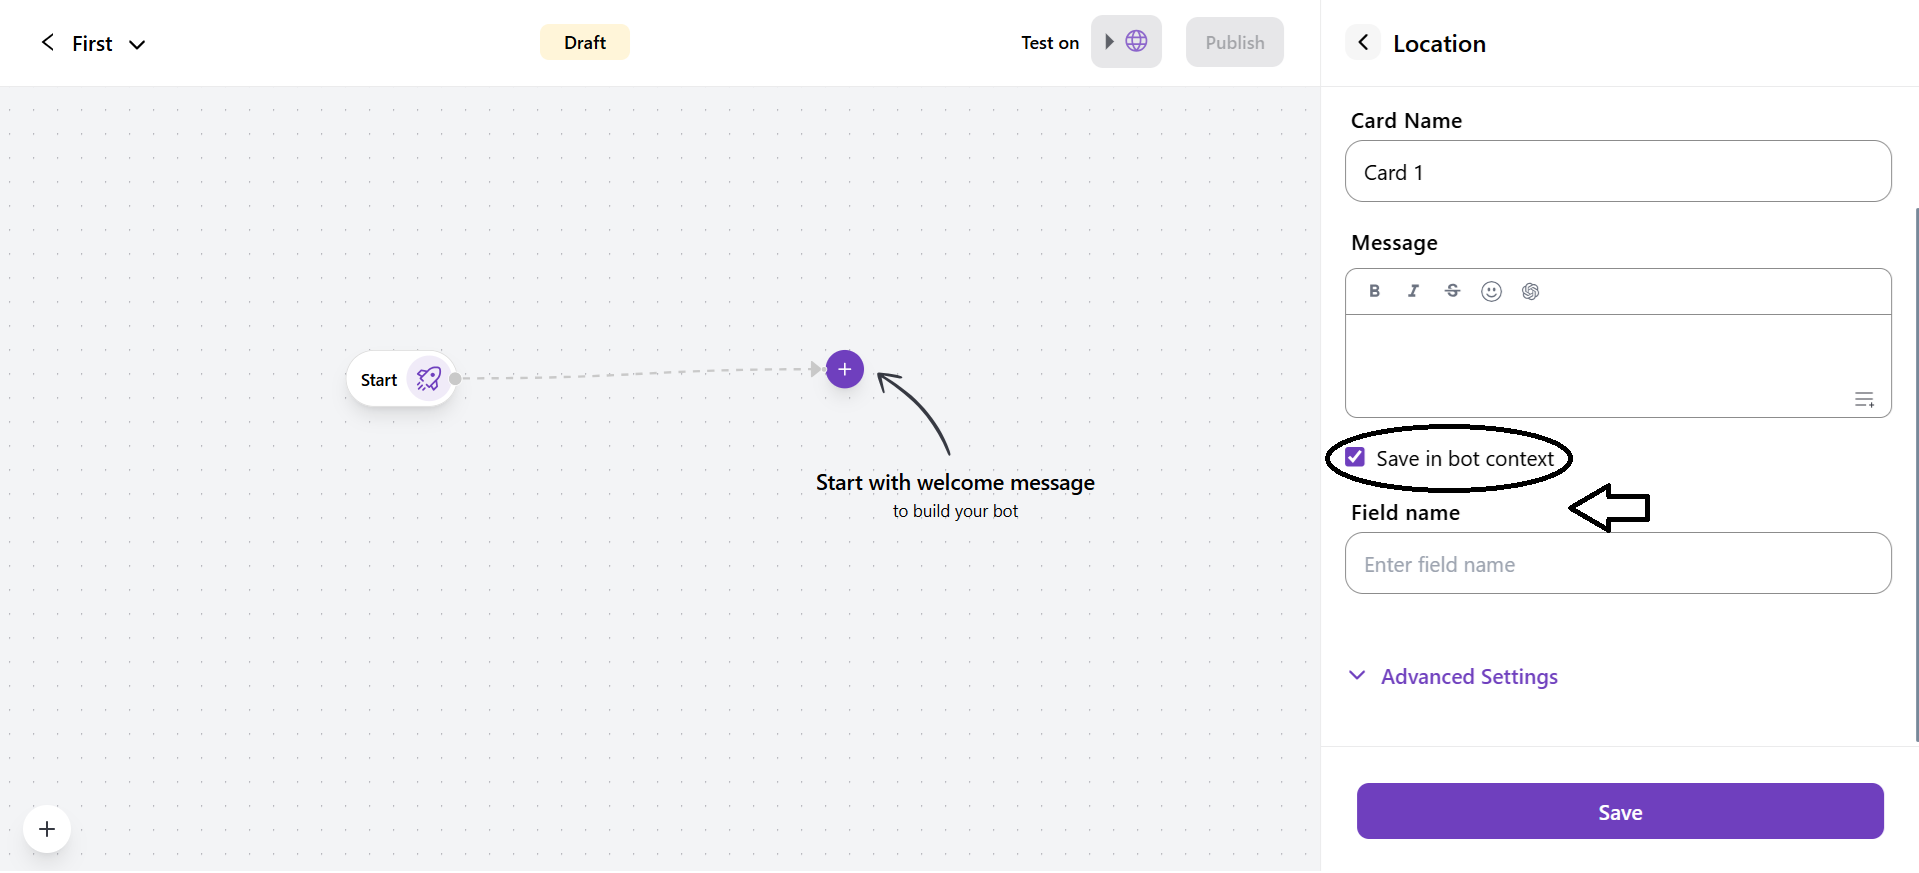
- Save in bot context: If you checked this, this button’s value will be stored in the bot context field. Enter the name of the field.
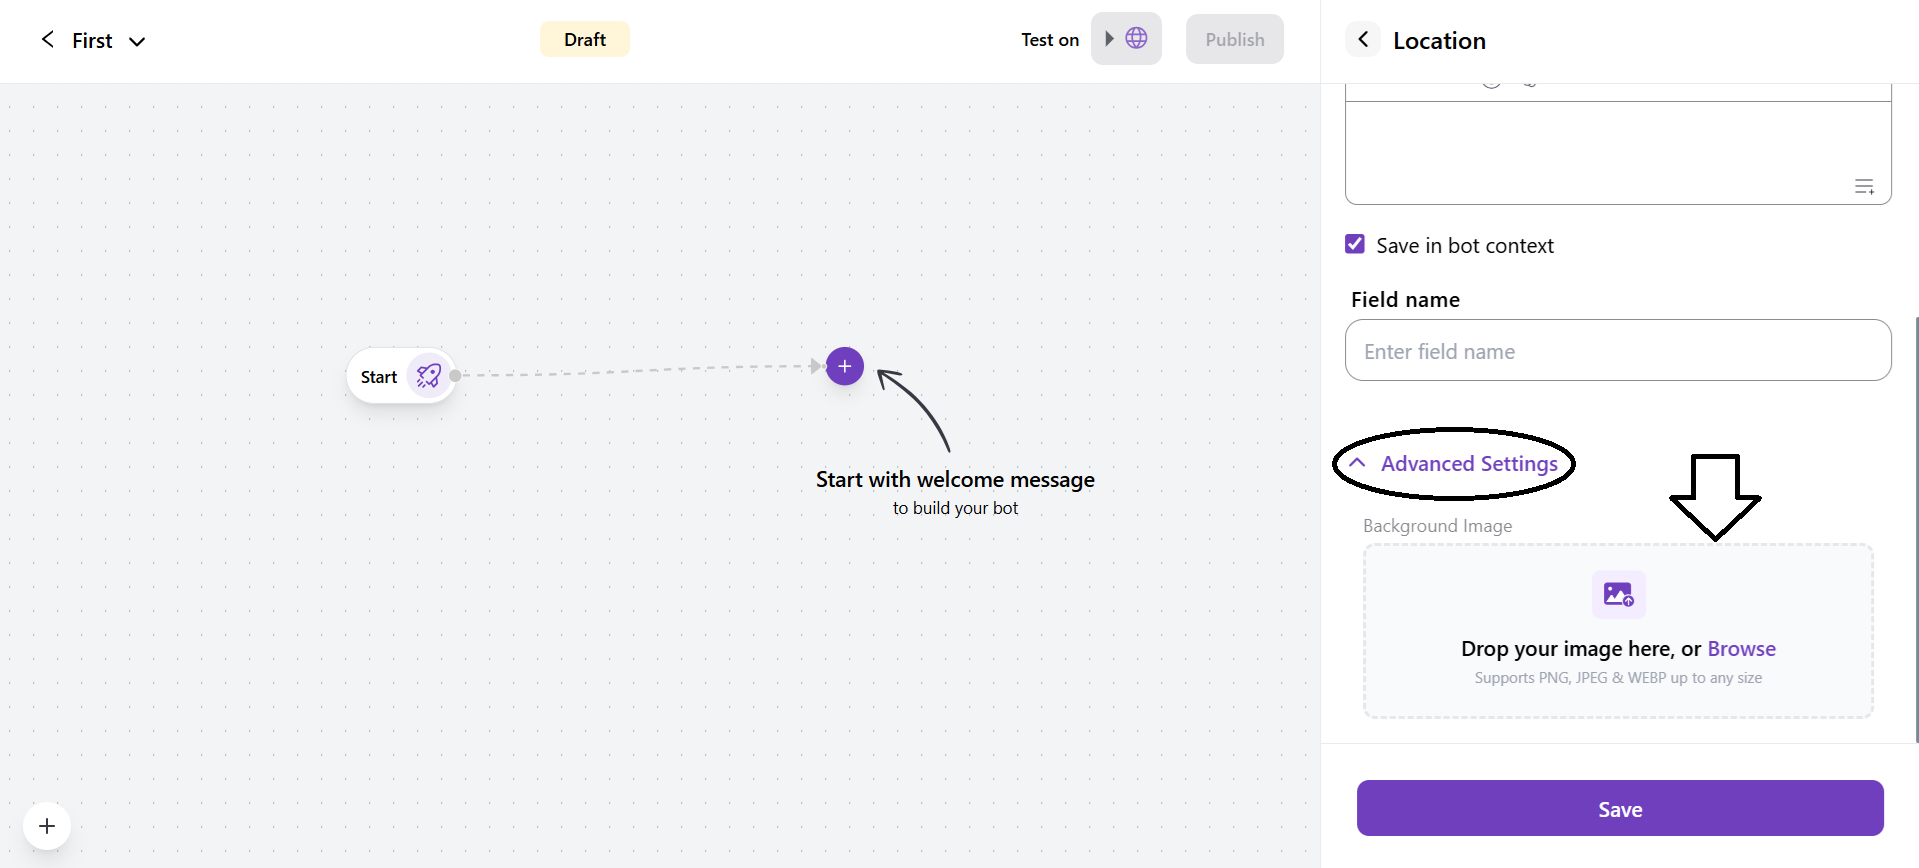
- You can also upload the background image in PNG, JPEG, and WEBP file formats from the advanced settings.
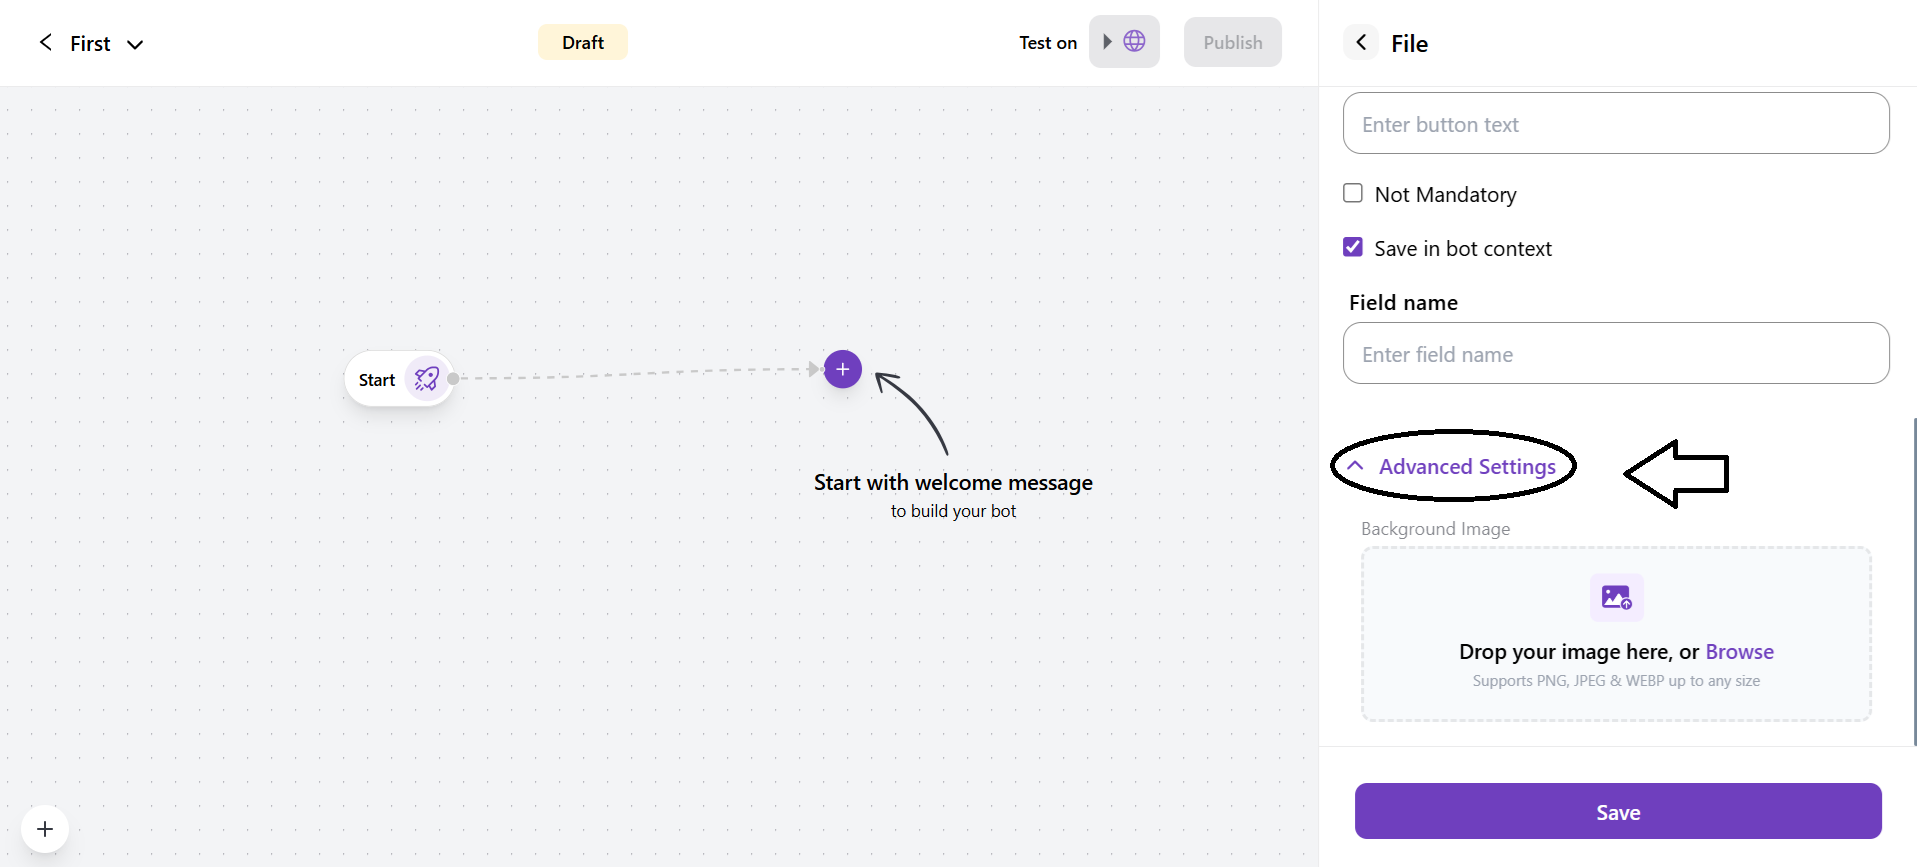
3. File
- File Type: Select the types of files that a customer can upload. Listed below are the file types:
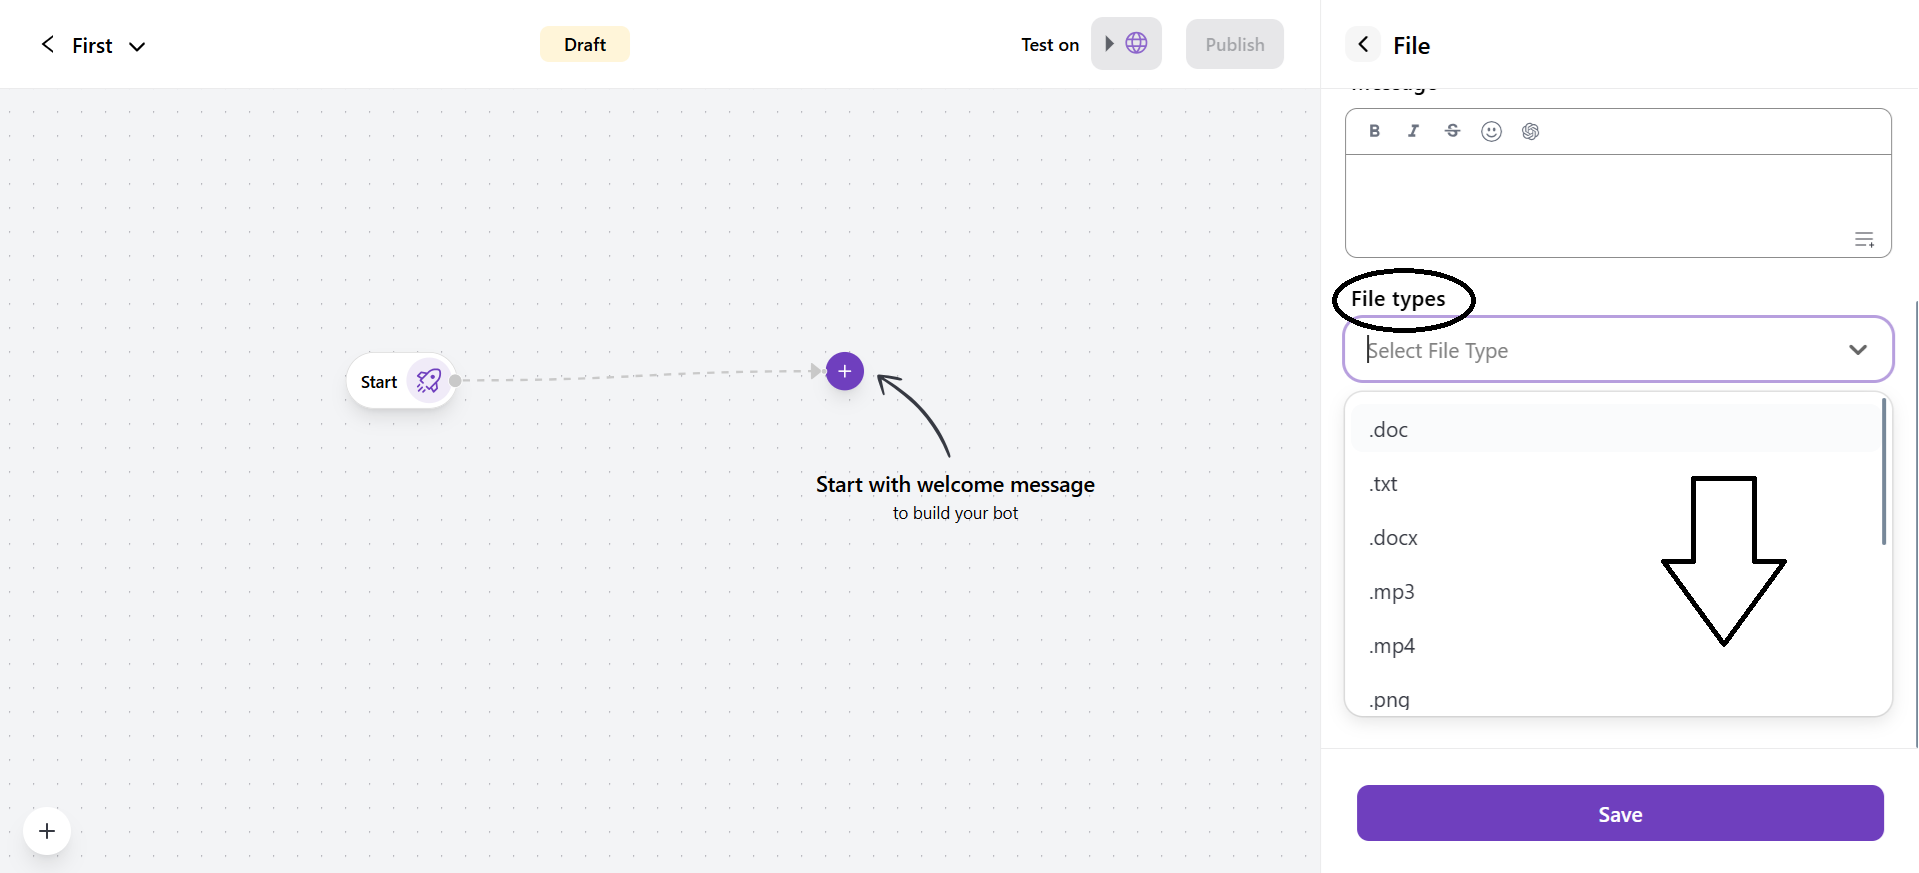
- .doc - .docx - .txt - .mp3 - .mp4 - .png - .zip - .pdf - .jpg - .jpeg - .gif - .ppt
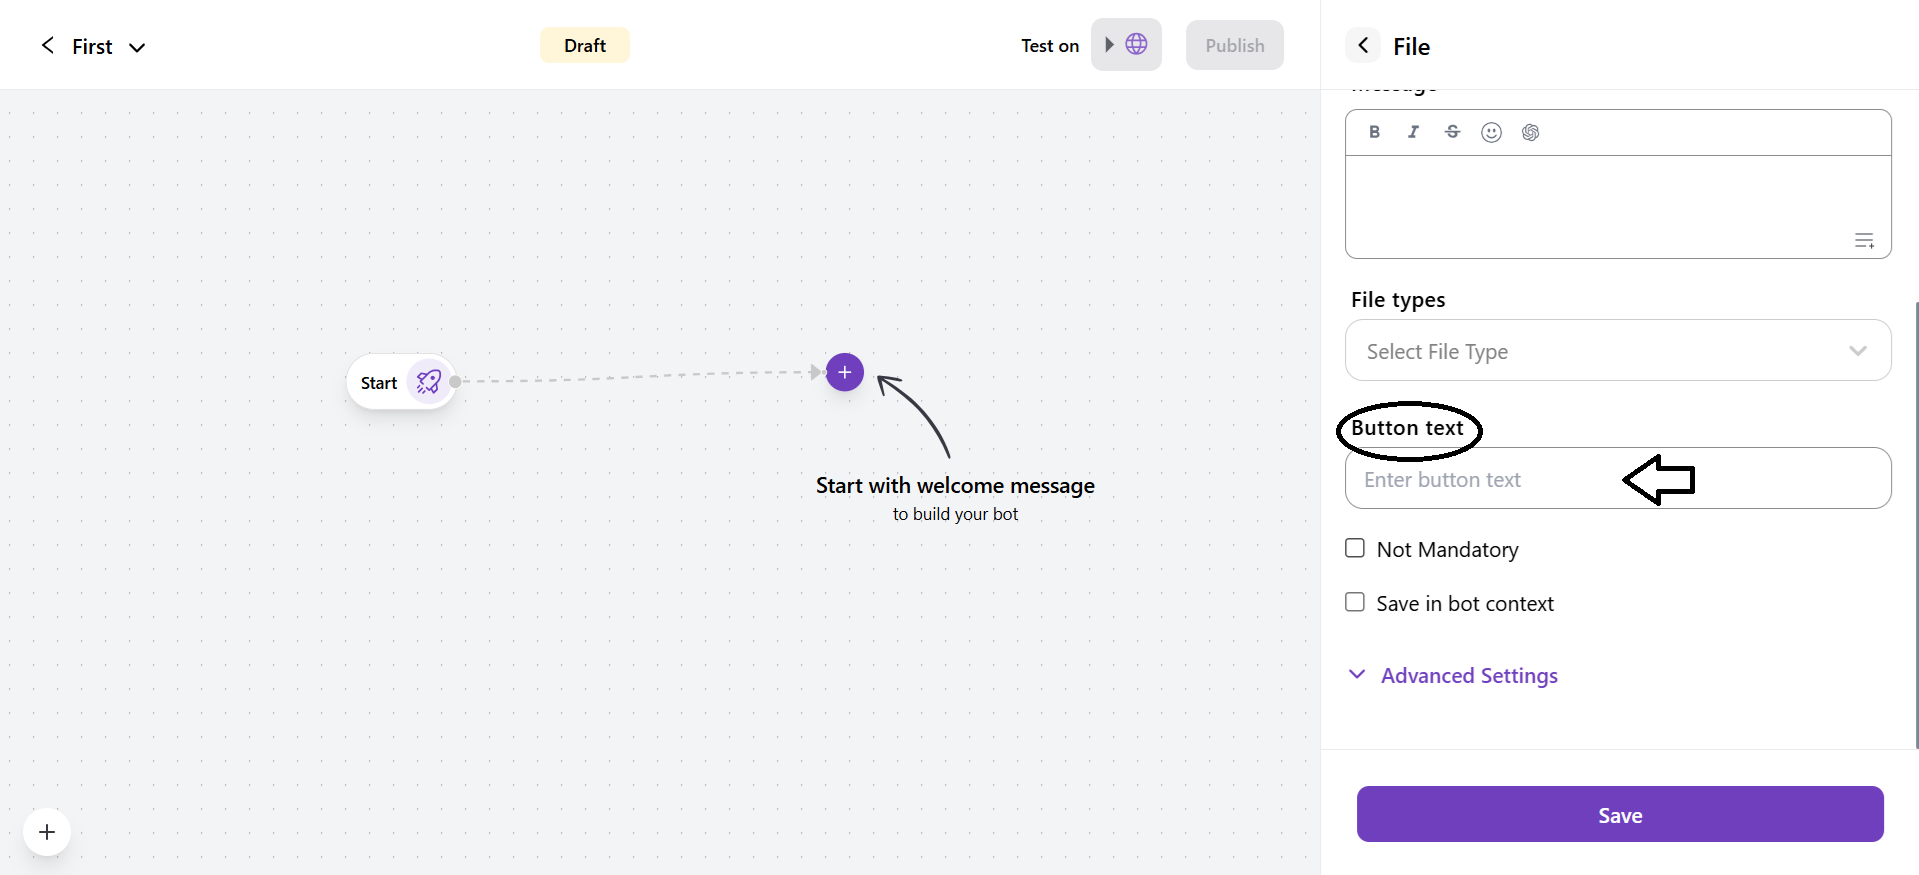
- Enter the button text. The text that will be displayed in the button.
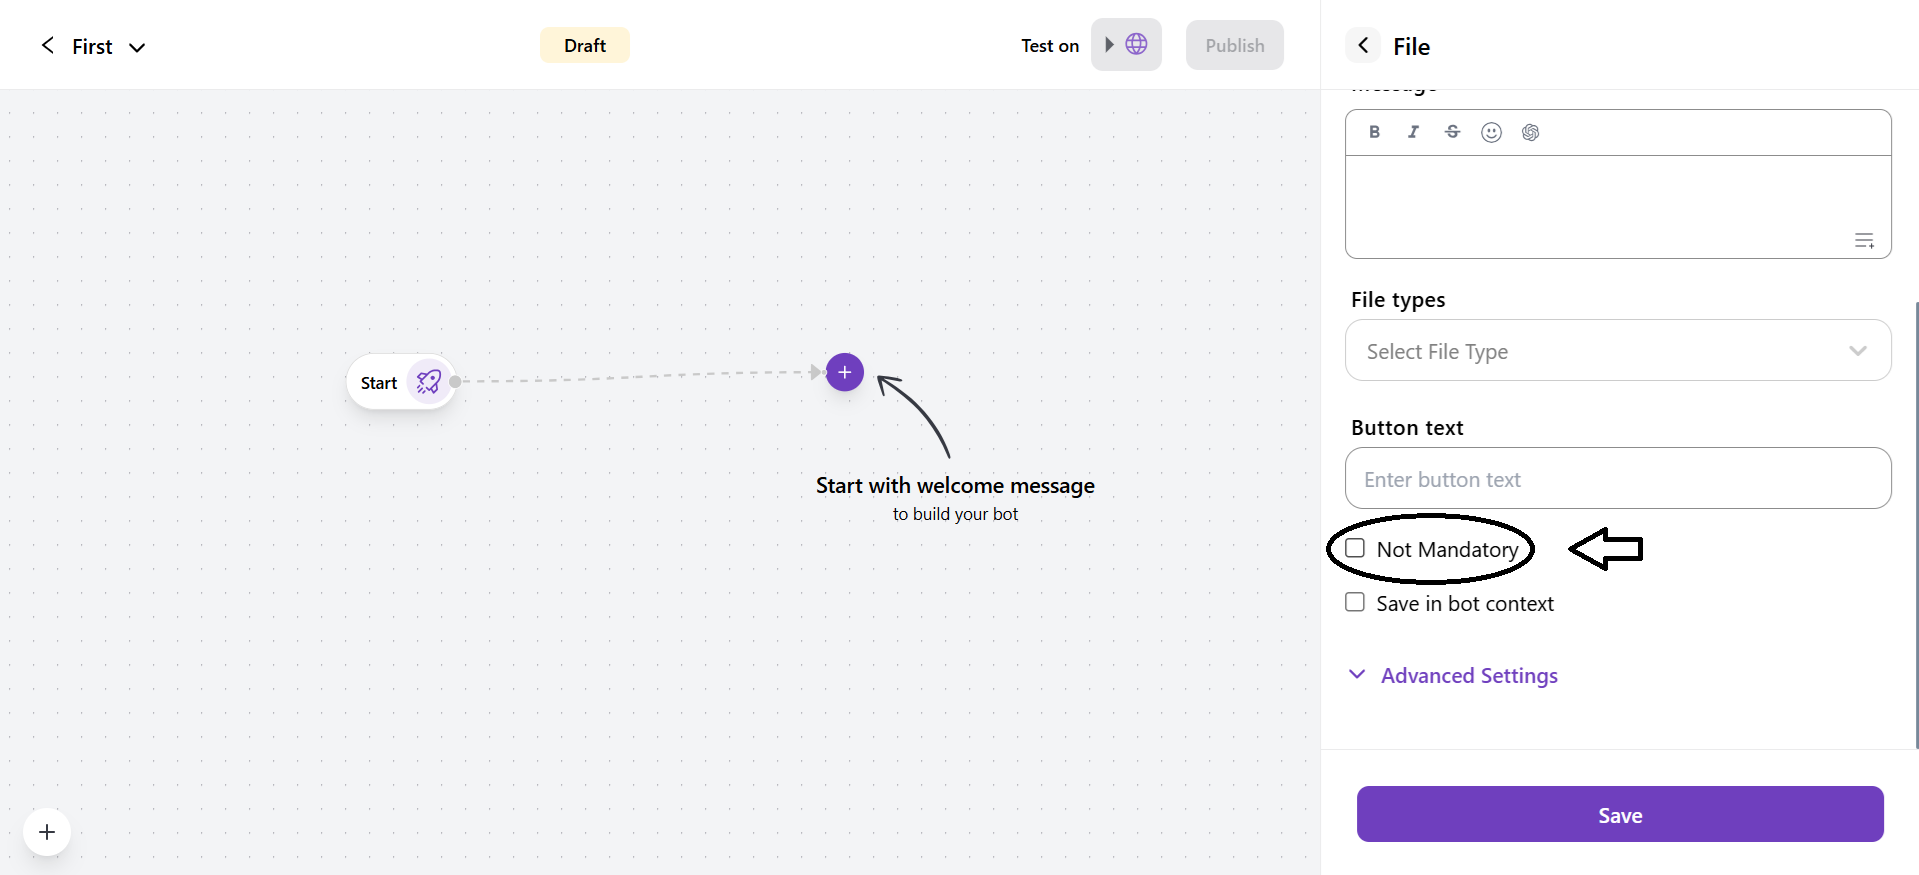
- Not Mandatory: If you checked this option, the customer is not required to upload a file. They can skip this and move forward in the conversation.
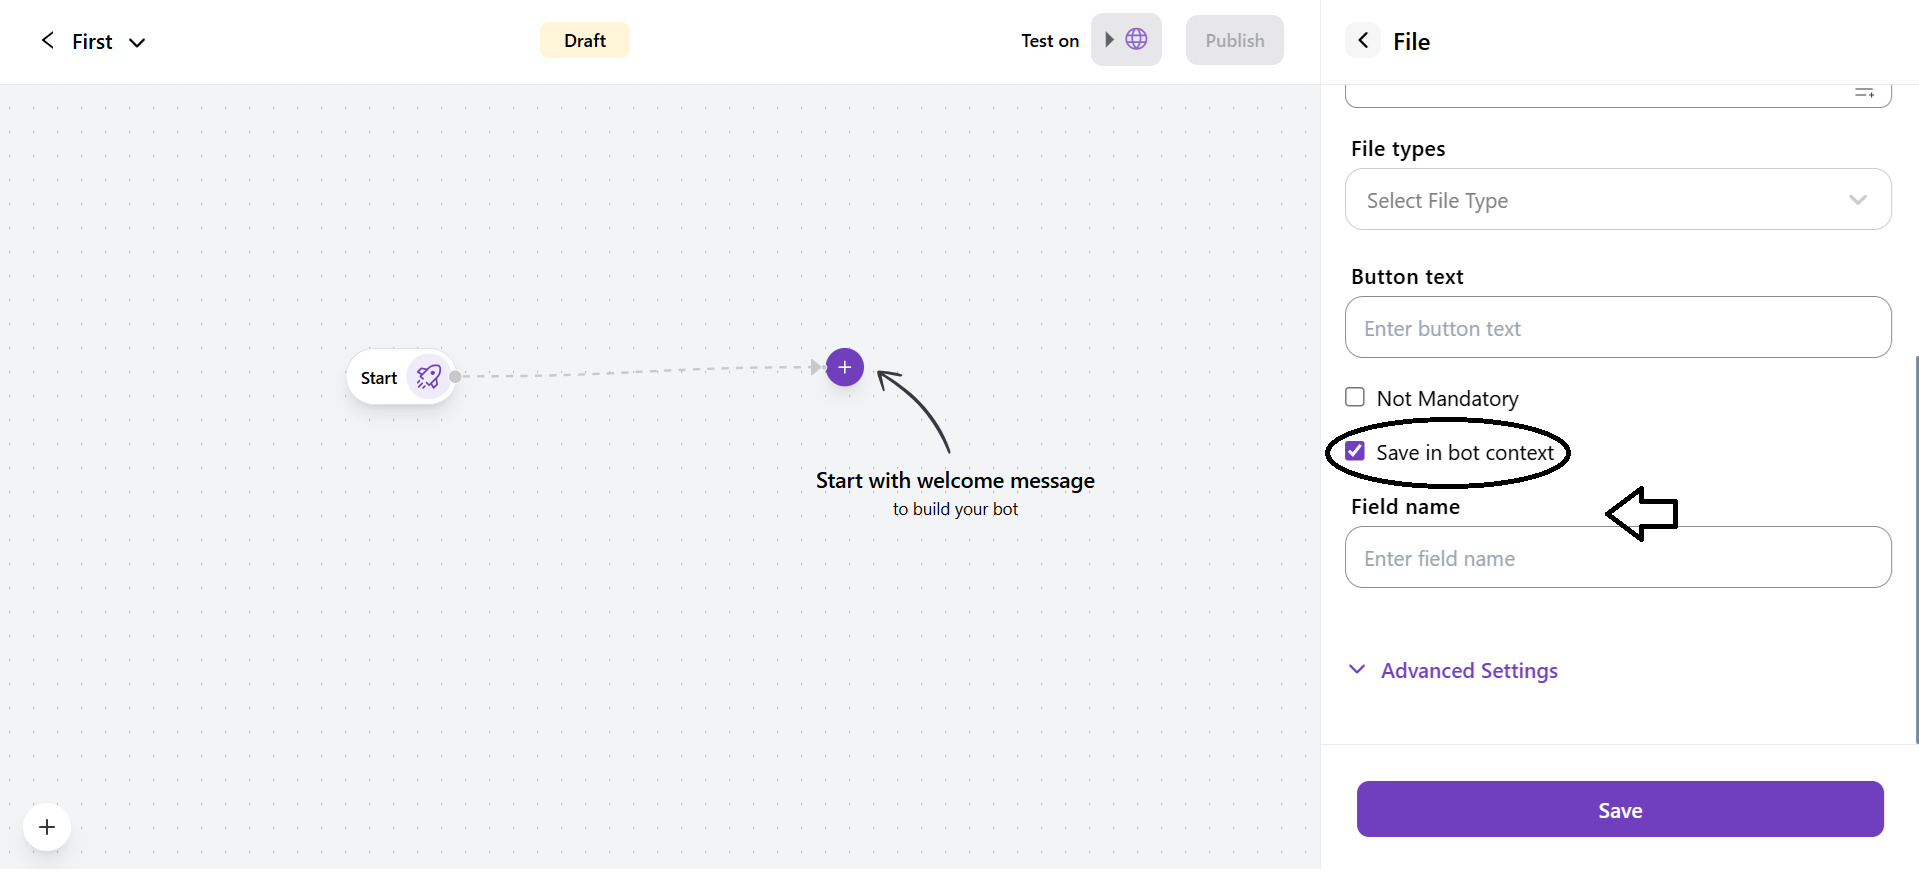
- Save in Bot context: If you checked this, this button’s value will be stored in the bot context field. Enter the name of the field. This later becomes a variable that can be used while writing a message.
- You can also upload the background image in PNG, JPEG, and WEBP file formats from the advanced settings.
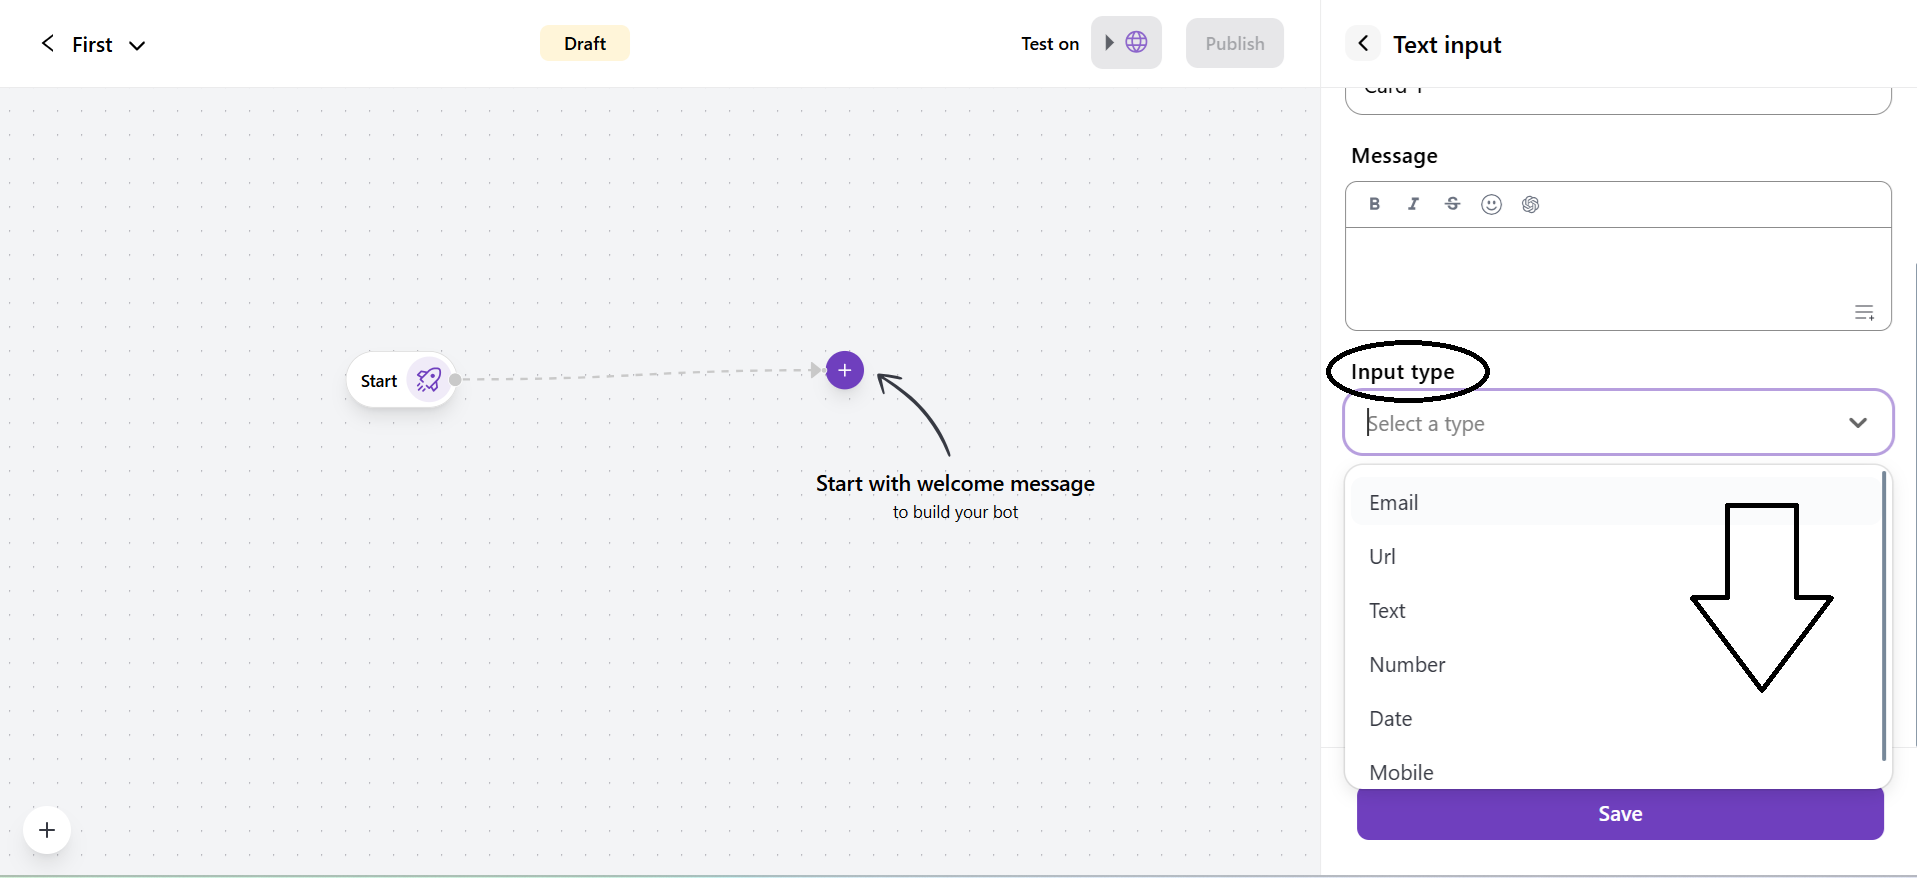
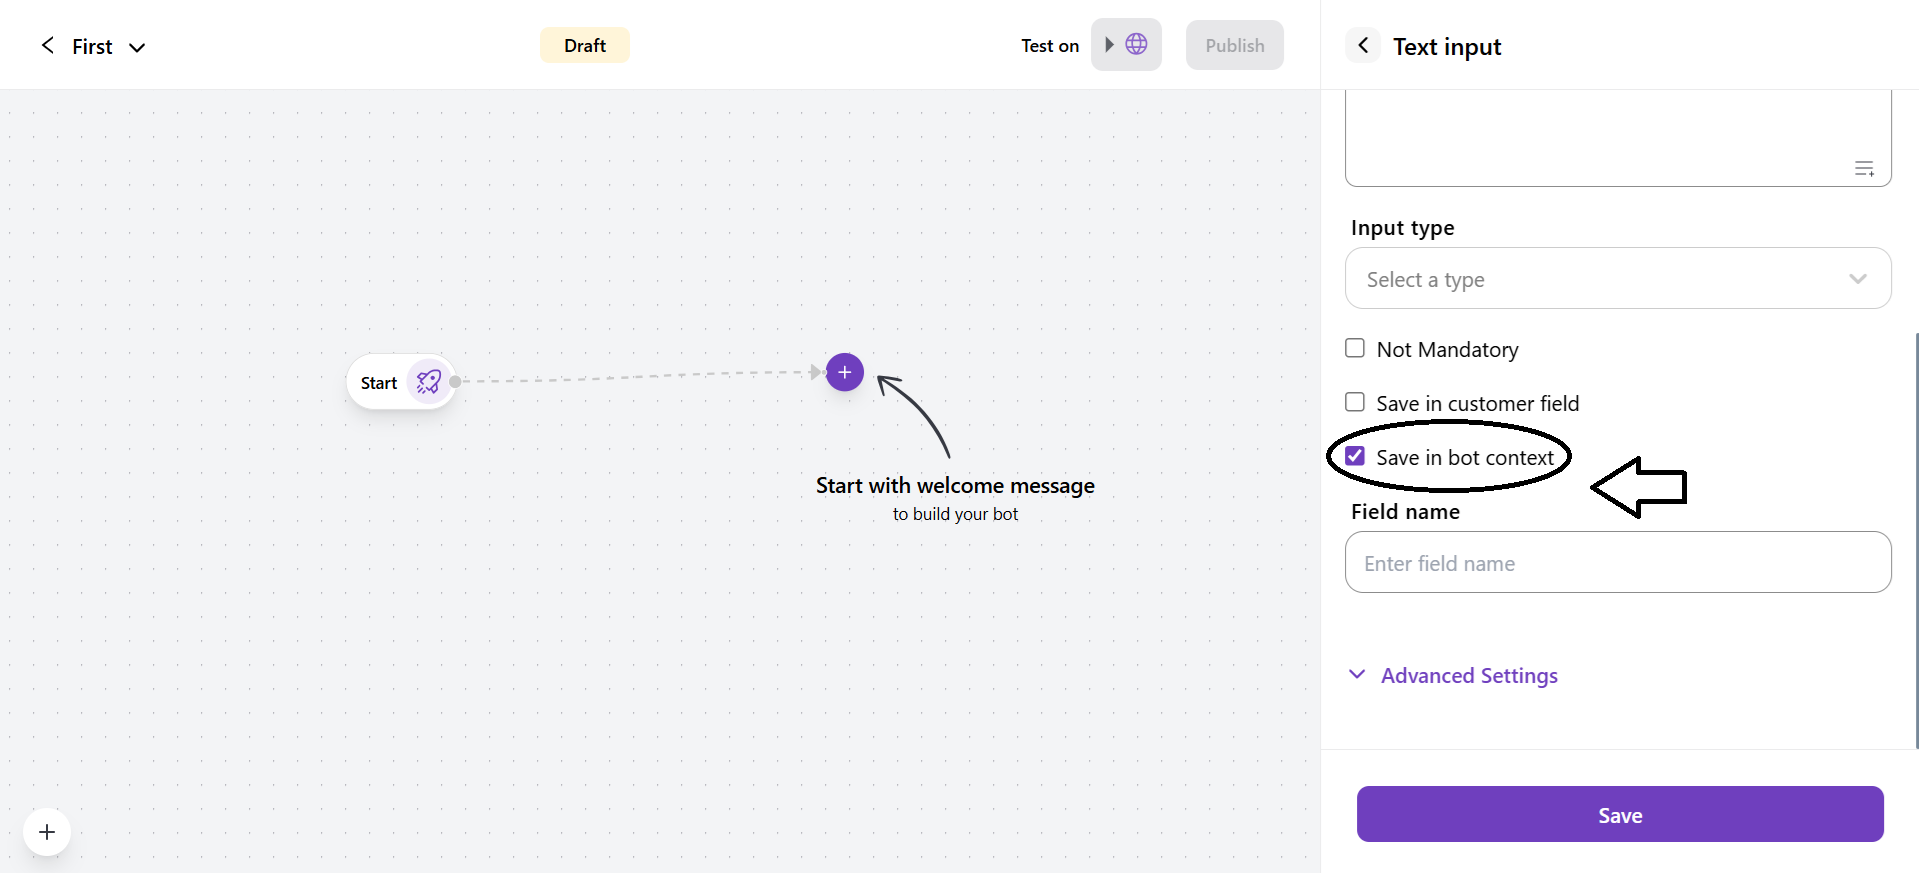
4. Text
It allows you to collect customer responses, including email, URL, number, text, date, and mobile number.
- Input Type: It takes the input from the customer on basis of the input type selected.
- Not mandatory: If you checked this option, the customer is not required to upload a file. They can skip this and move forward in the conversation.
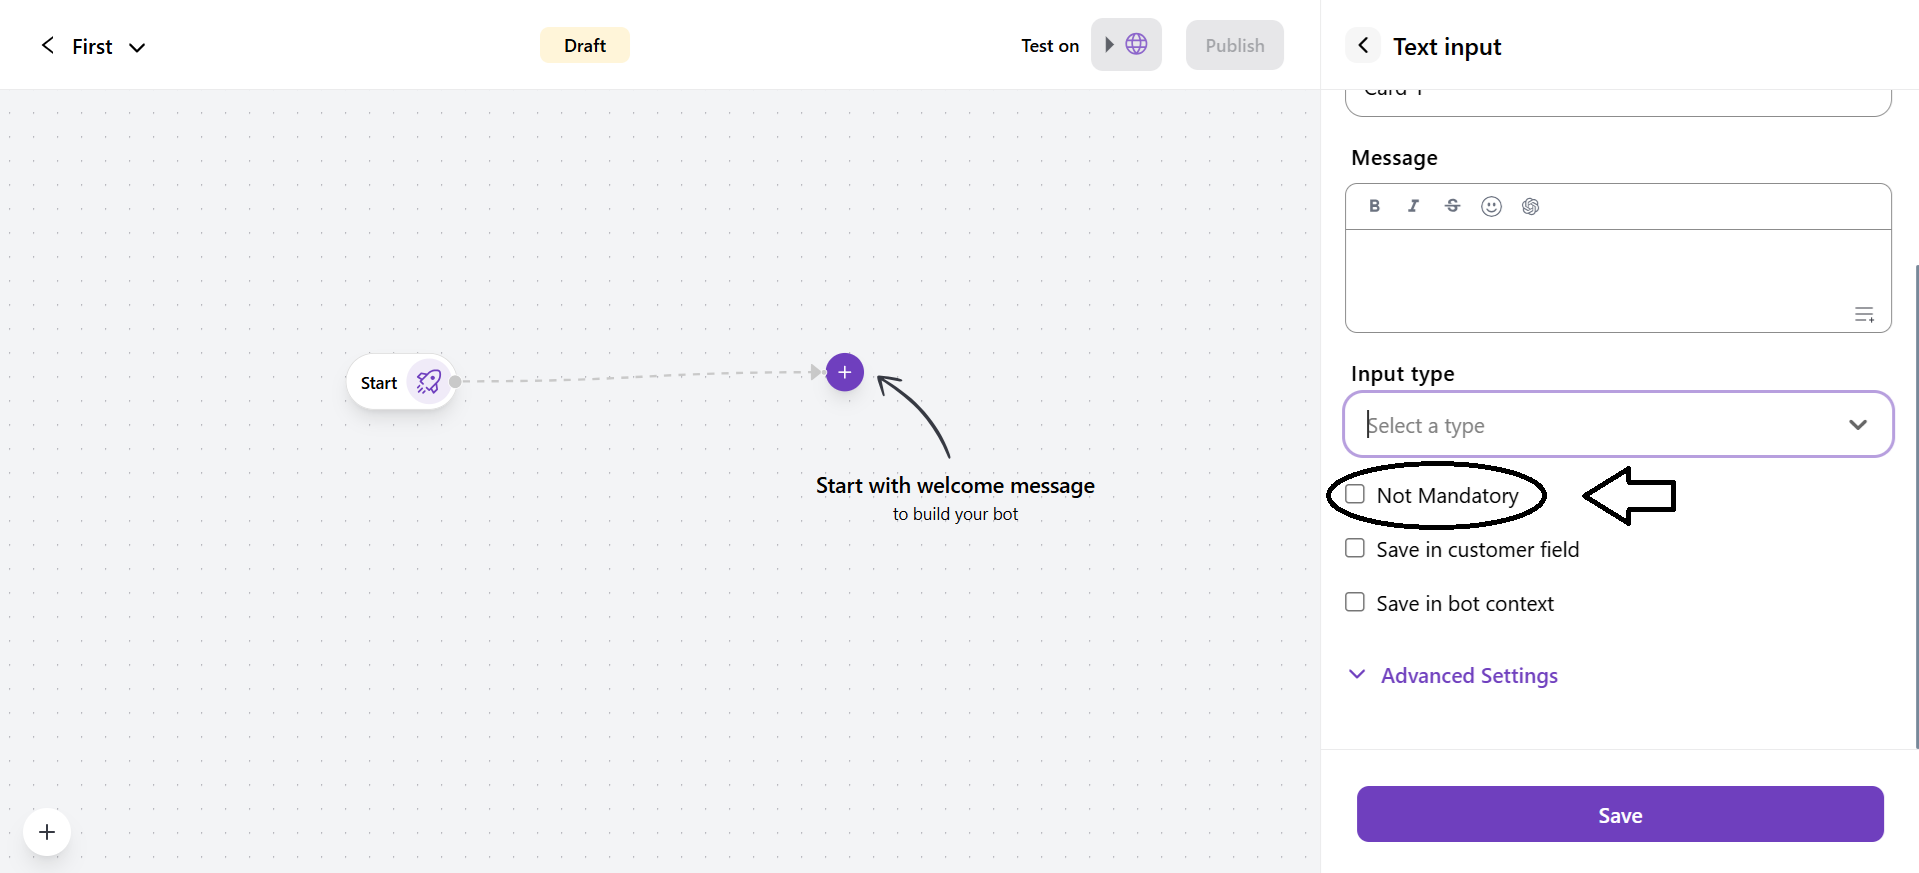
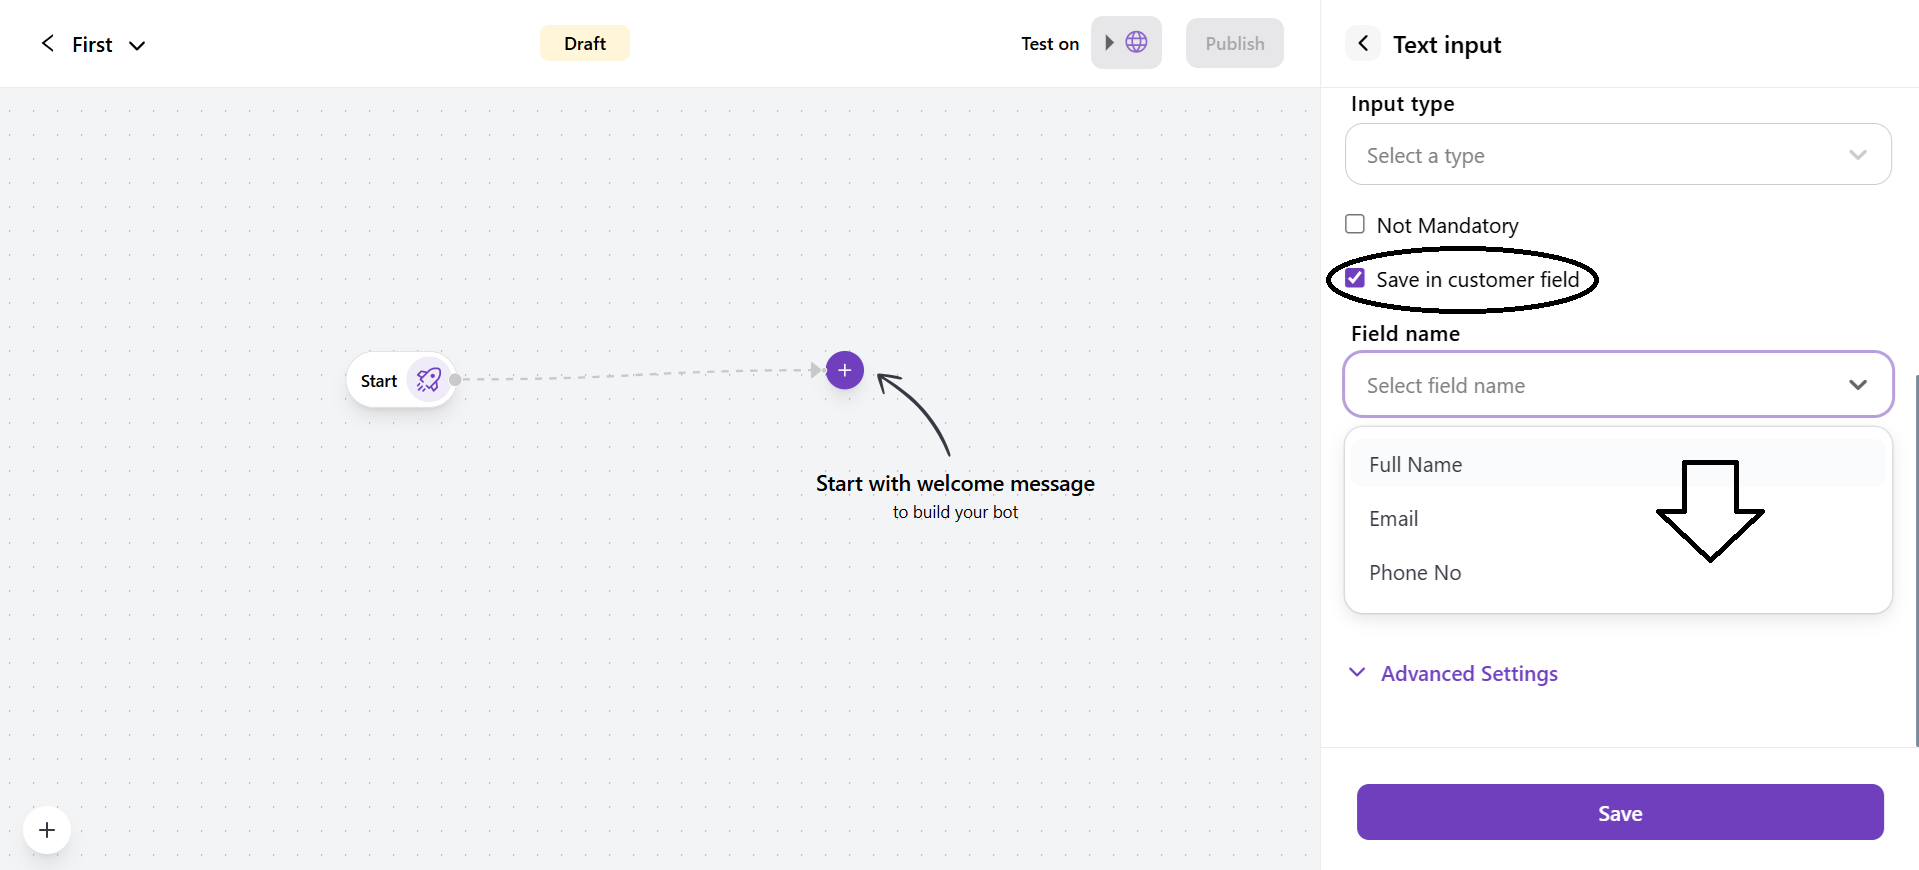
- Save in customer field: If you checked this, the button’s value will be stored in a customer fields. Select the customer field form the drop-down.
- Save in bot context: If you checked this, this button’s value will be stored in the bot context field. Enter the name of the field. This later becomes a variable that can be used while writing a message.
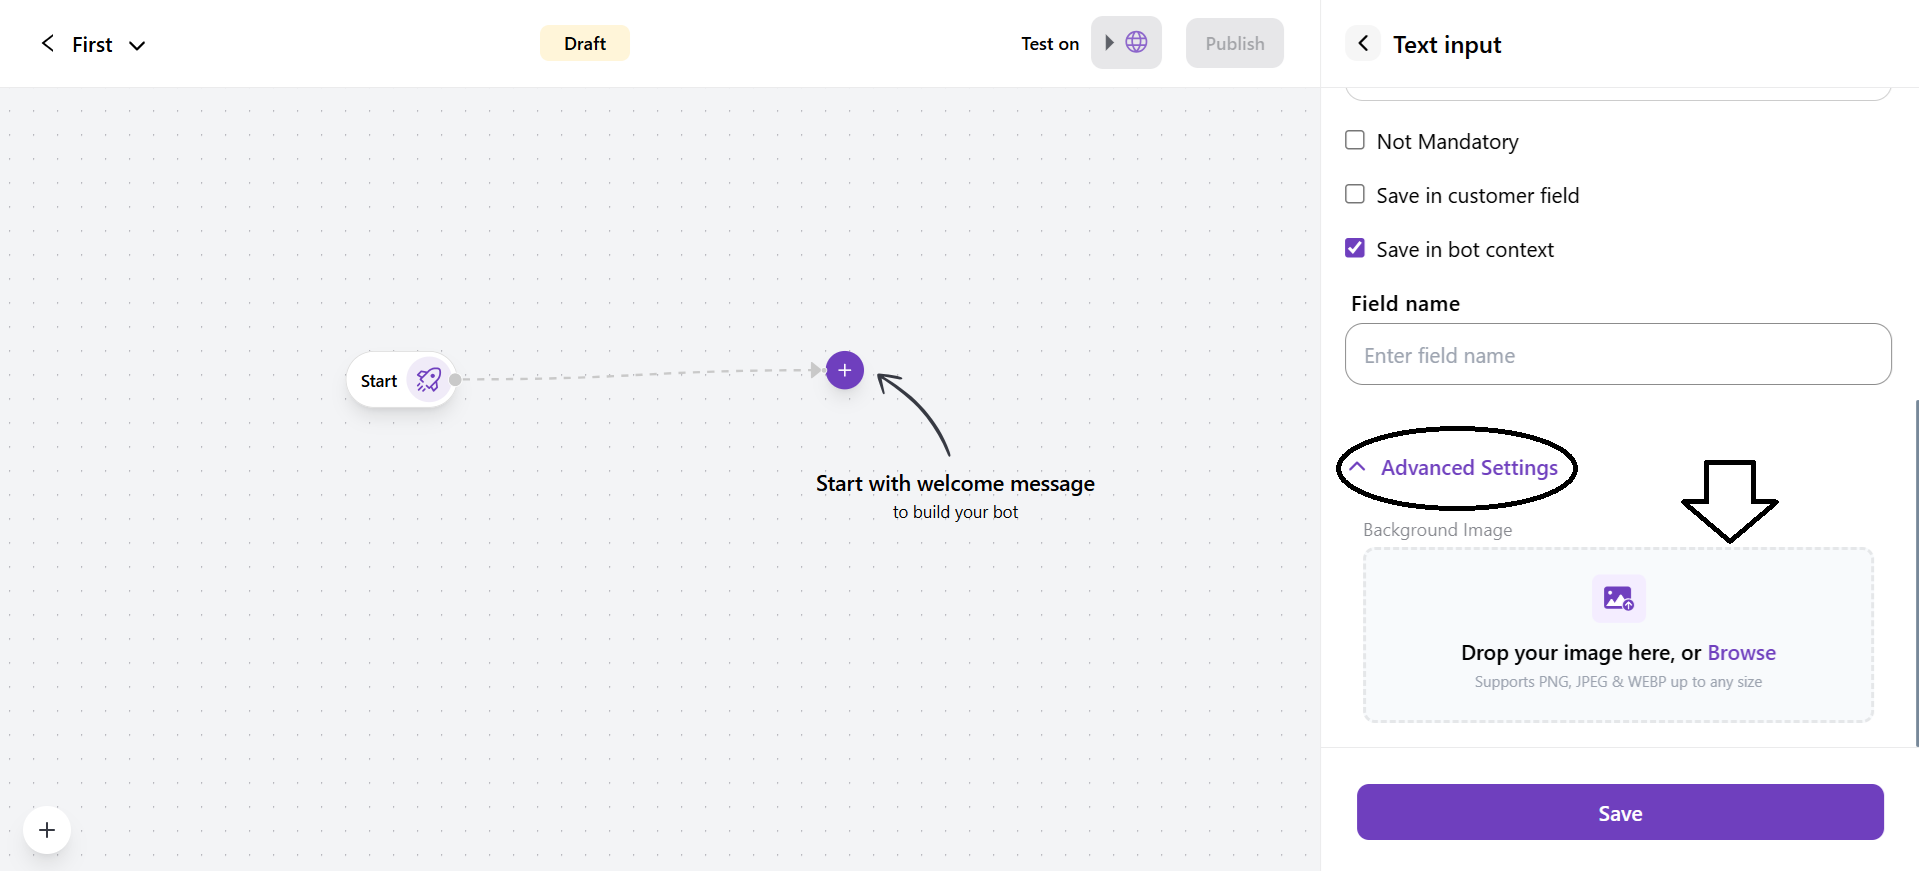
- You can also upload the background image in PNG, JPEG, and WEBP file formats from the advanced settings.
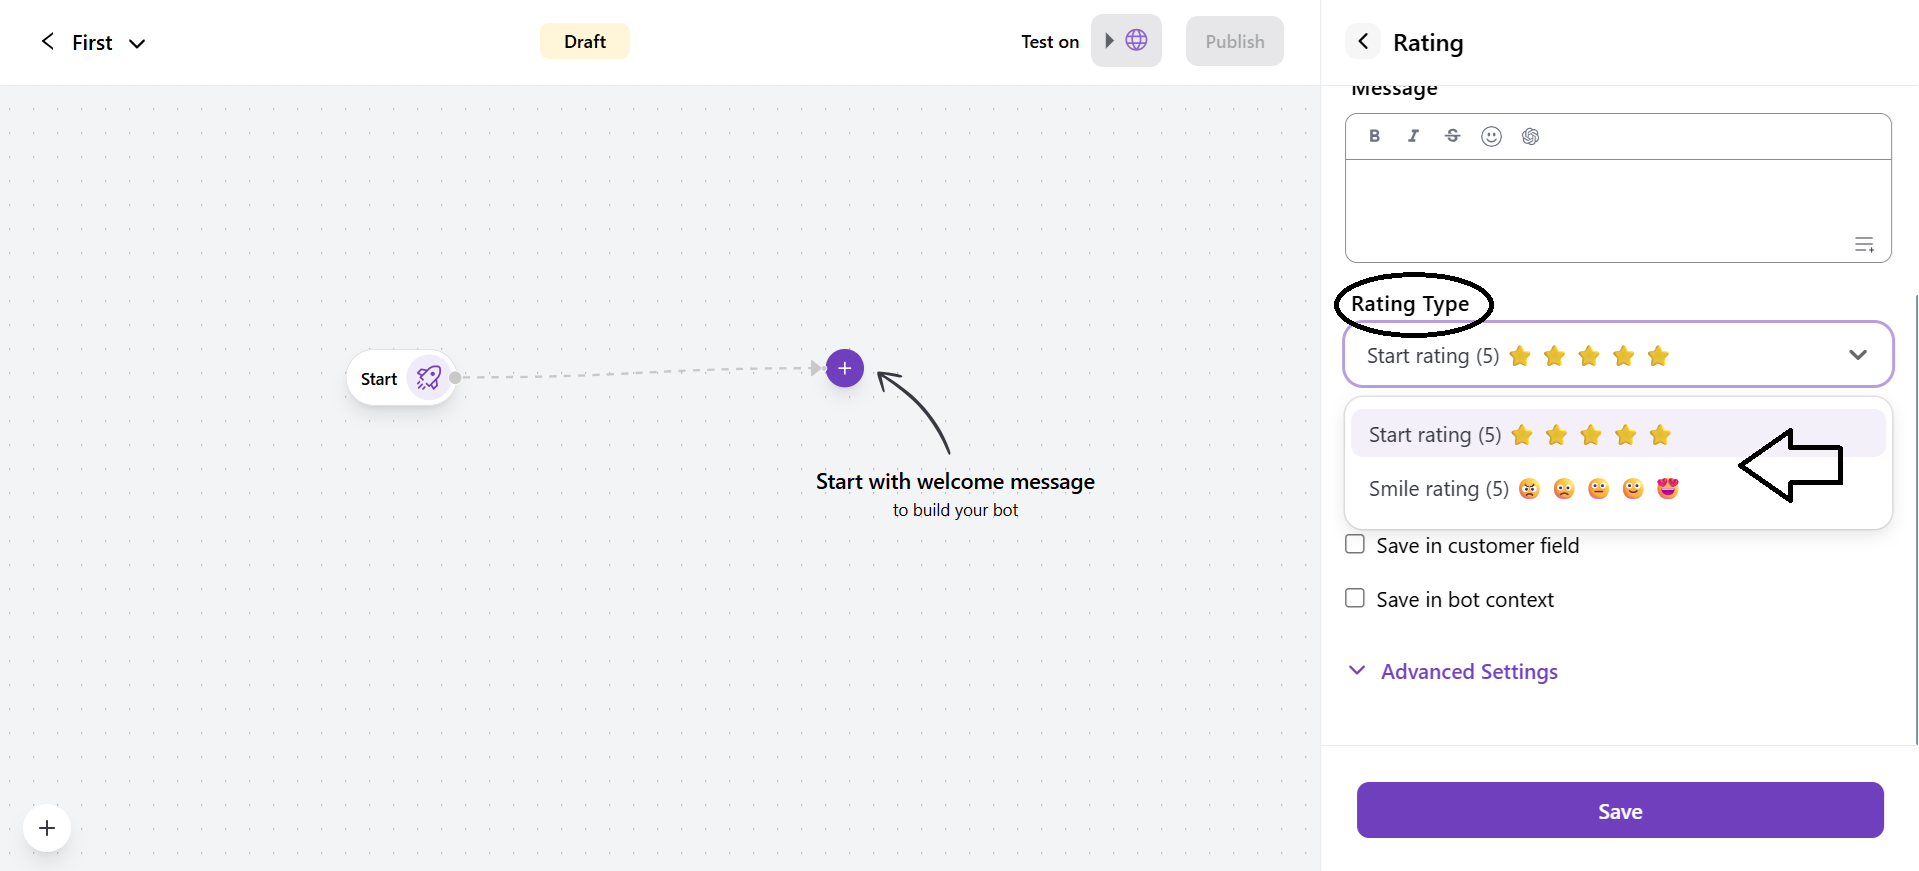
5. Rating
It allows the bot to collect customer ratings from the customers in the form of stars or emojis.
- Rating Type: You can select the rating type. There are two types of rating: Star rating and Smile rating.
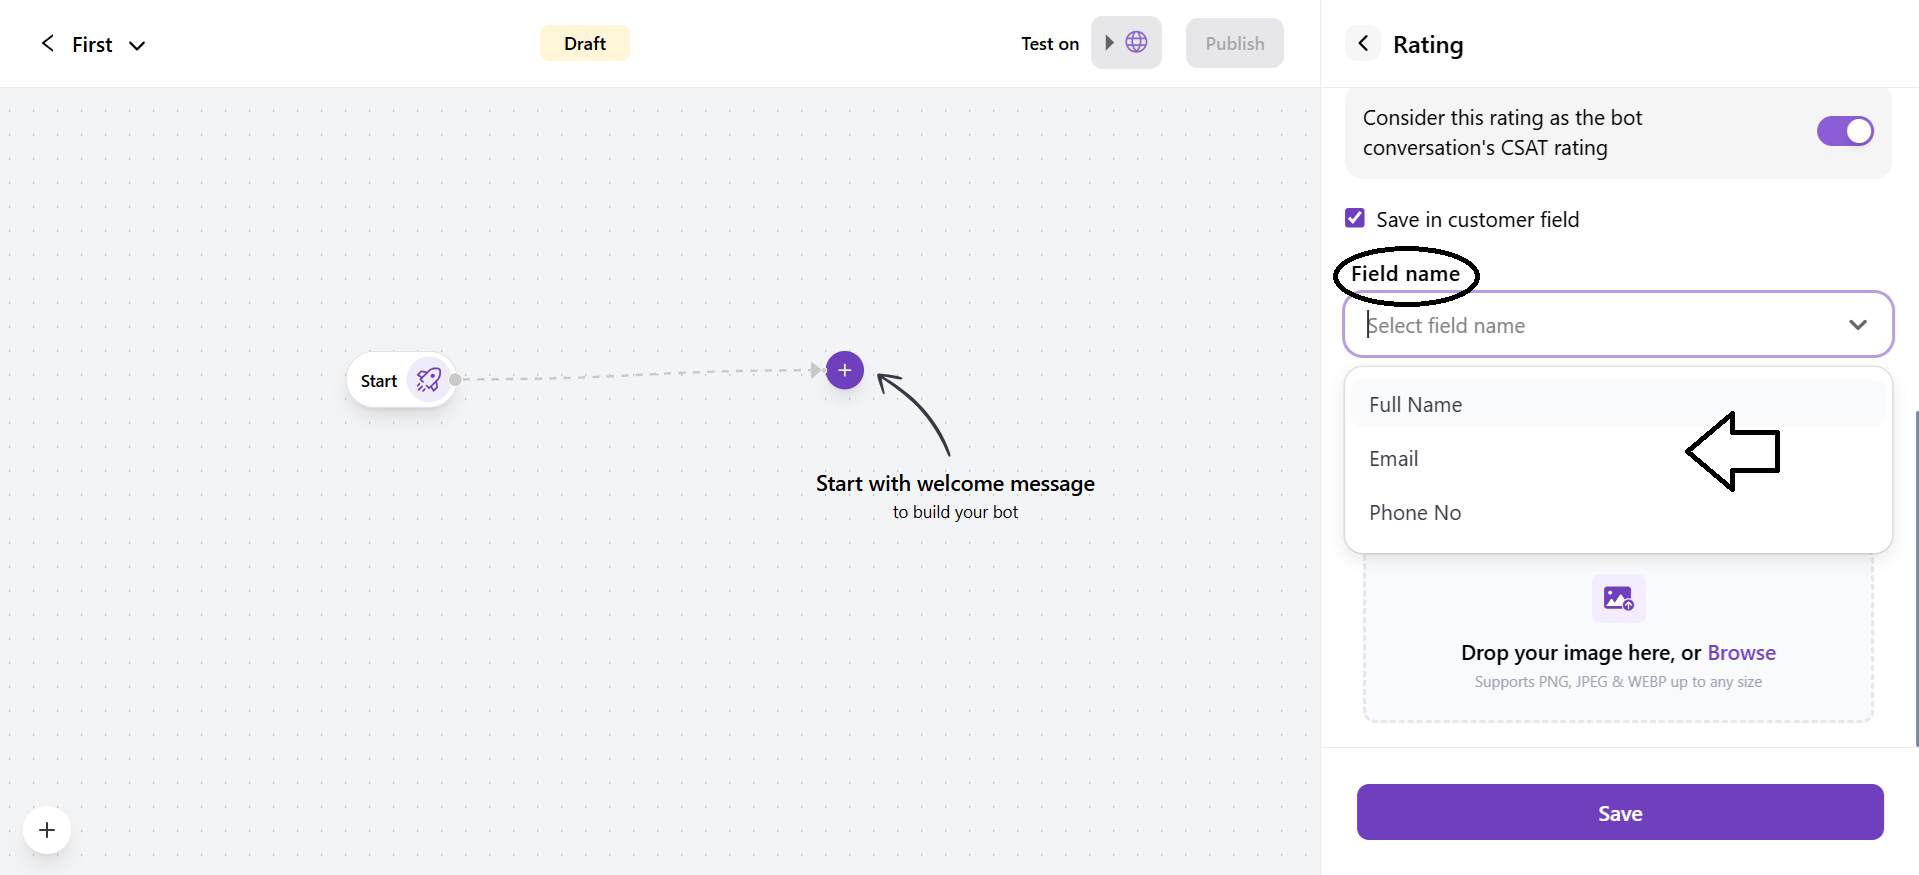
- Consider this rating as the bot conversation’s CSAT rating: This option allows you to add the customer rating under CSAT ratings.

- If toggled On, the rating will be included in your bot’s conversation CSAT rating to track how satisfied the customers are.
- If toggled Off, the rating will be collected but not included in the CSAT ratings.
- Save in customer field: If you checked this, the button’s value will be stored in a customer fields. Select the customer field from the drop-down.
-
Save in bot context: If you checked this, this button’s value will be stored in the bot context field. Enter the name of the field. This later becomes a variable that can be used while writing a message.
-
You can also upload the background image in PNG, JPEG, and WEBP file formats from the advanced settings.
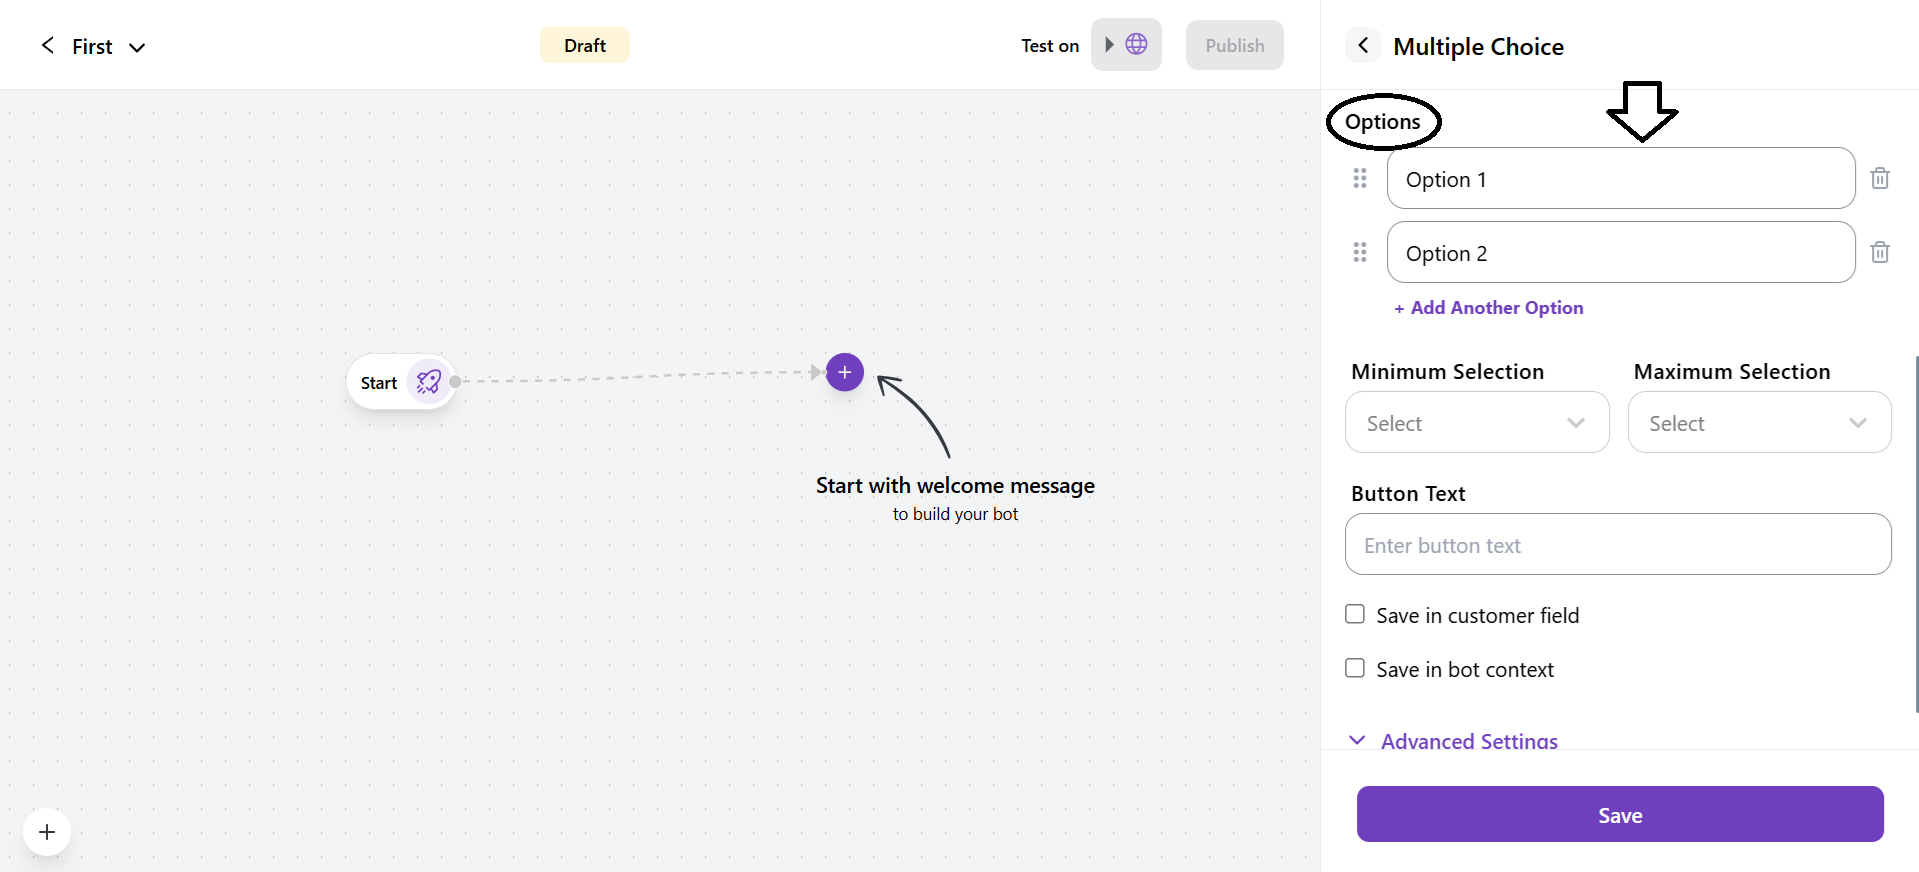
6. Multiple Choice
It helps to collect customer responses by allowing customers to select from the predefined options.
- Options
- You can add the options in this field so that the customer can select. By default, you have two options with names Option 1 and Option 2. You can edit the name of the options as required.
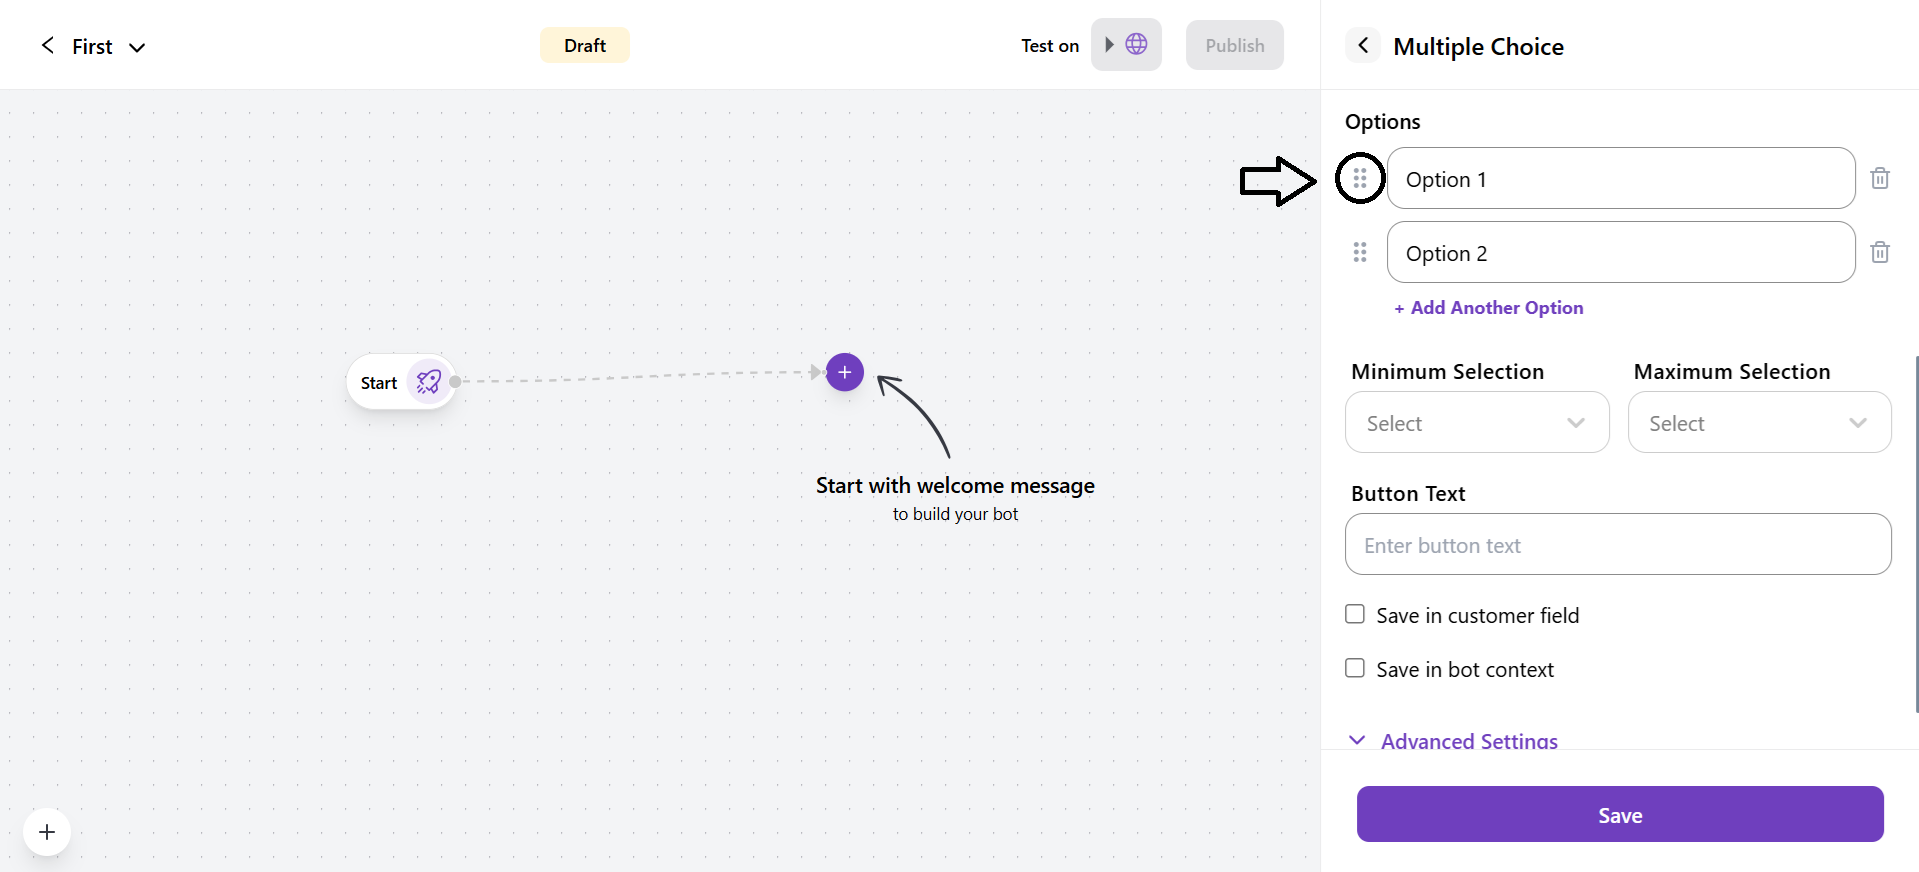
- You can adjust the options in sequential order with the drag-and-drop setting.
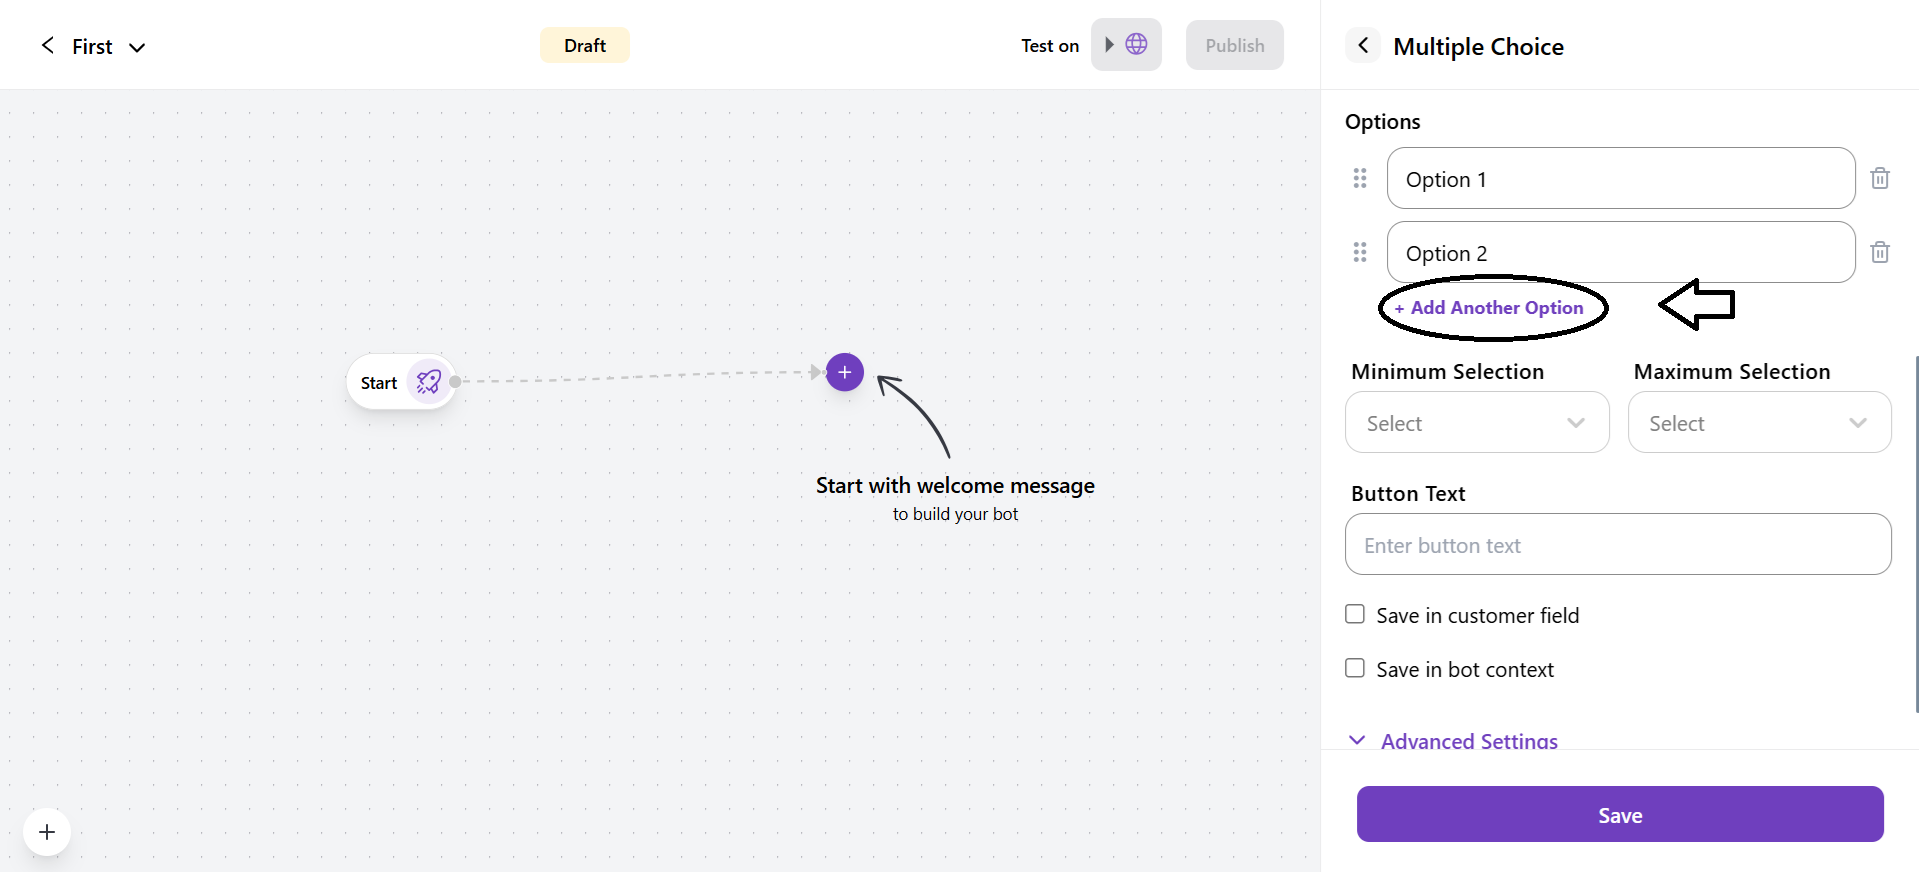
- You can also add more options from the + Add Another Option.
1. Maximum Selection: Set the maximum number of options a customer can select.
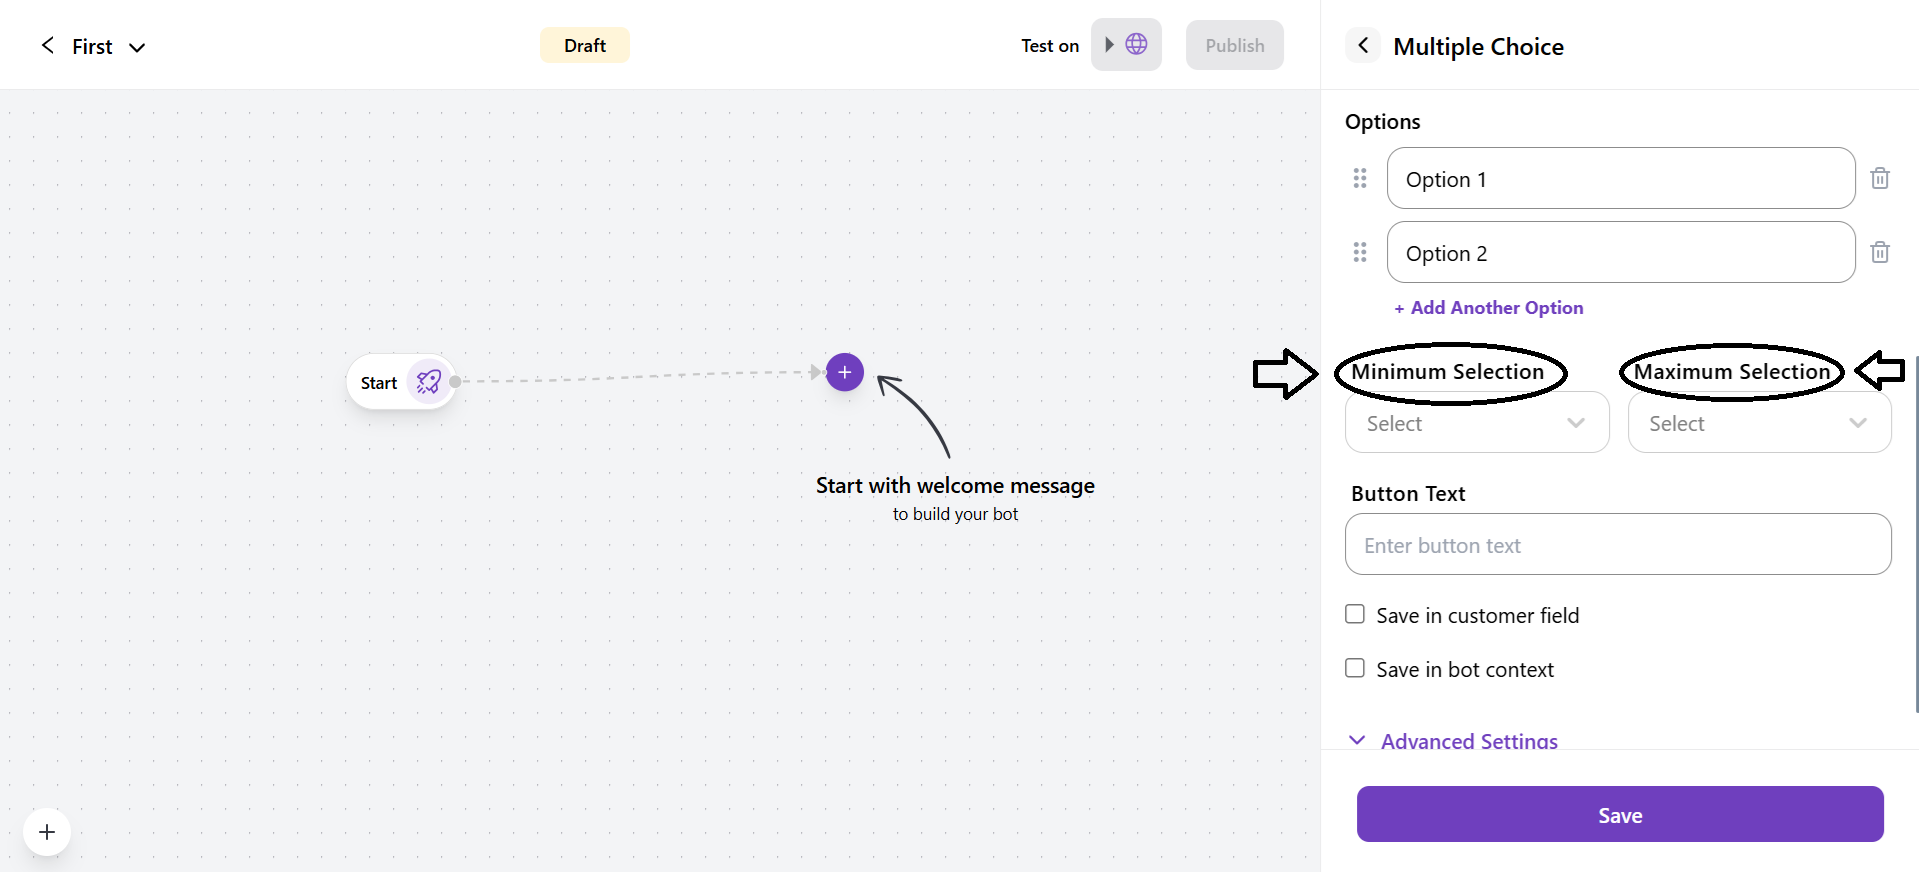
2. Minimum Selection: Set the minimum number of options a customer needs to select to move forward in the conversation.
-
Button text: Enter the text shown on the button when the customer clicks after selecting their choices.
-
Save in customer field: If you checked this, the button’s value will be stored in a customer fields.
-
Save in bot context: If you checked this, this button’s value will be stored in the bot context field. Enter the name of the field. This later becomes a variable that can be used while writing a message.
-
You can also upload the background image in PNG, JPEG, and WEBP file formats from the advanced settings.

