It defines the company’s active business hours to manage support queries and tickets efficiently.
You can add Business Hours with the step given below:
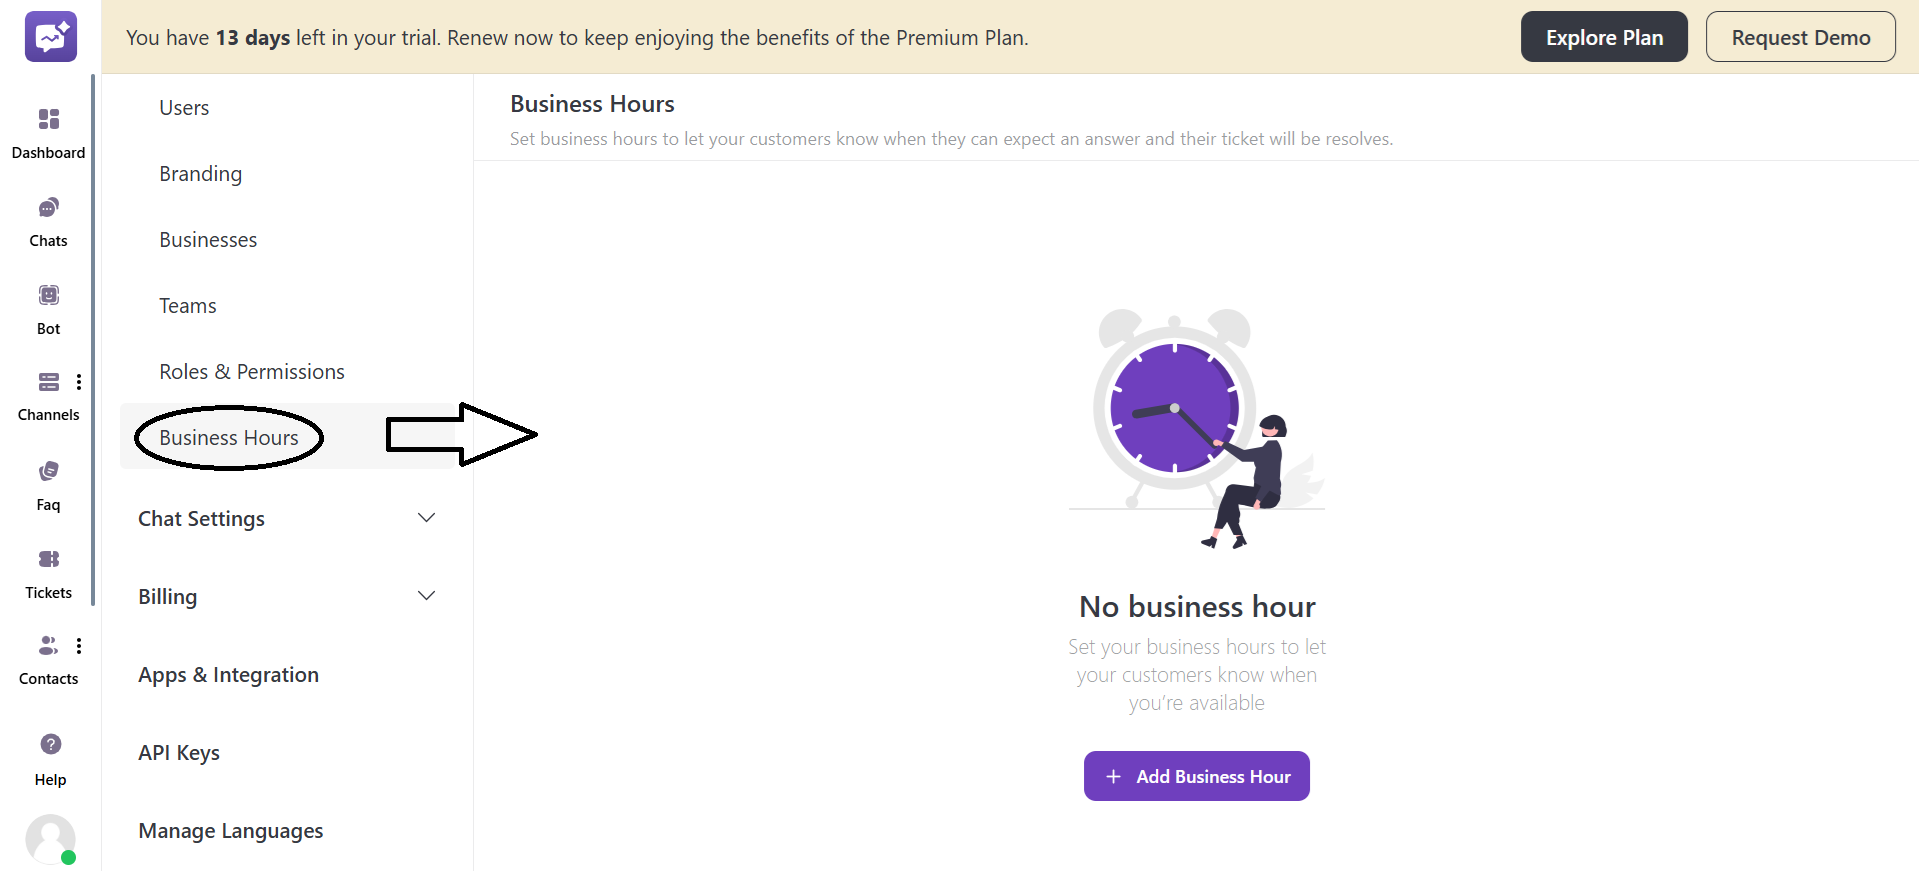
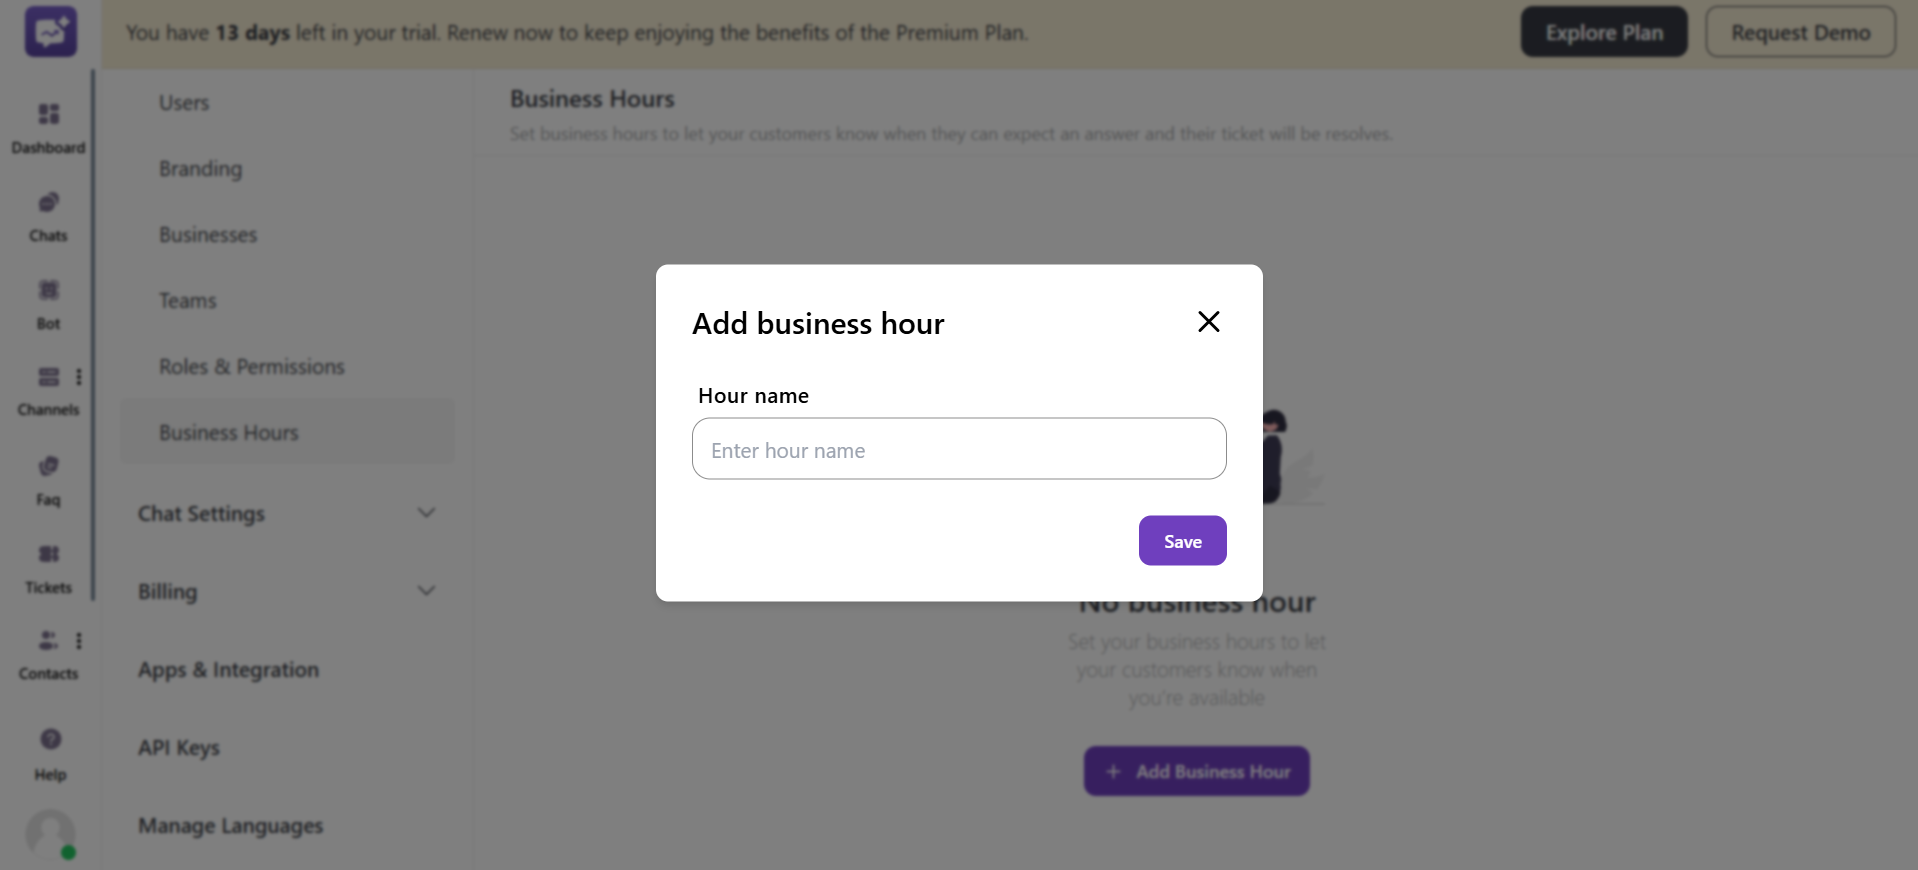
1. Click on + Add Business Hours.
2. Enter the name of the Hour.
3. Select Timezone.
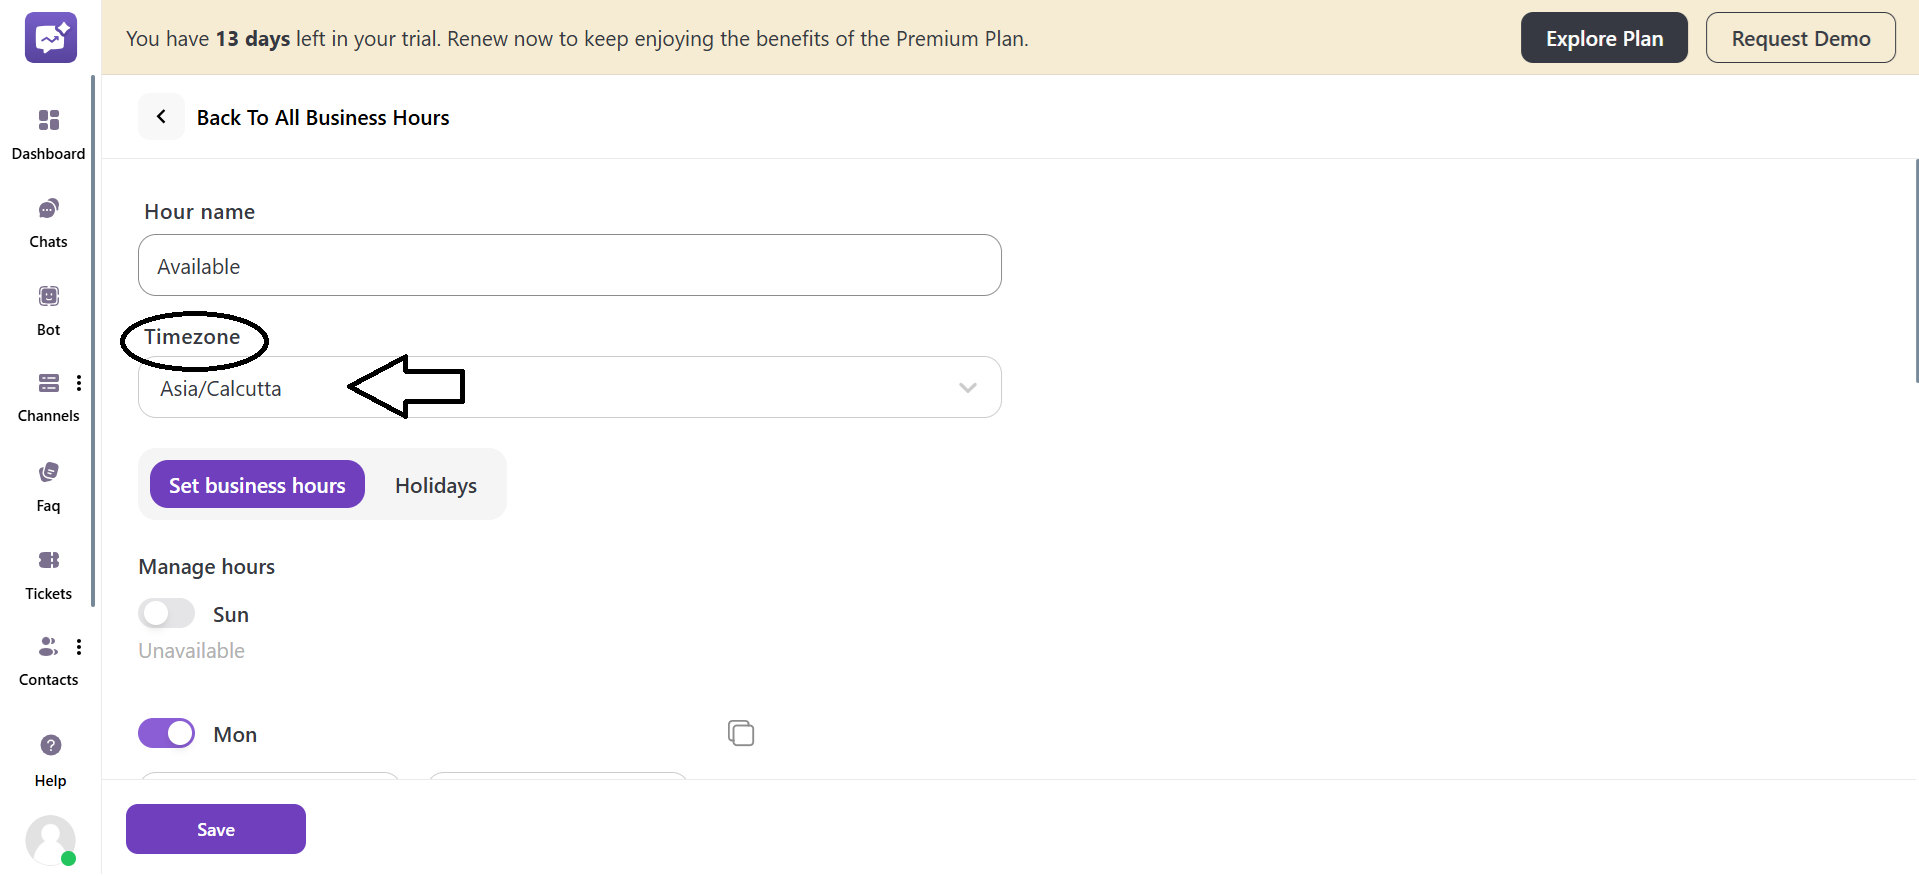
4. If you have selected Business Hours, then you have to tailor the settings below:
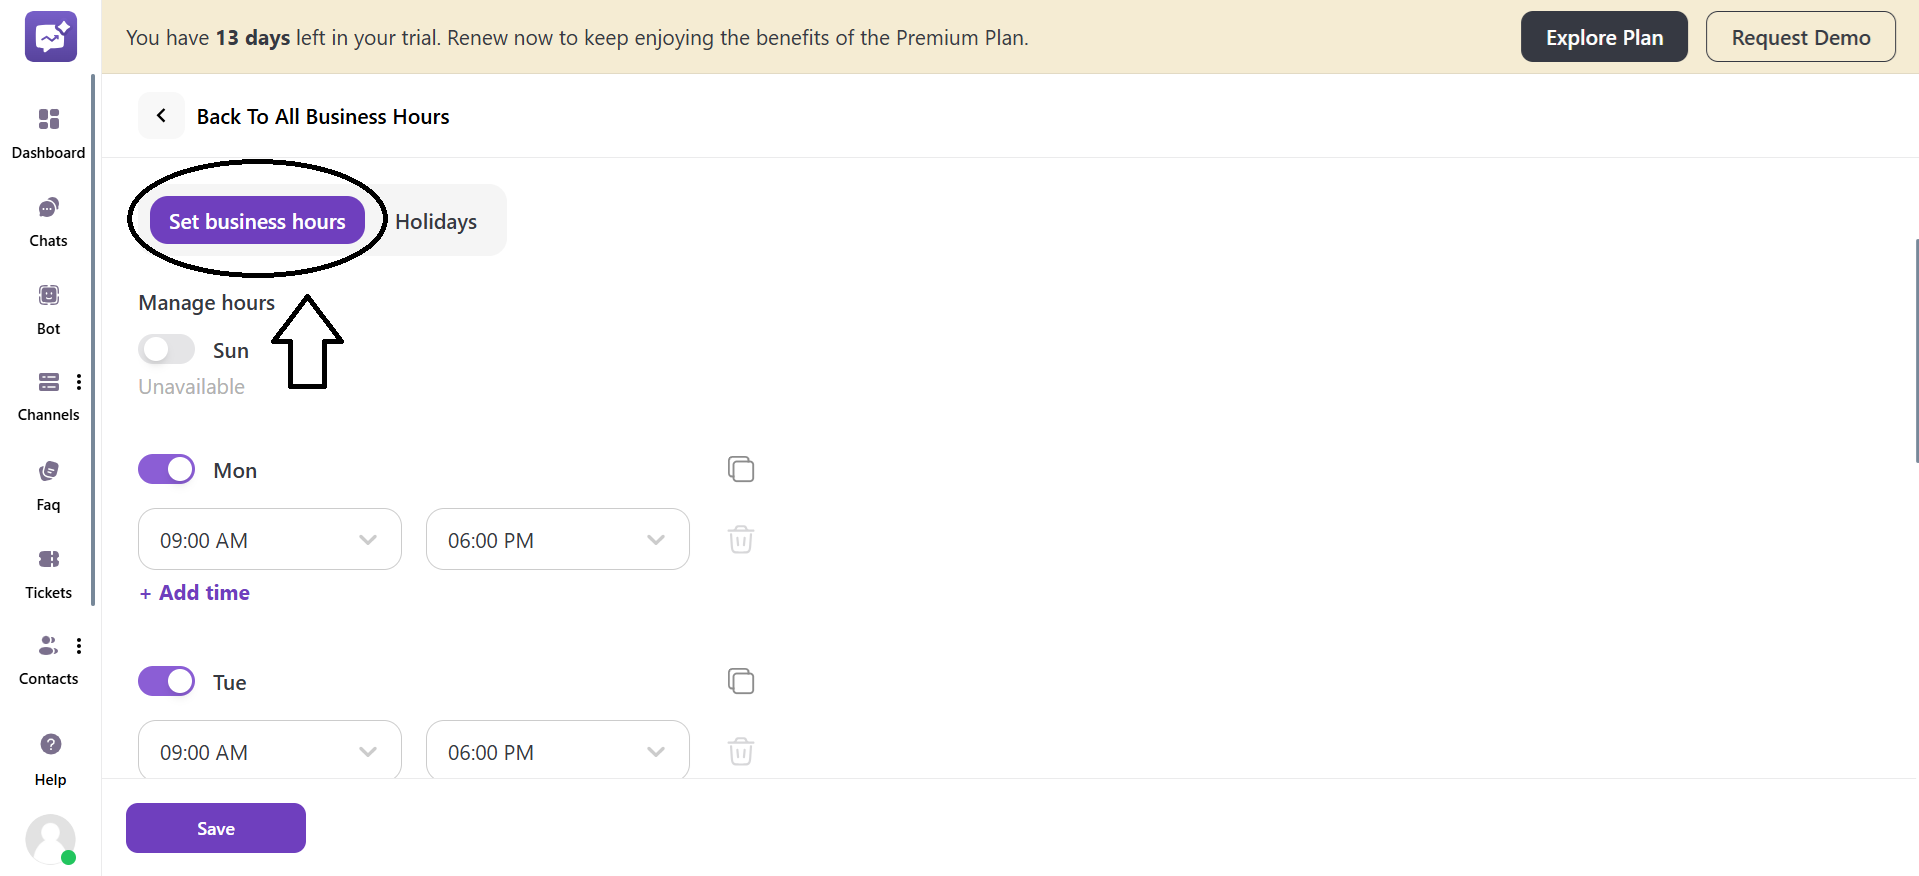
- Manage Hours
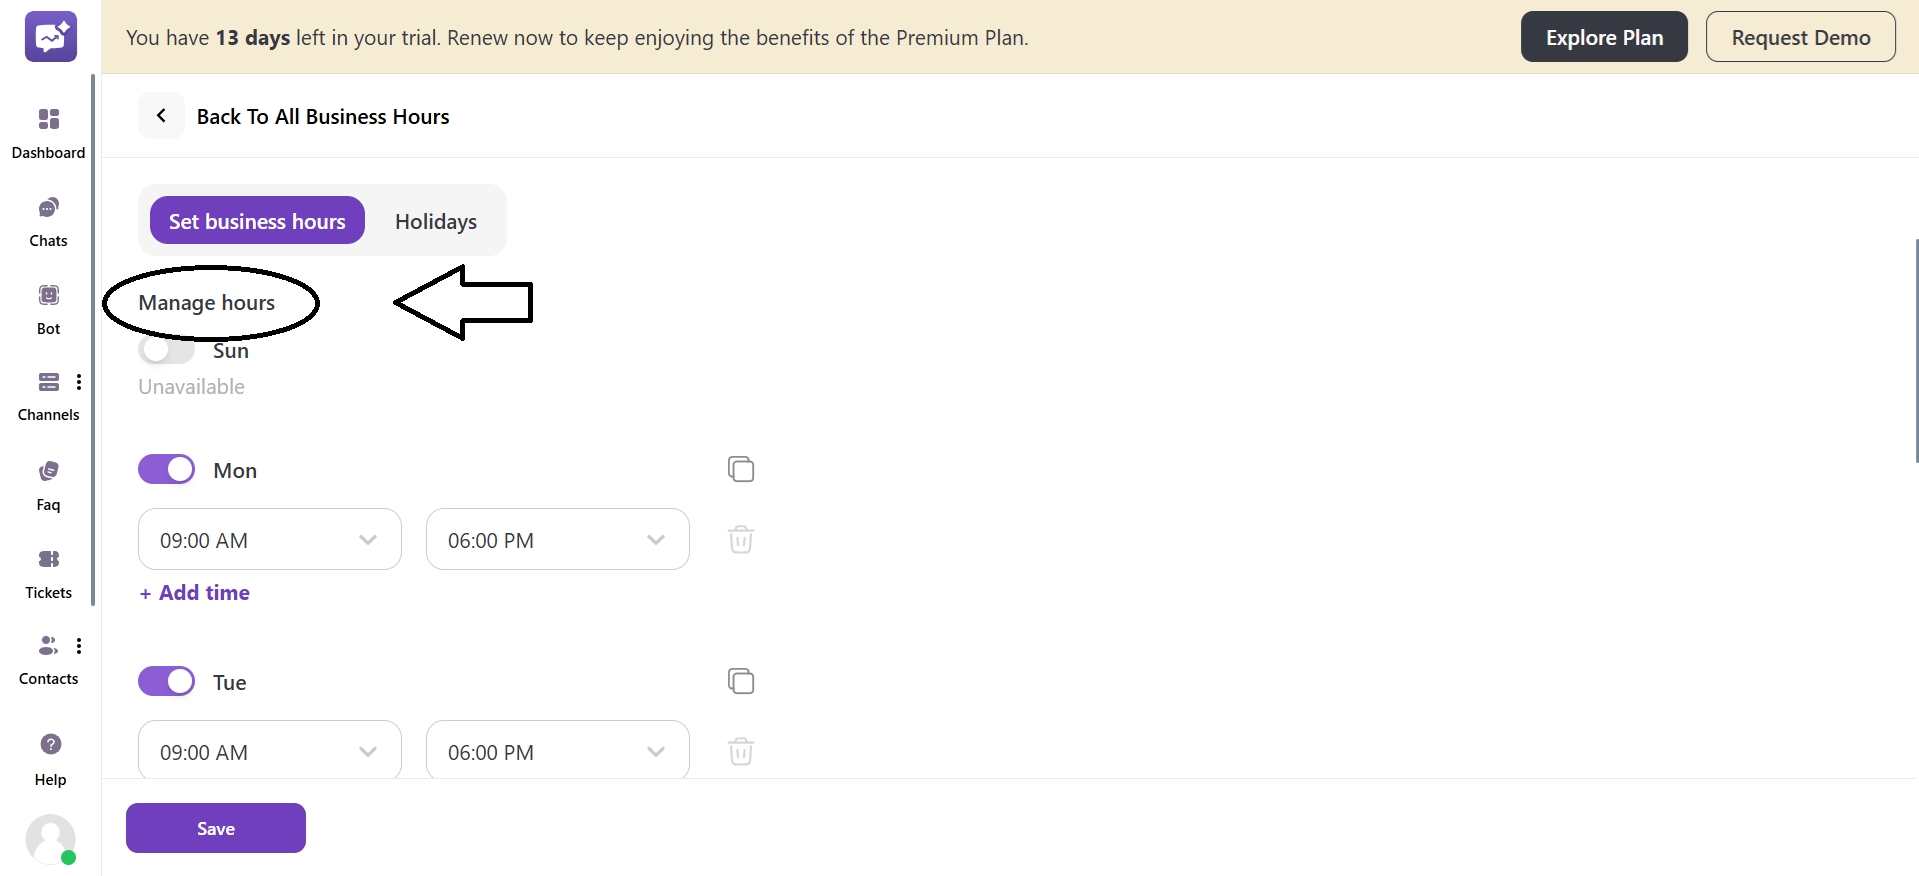
- You can set specific working hours for each day of the week by enabling or disabling the days.
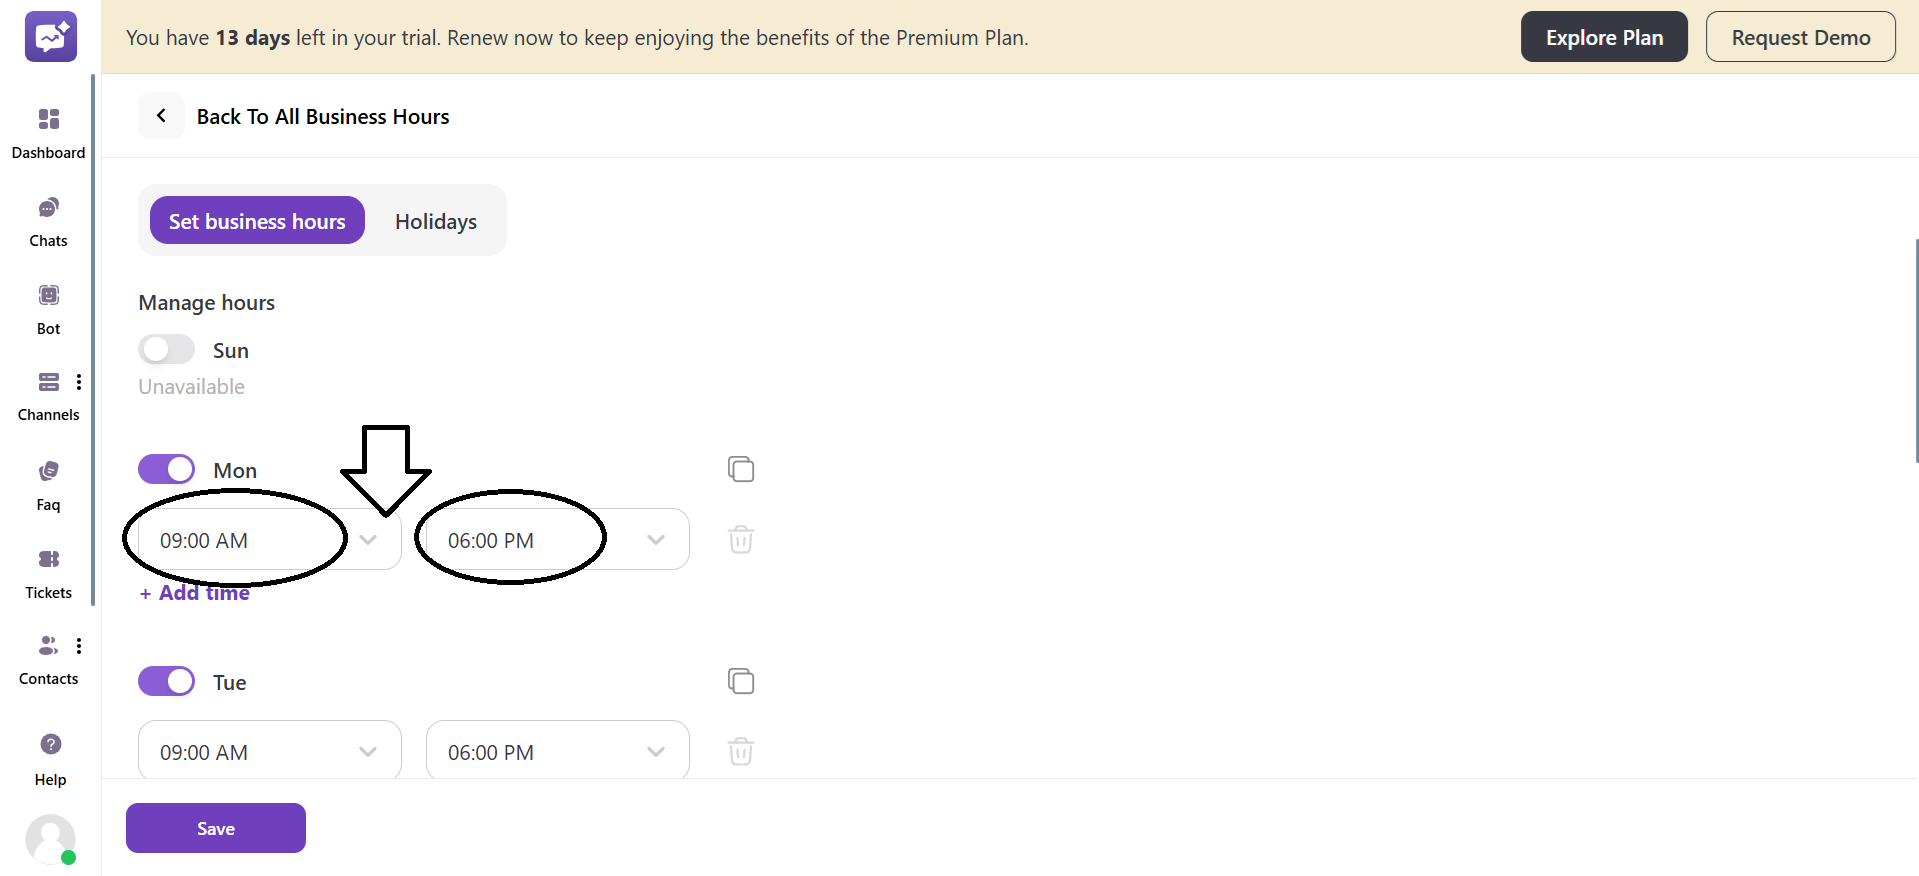
- You have to select the precise start and end time for the day.
- You can also add multiple time frames for a single day through + Add Time.

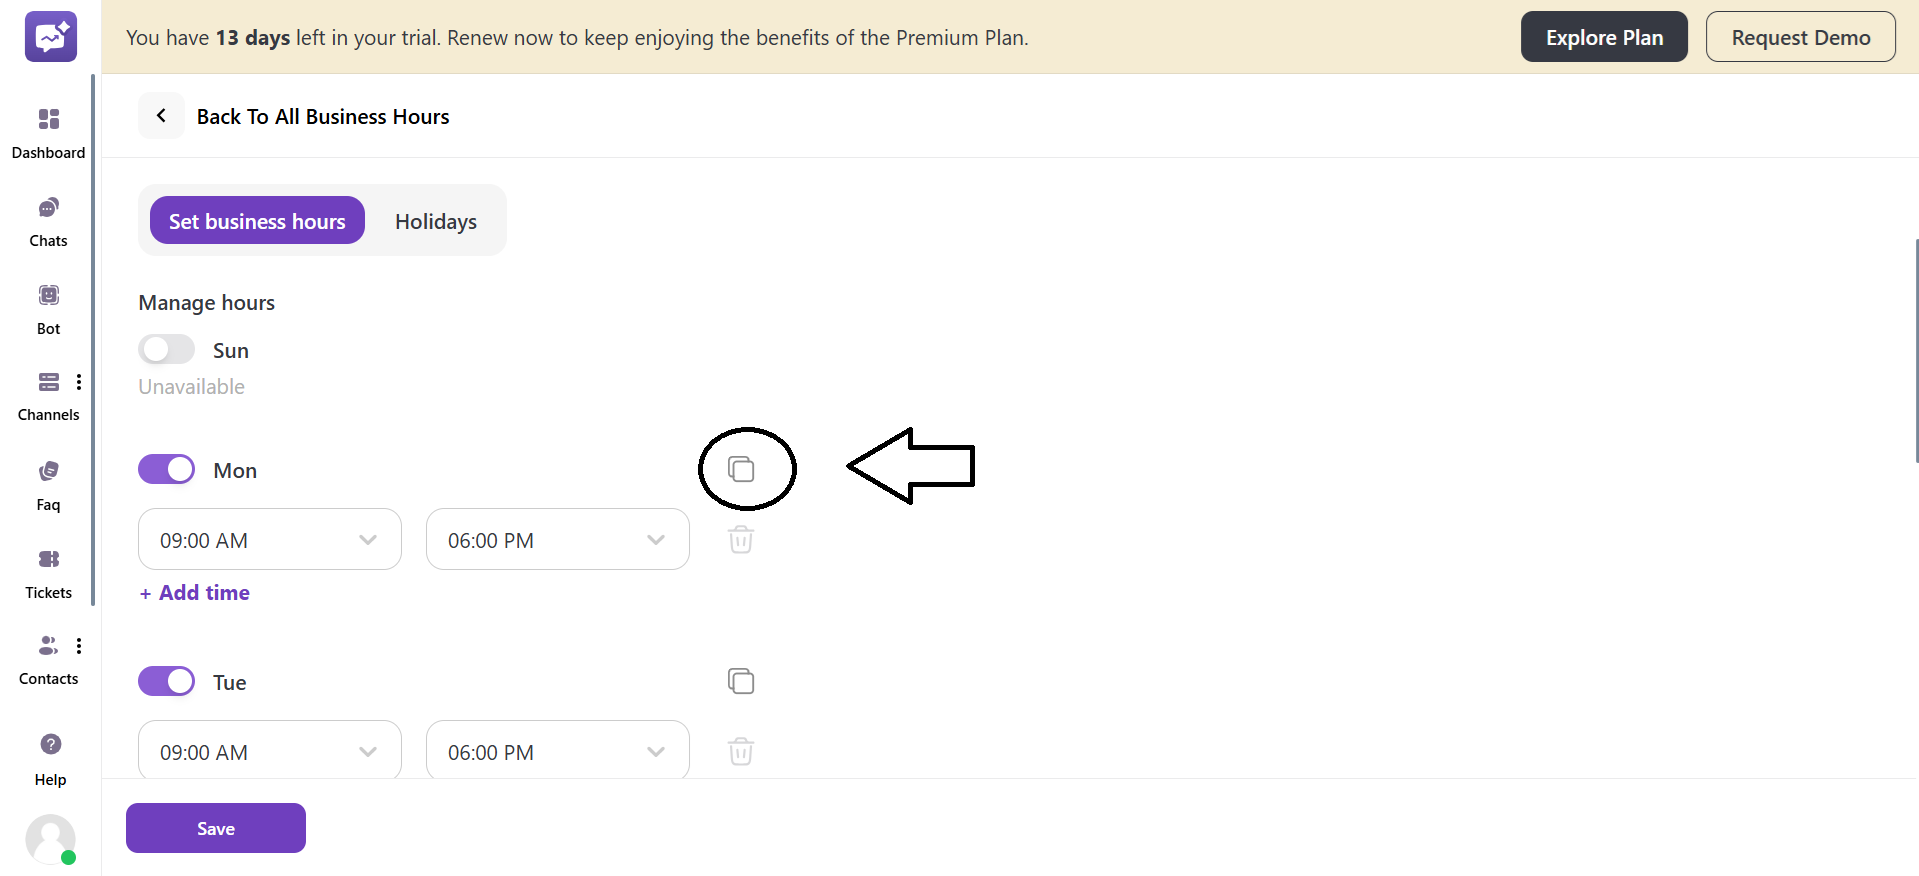
- You can also copy the time frame of a day to other days for the same timings.
- Date-specific hours
You can add custom hours for a specific date availability.
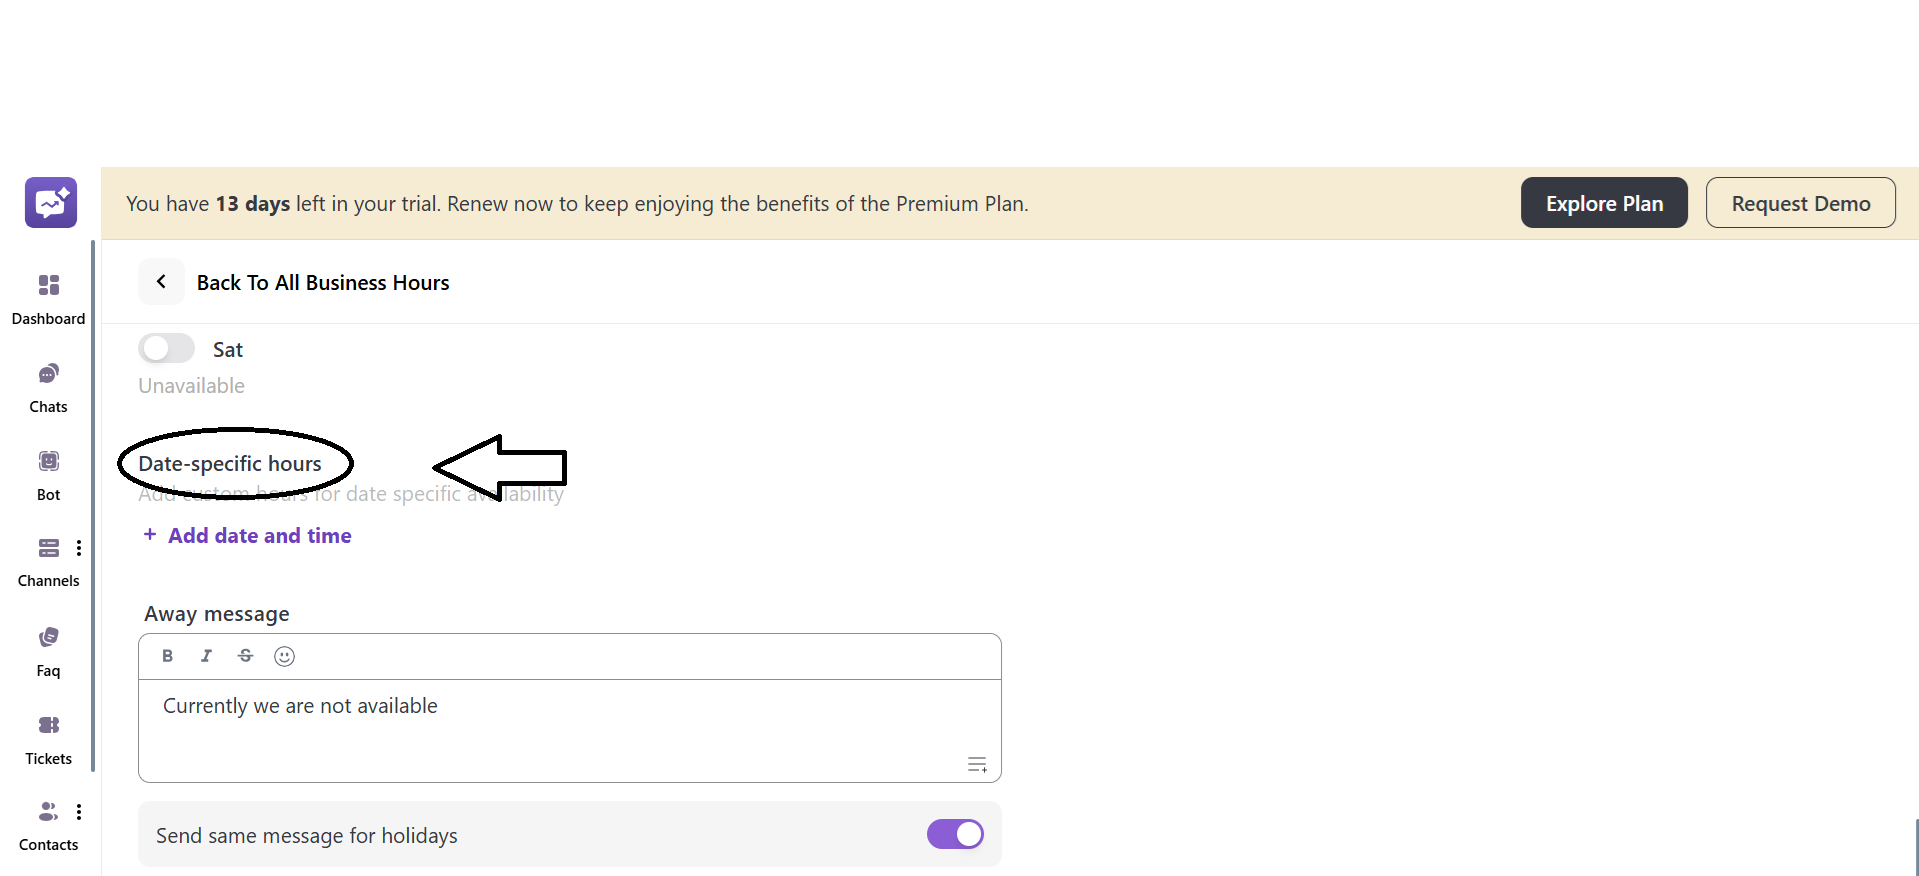
Click on + Add date and time.
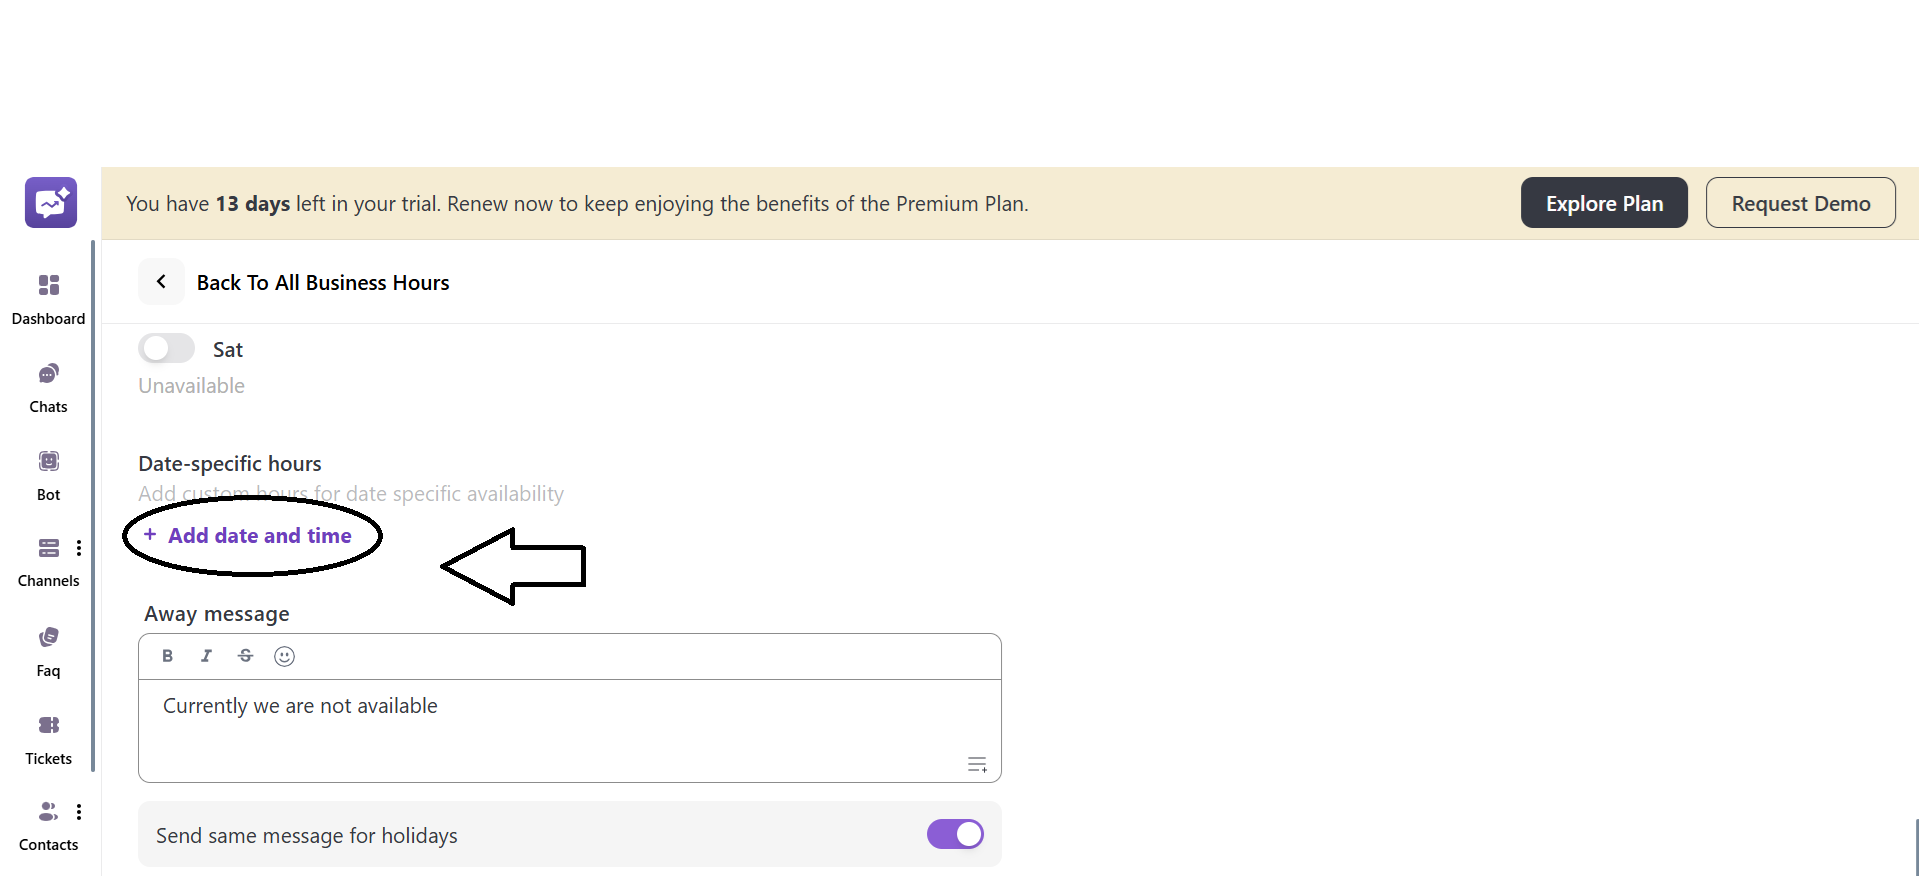
You have to select the date and time according to your availability.
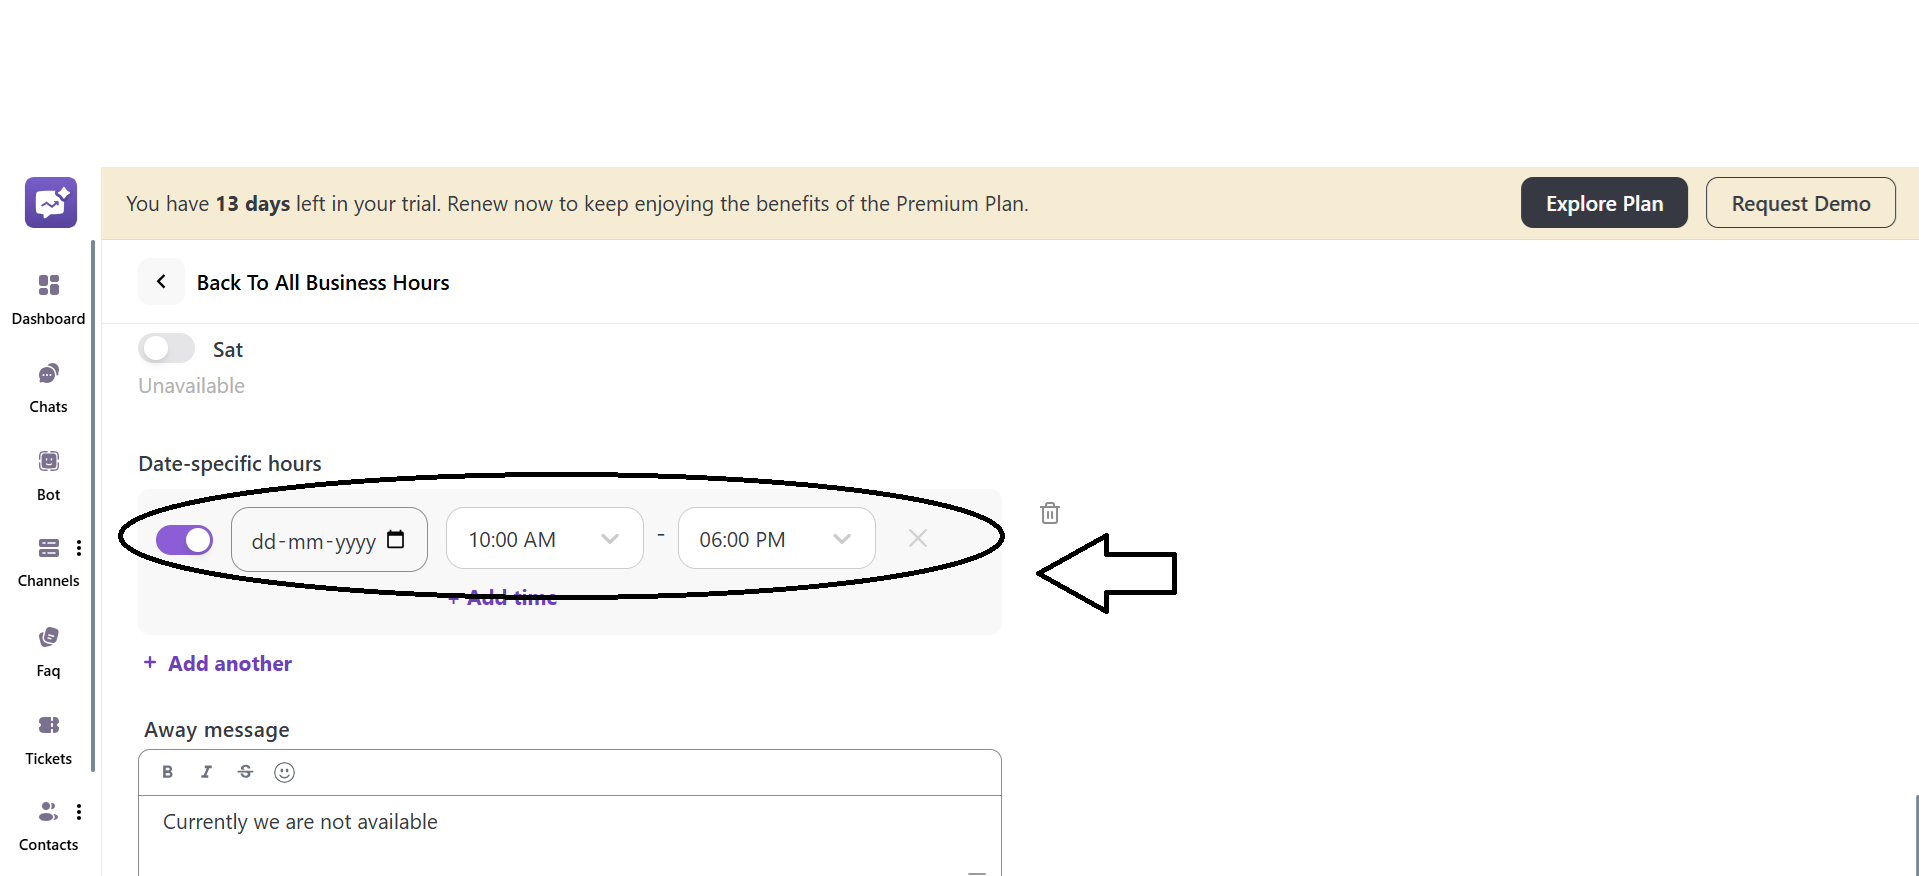
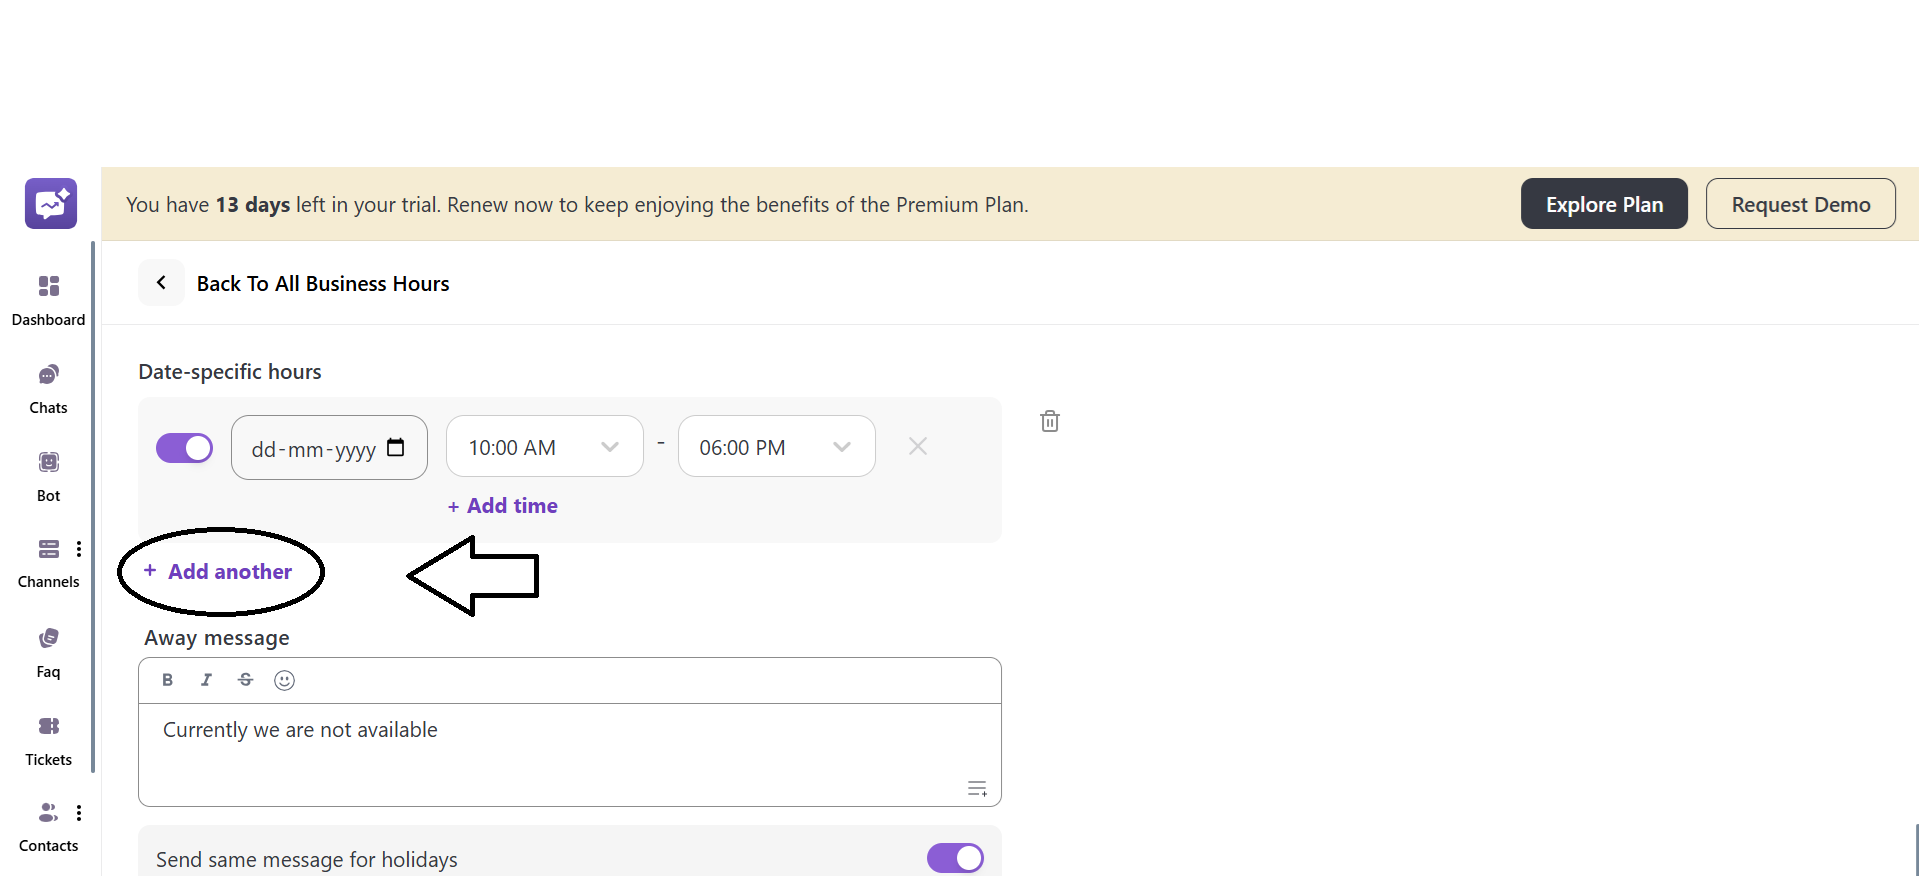
You can add multiple date-specific hours through + Add another.
- Away message
It is the message that will be triggered when you are away or not available to assist the customers. You can edit the away message as per your requirements. The default away message is Currently we are not available.
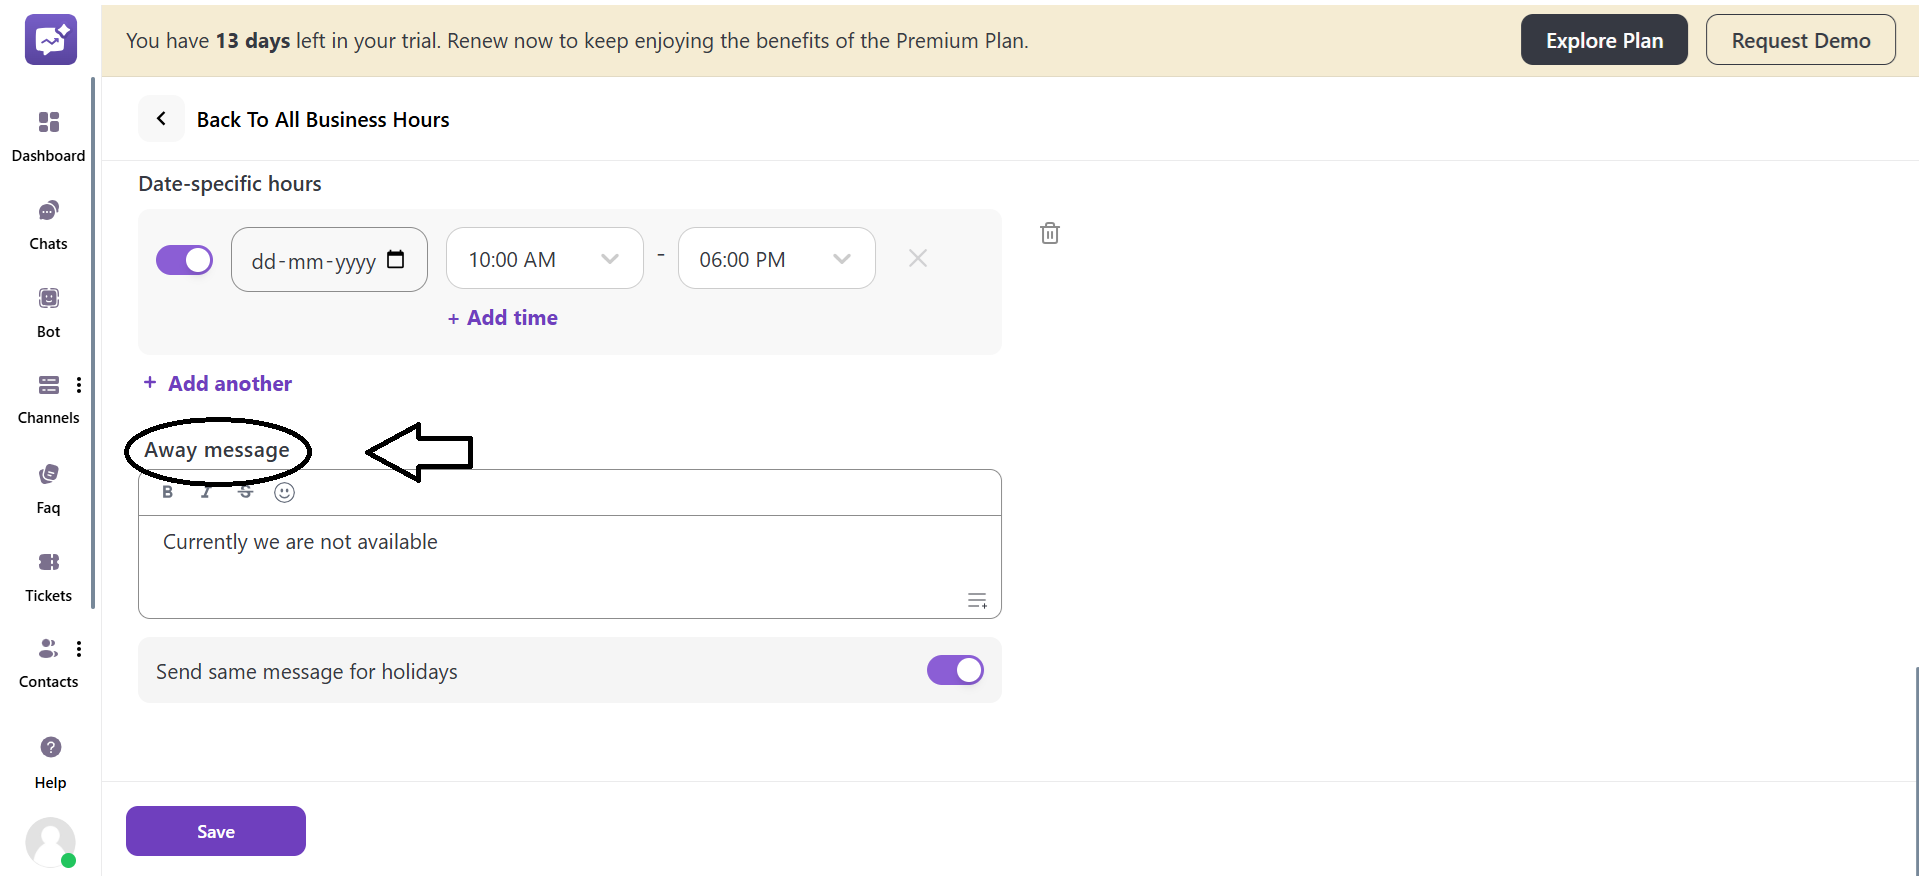
- Send the same message for holidays
You can toggle this setting to enable or disable. If you enable it, the away message will be sent when there are holidays. If you disable it, the away message will not be sent during holidays.

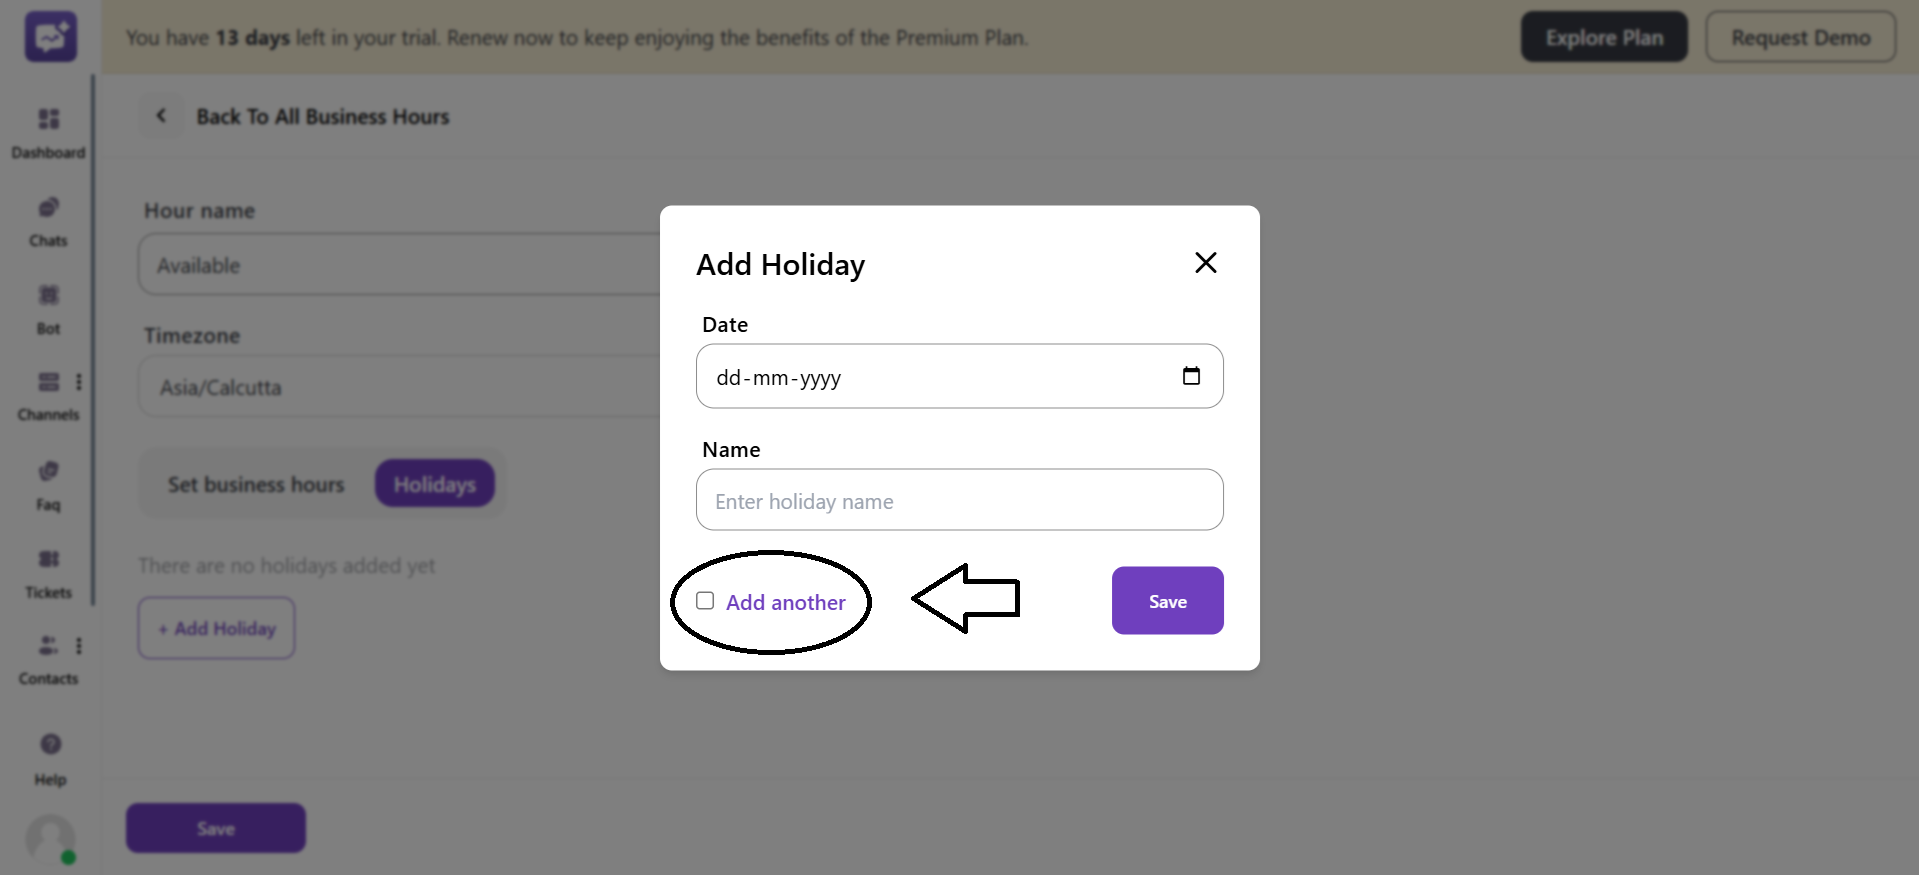
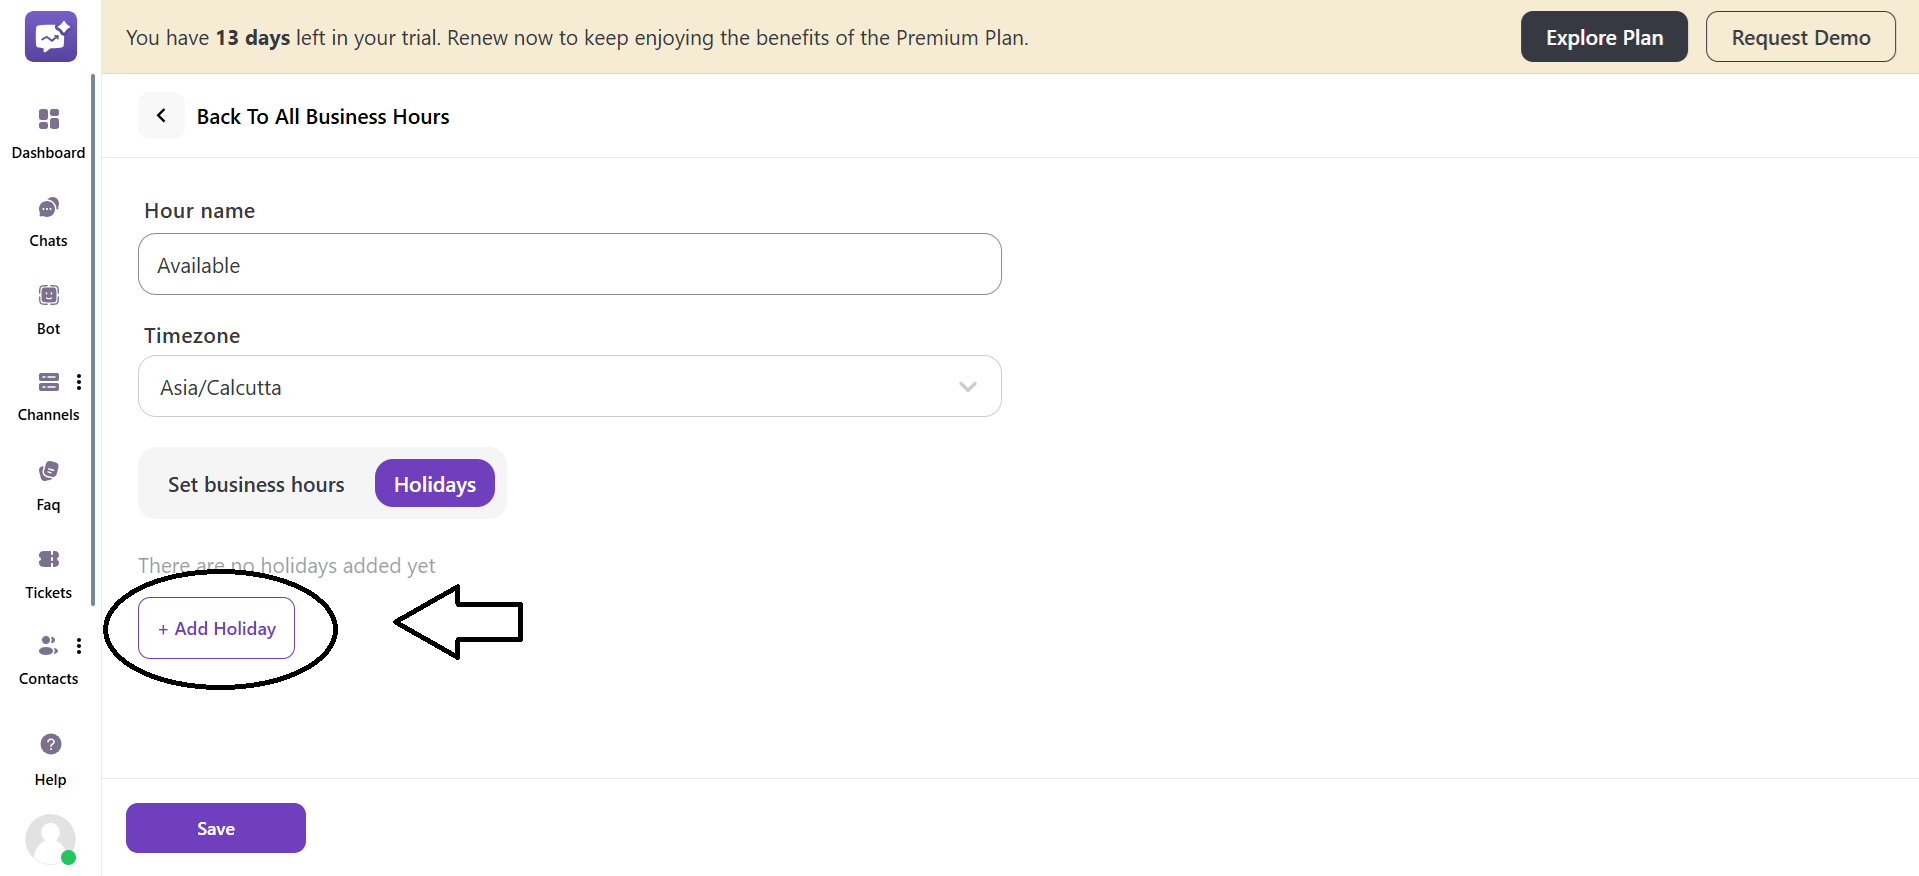
5. If you have selected Holidays, it will be marked as non-working days.
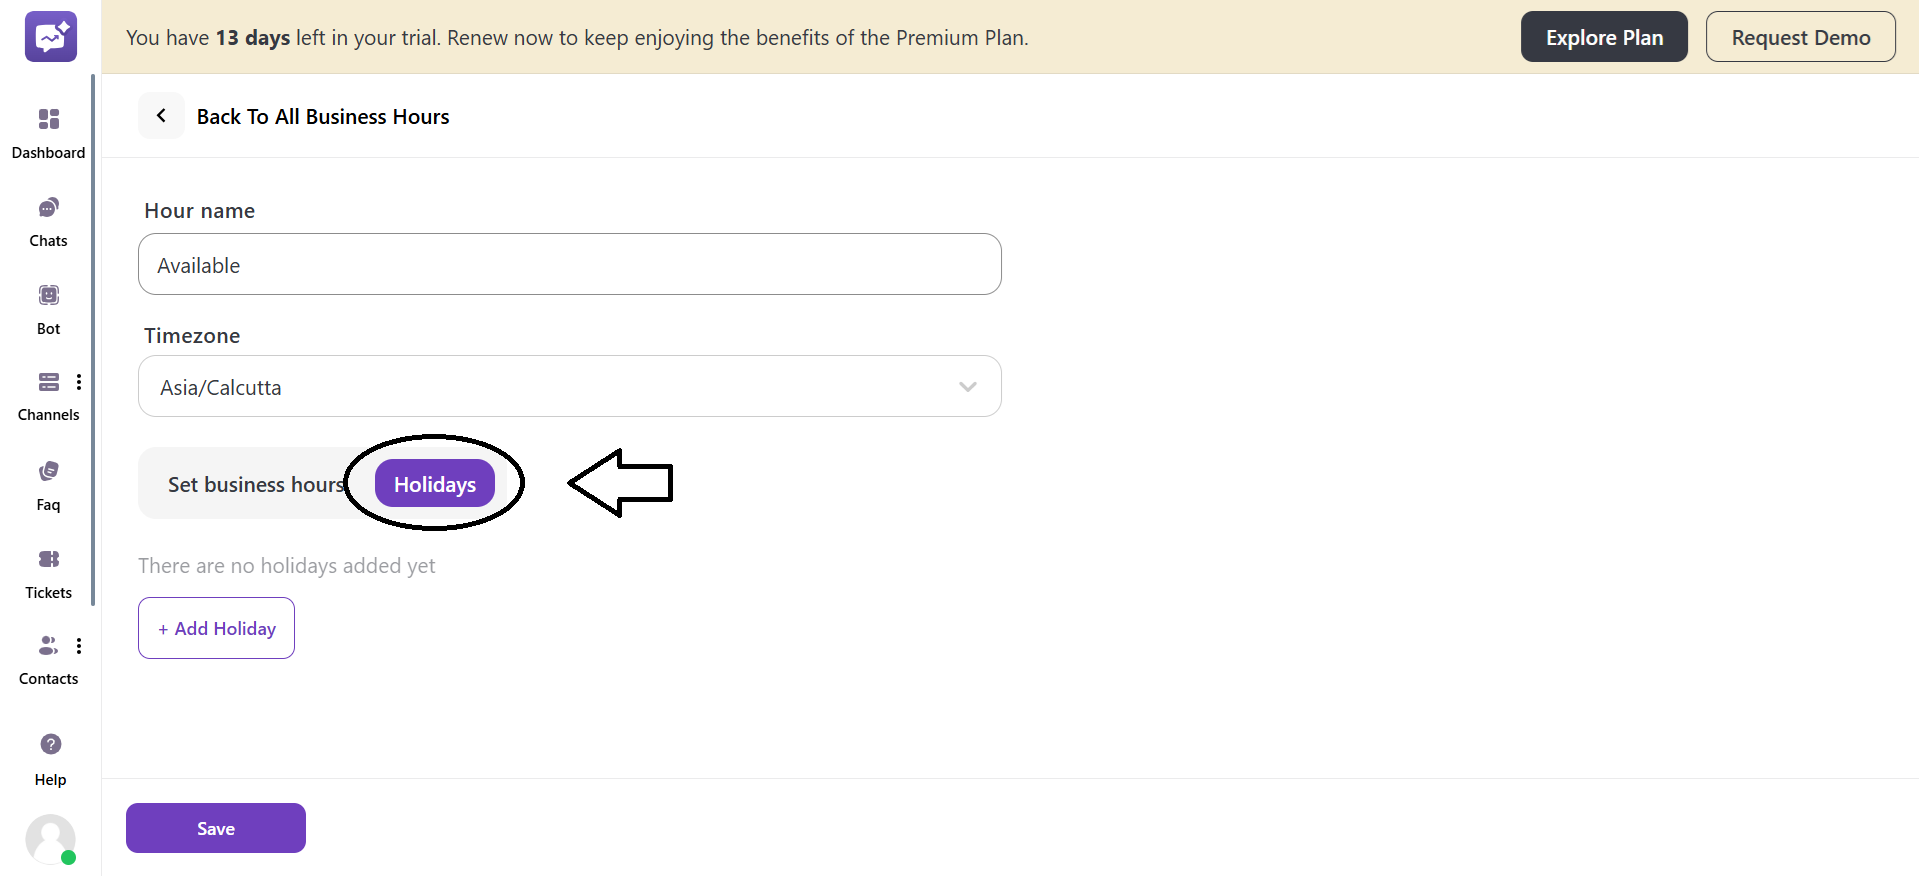
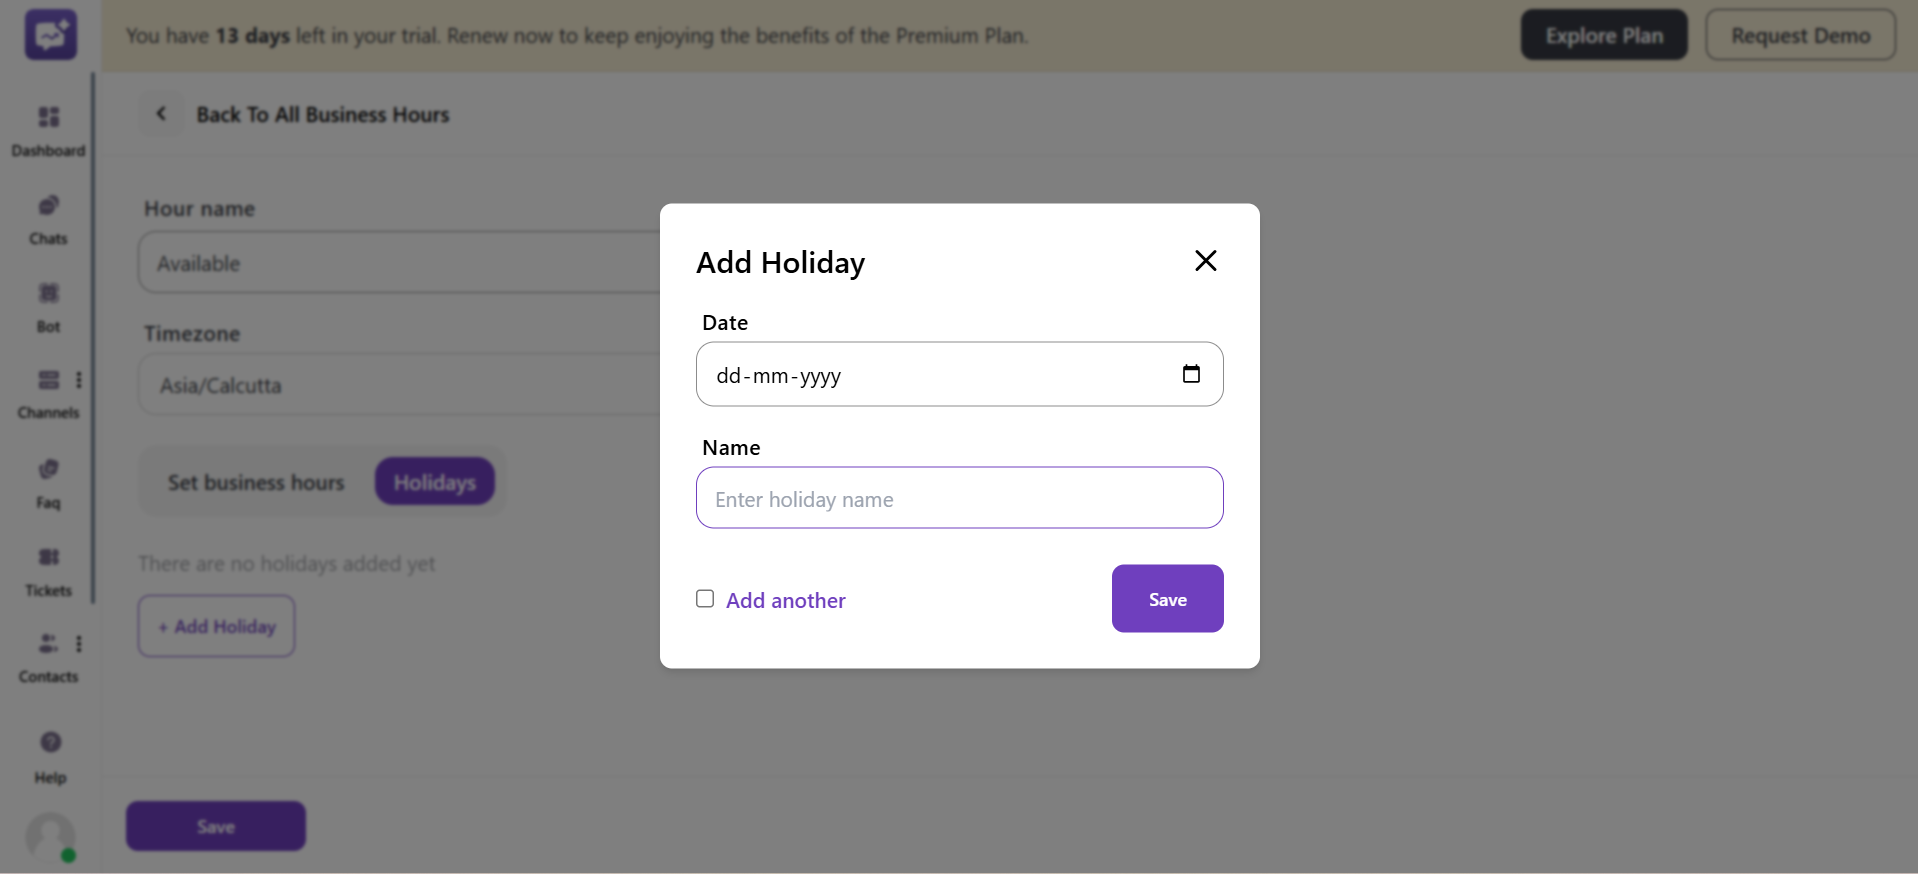
Click on + Add Holiday to add holidays.
- Enter the date of the holiday.
-
Enter the name of the holiday.
-
Add Another
If checked, the pop-up stays open after saving, allowing you to add multiple holidays one after another without closing the pop-up by clicking on the Add another.