
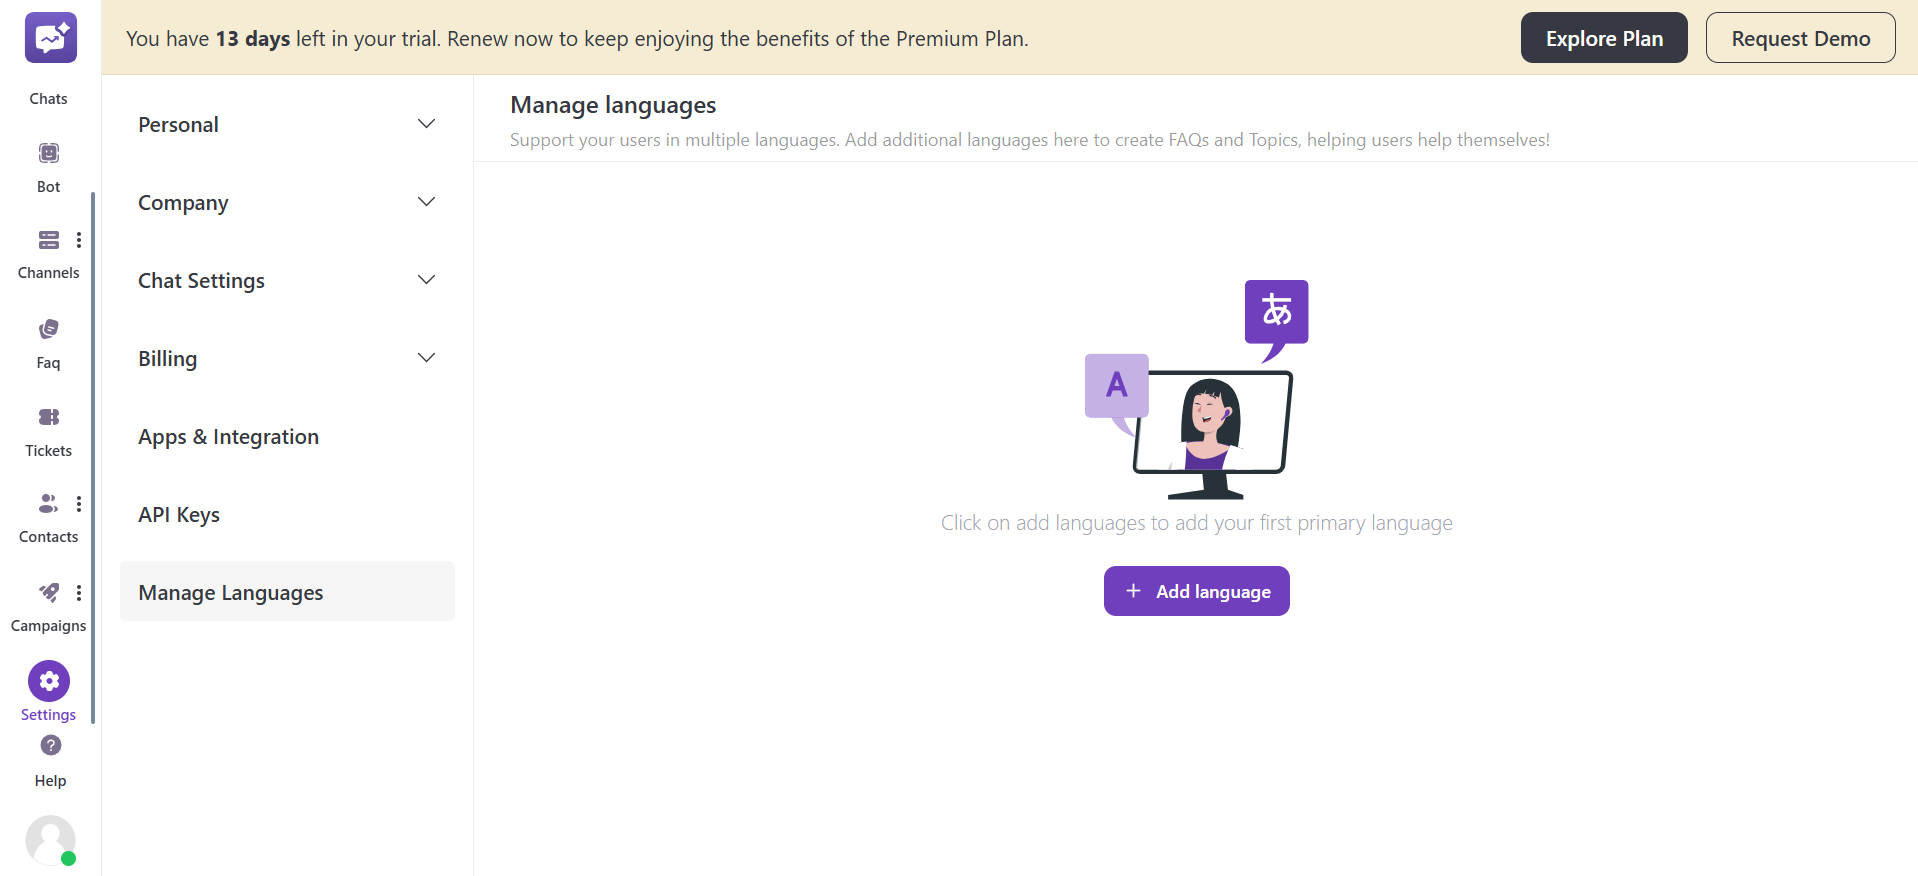
Manage languages feature in Orufy Connect allows admins and members to manage all the supported languages across the platform. It helps provide localized conversations to customers based on their preferred language.
How to Add a Language
- Click on + Add language.
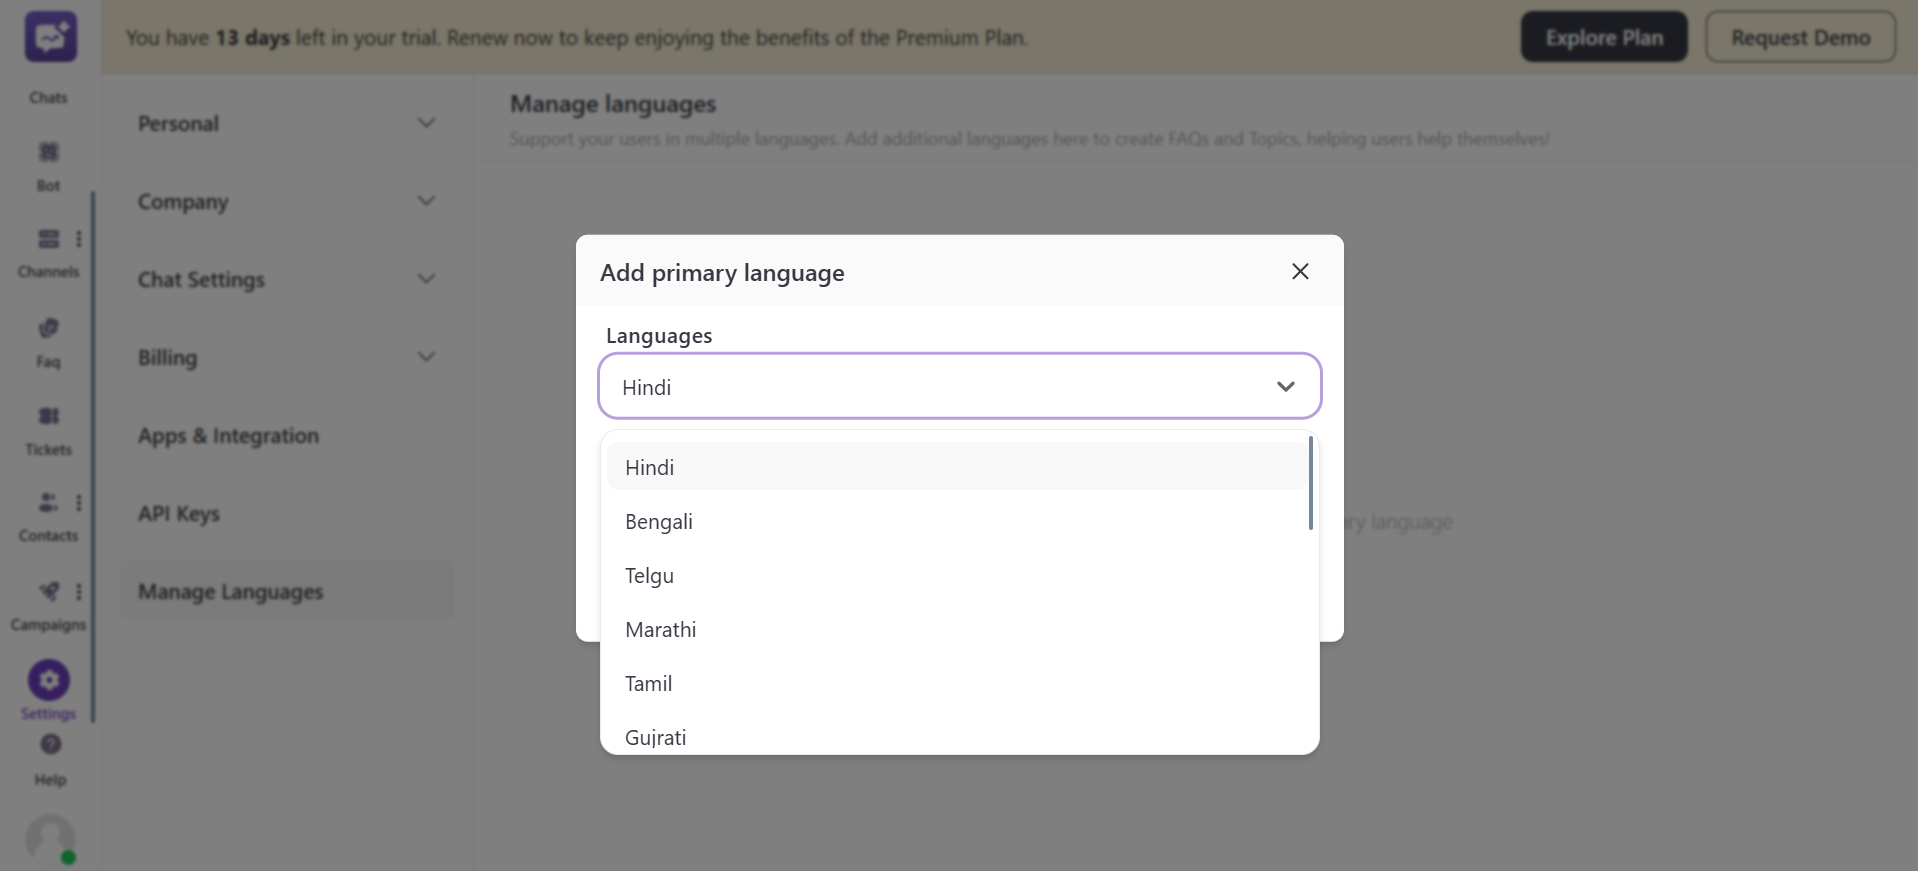
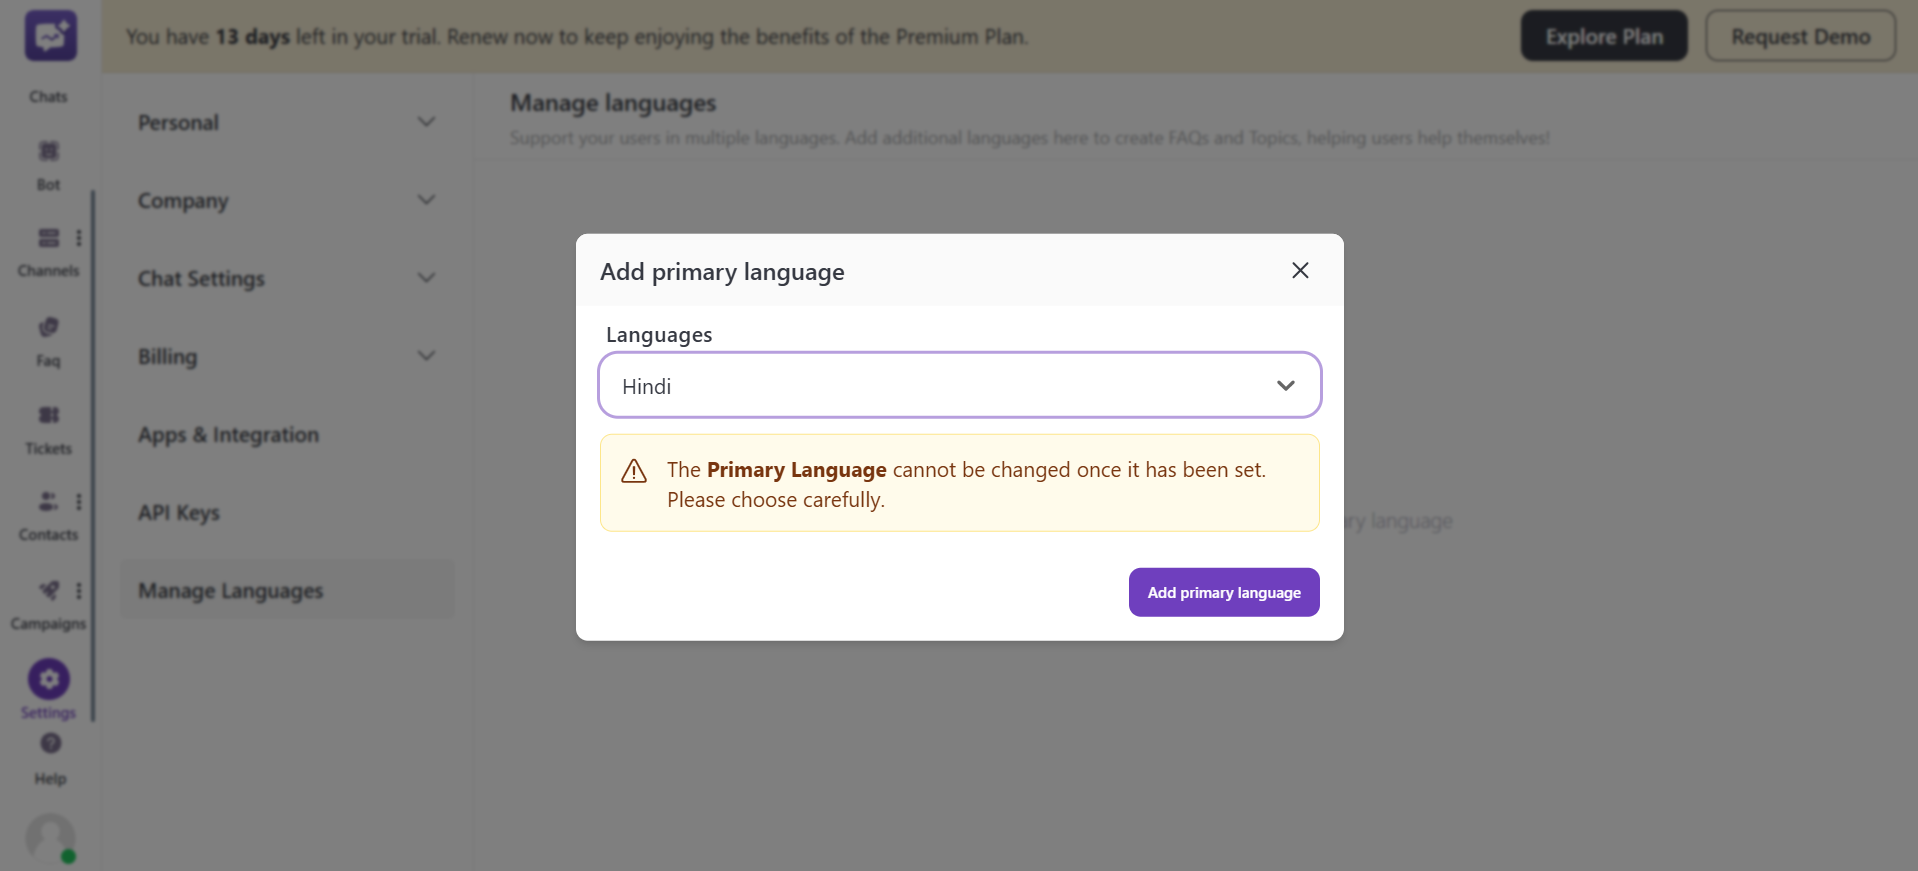
- Select from the list of languages. The first selected language will become the primary language and will not be changed. So choose the language carefully.
- Click on Add primary language.
- You can add more languages using the + Add Language button.
Once you've added the languages, you can manage them for:
1. The conversation shown to the agent is in the primary language selected by the agent at the admin level.
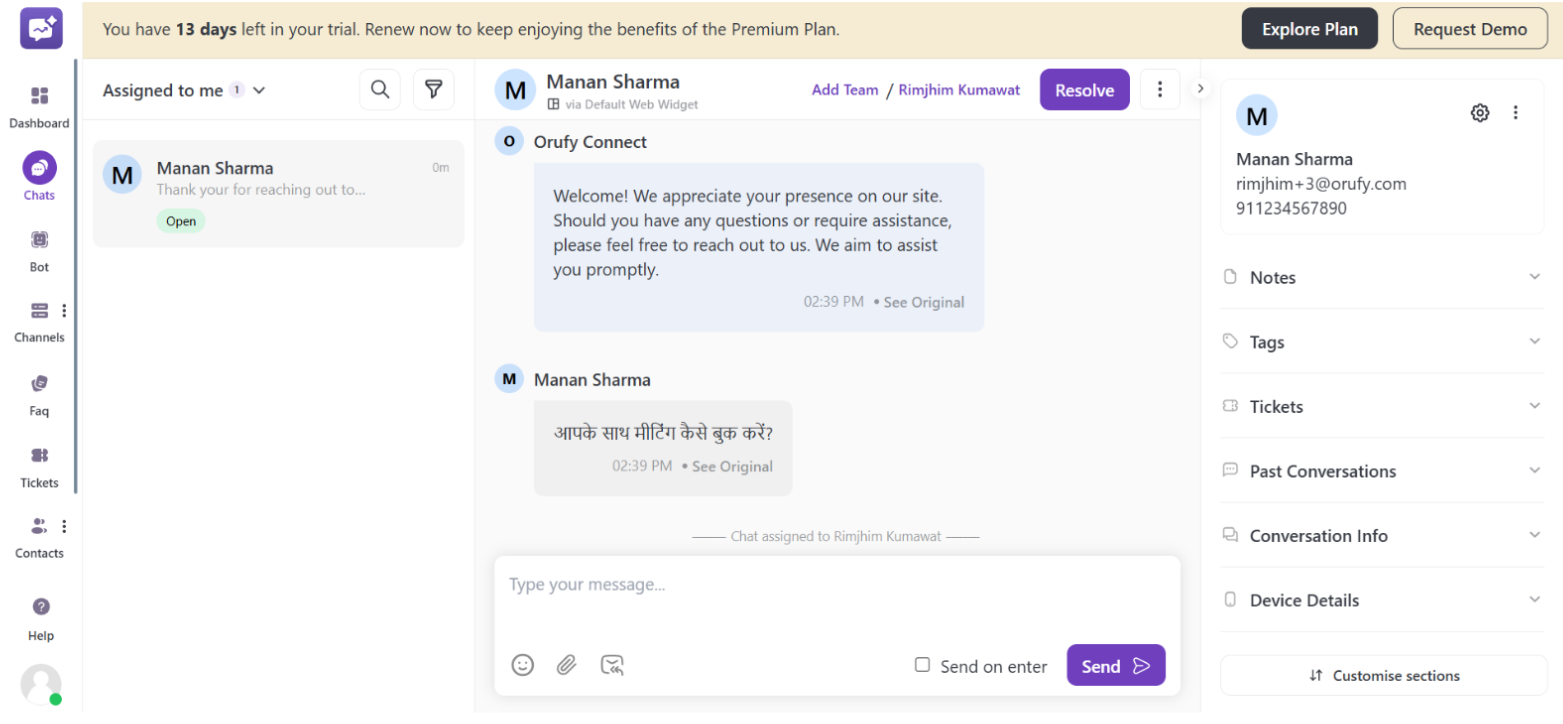
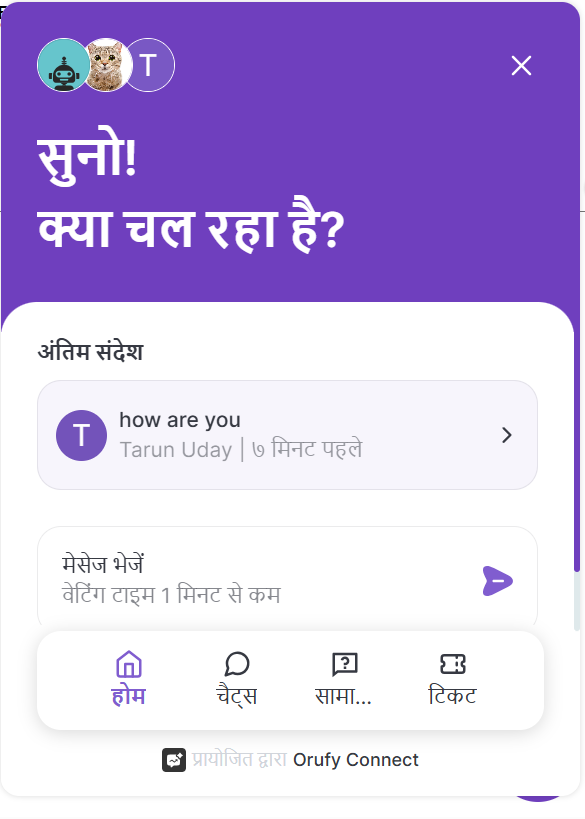
2. The chat displayed to the customer will be in the language detected from the browser.
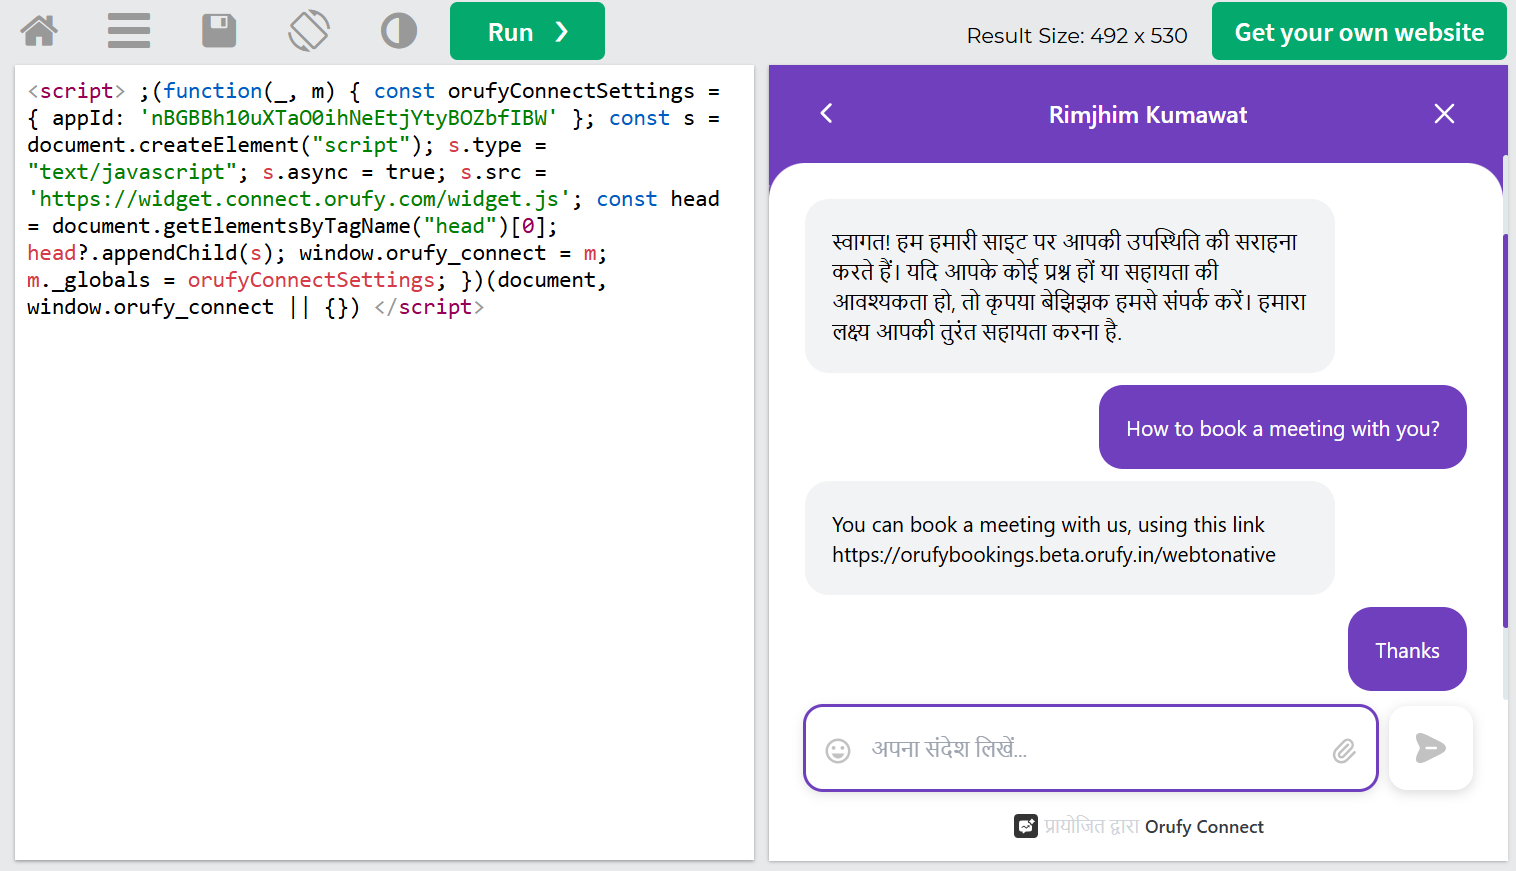
If the browser-detected language is supported in the admin panel, then only it will show in that language.
3. If the browser language is not supported, then the widget content will be displayed in the selected primary language.
4. FAQs
While creating a new category or FAQ, it defaults to the primary language view.
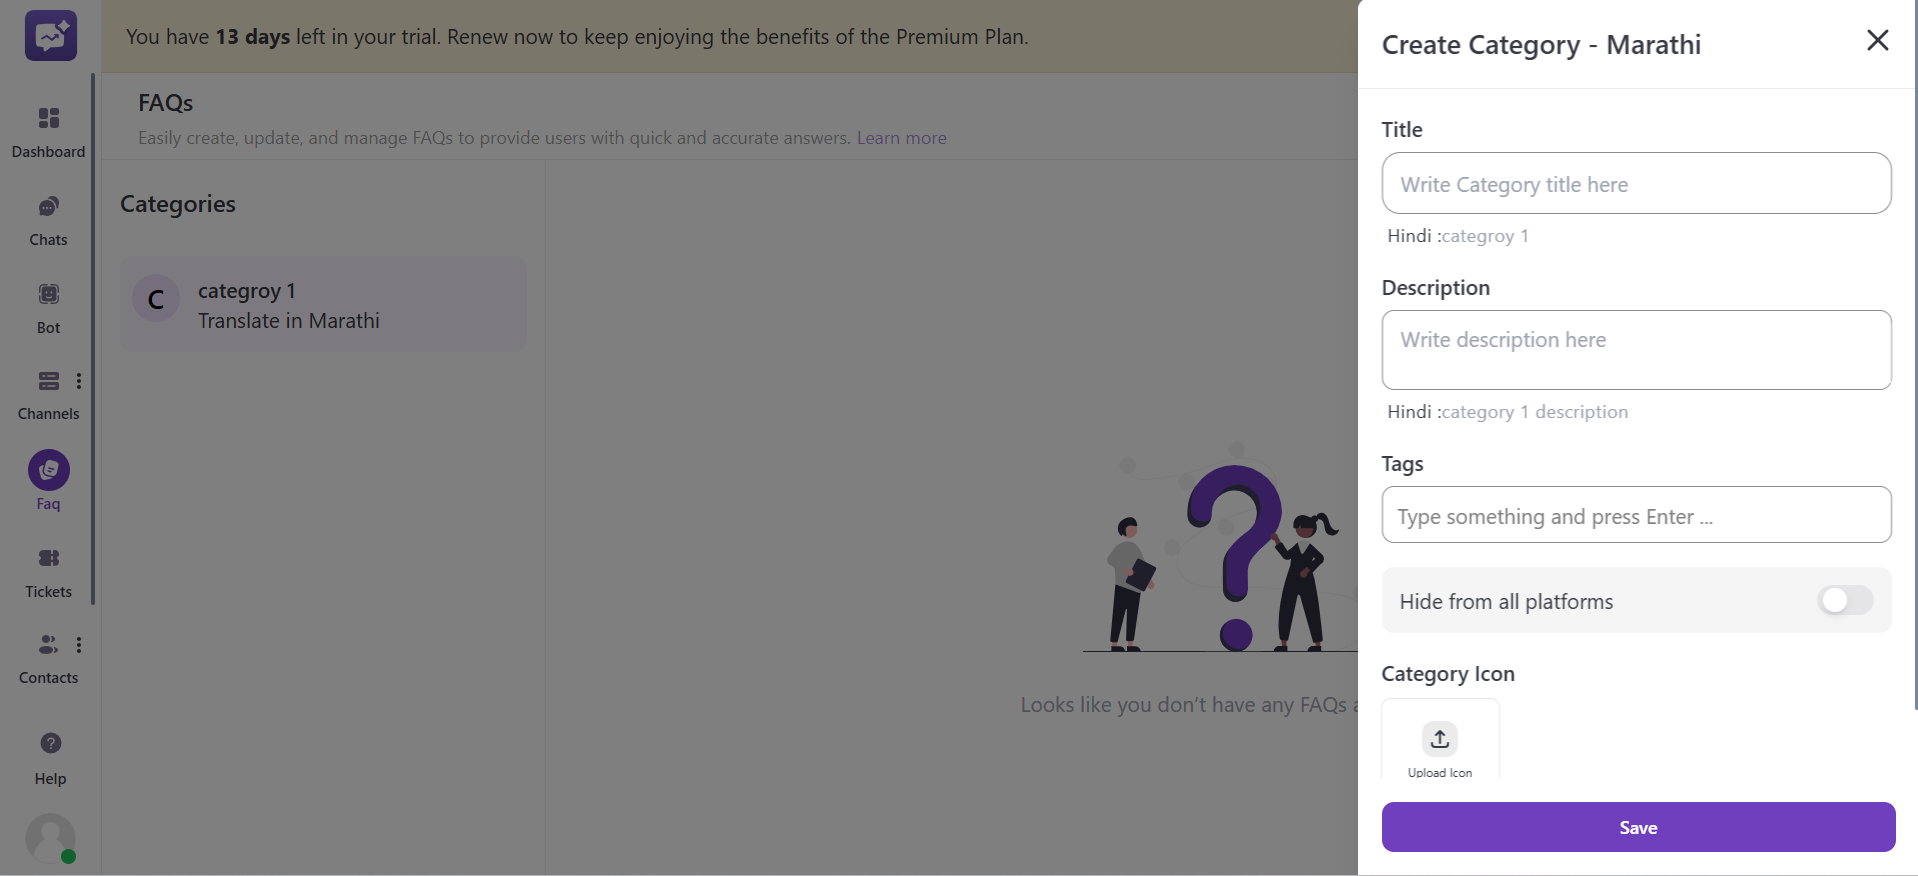
If you want to add the same category or FAQ in another language. You have to switch the language from the top-right corner.
Either create a new entry or edit the existing one; the interface will show reference context from the primary language.
5. Bot
Orufy Connect helps bulk translation using downloadable and updateable files. This makes it easier for handling many bot flows, response buttons, text elements, and quick elements at once, rather than translating them one by one.
Step-by-Step Process
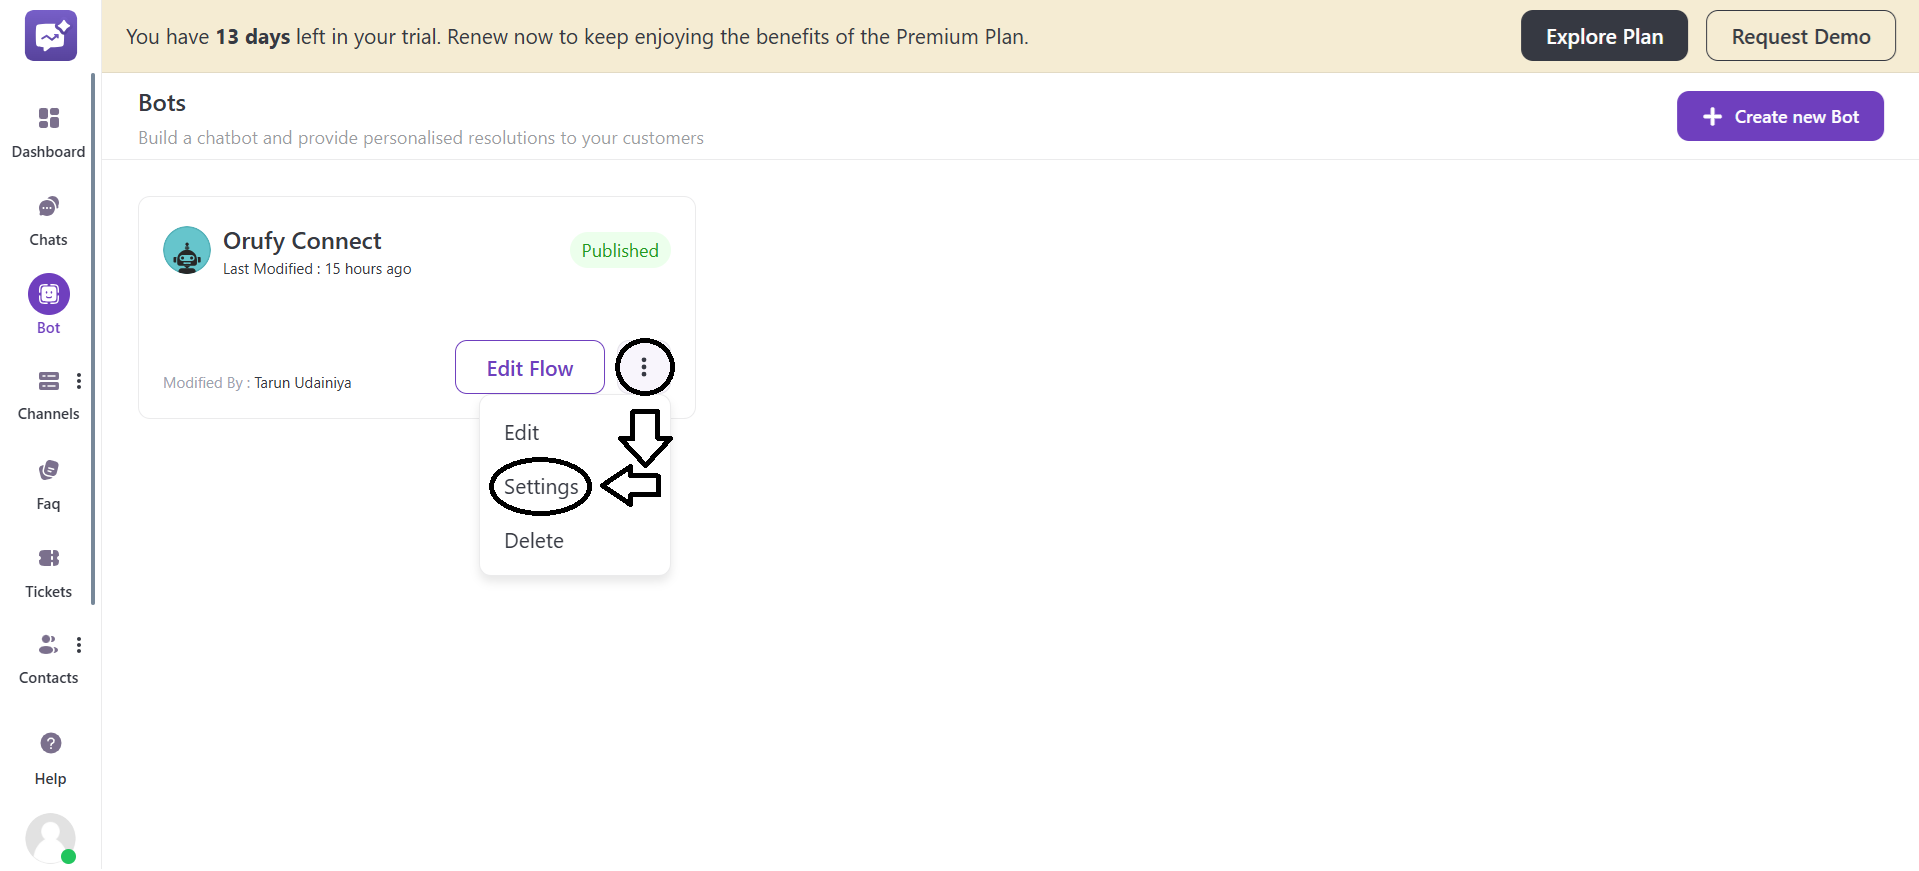
1. Navigate to the Bot section.
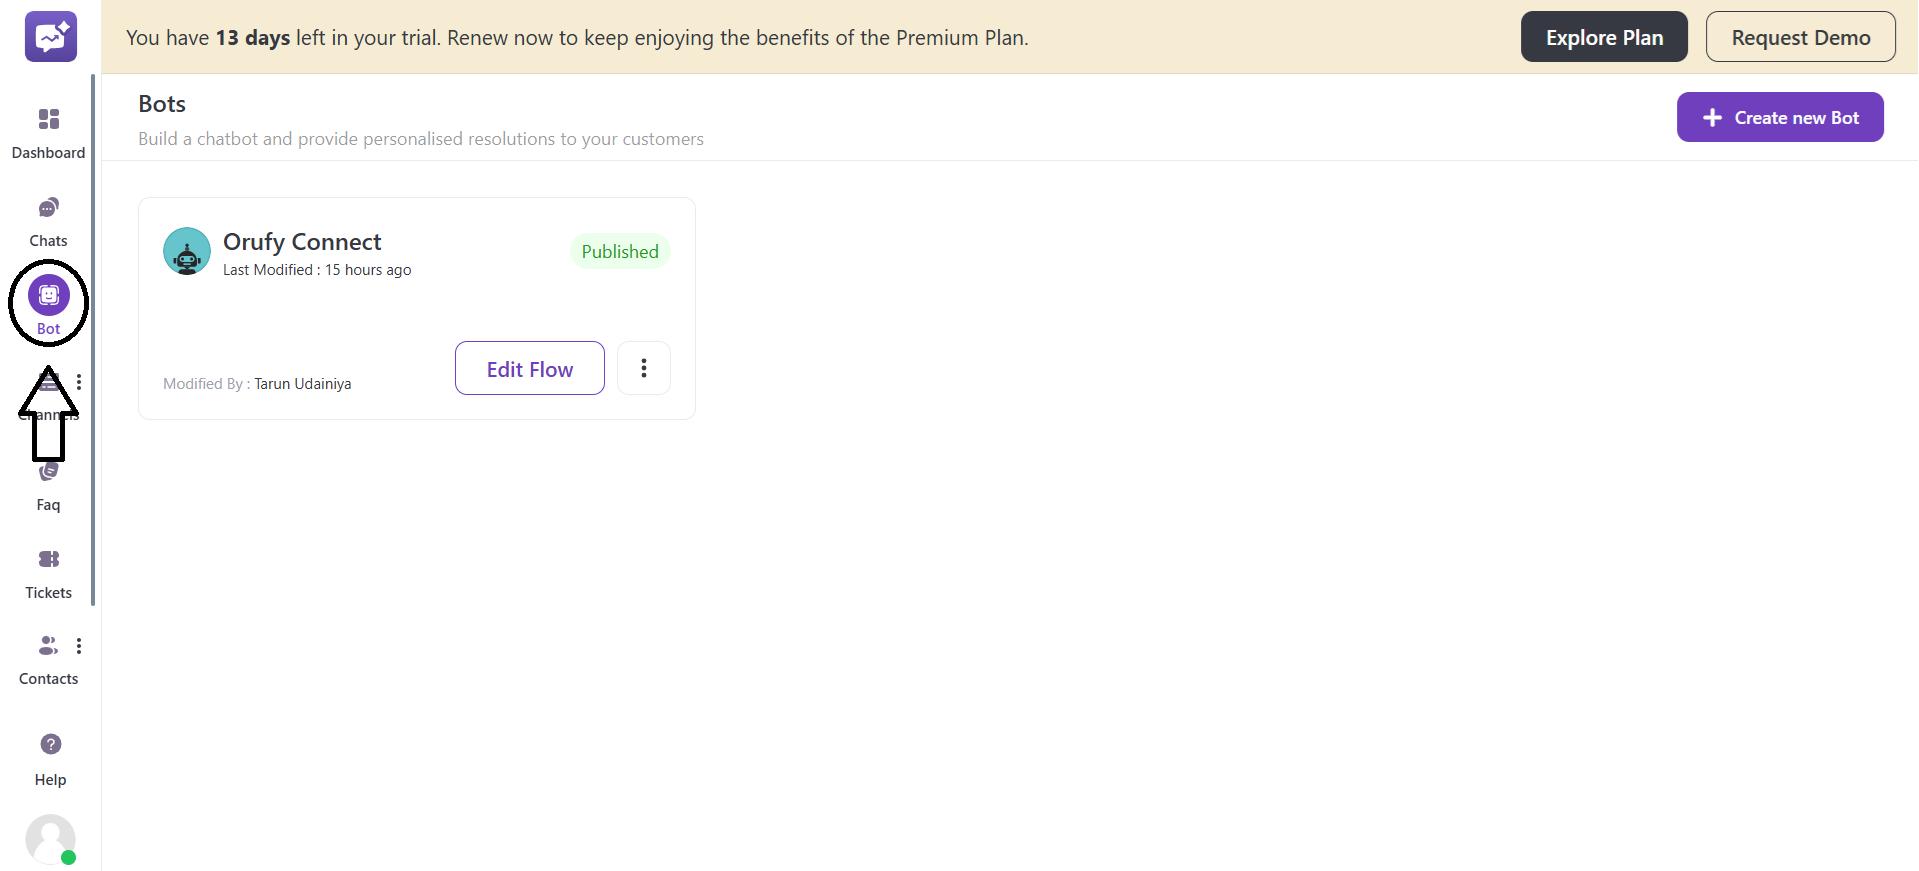
2. Go to the Bot settings from the More Options.
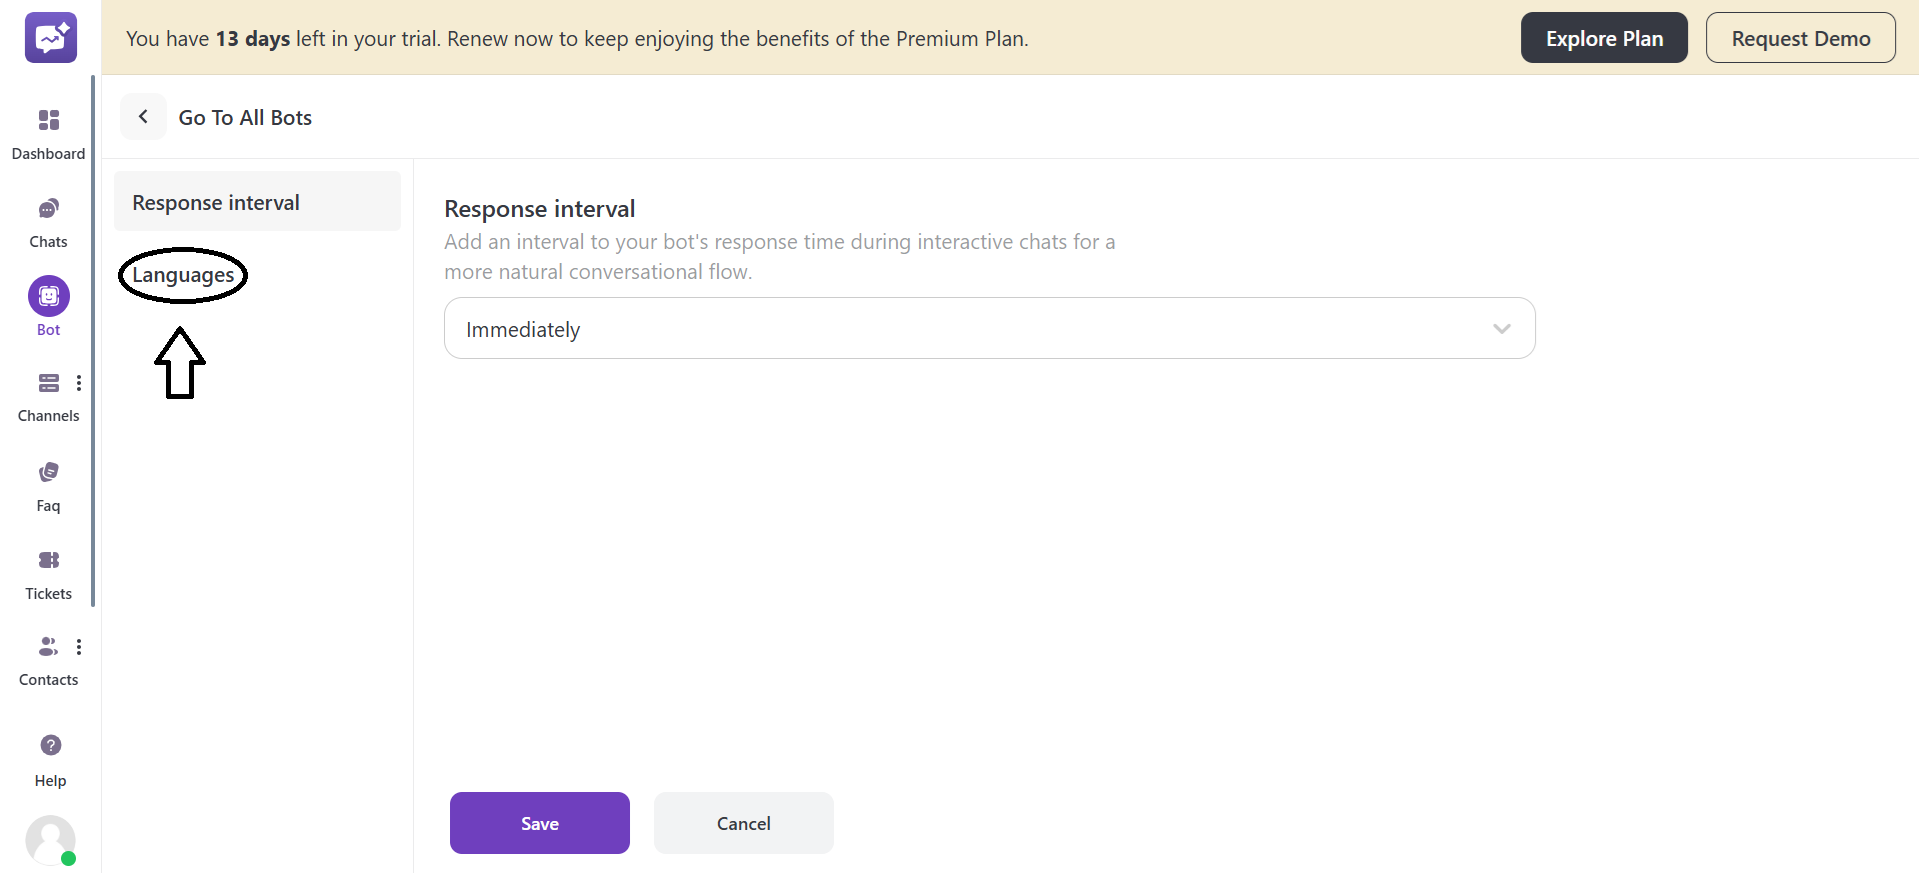
3. Click on Languages.
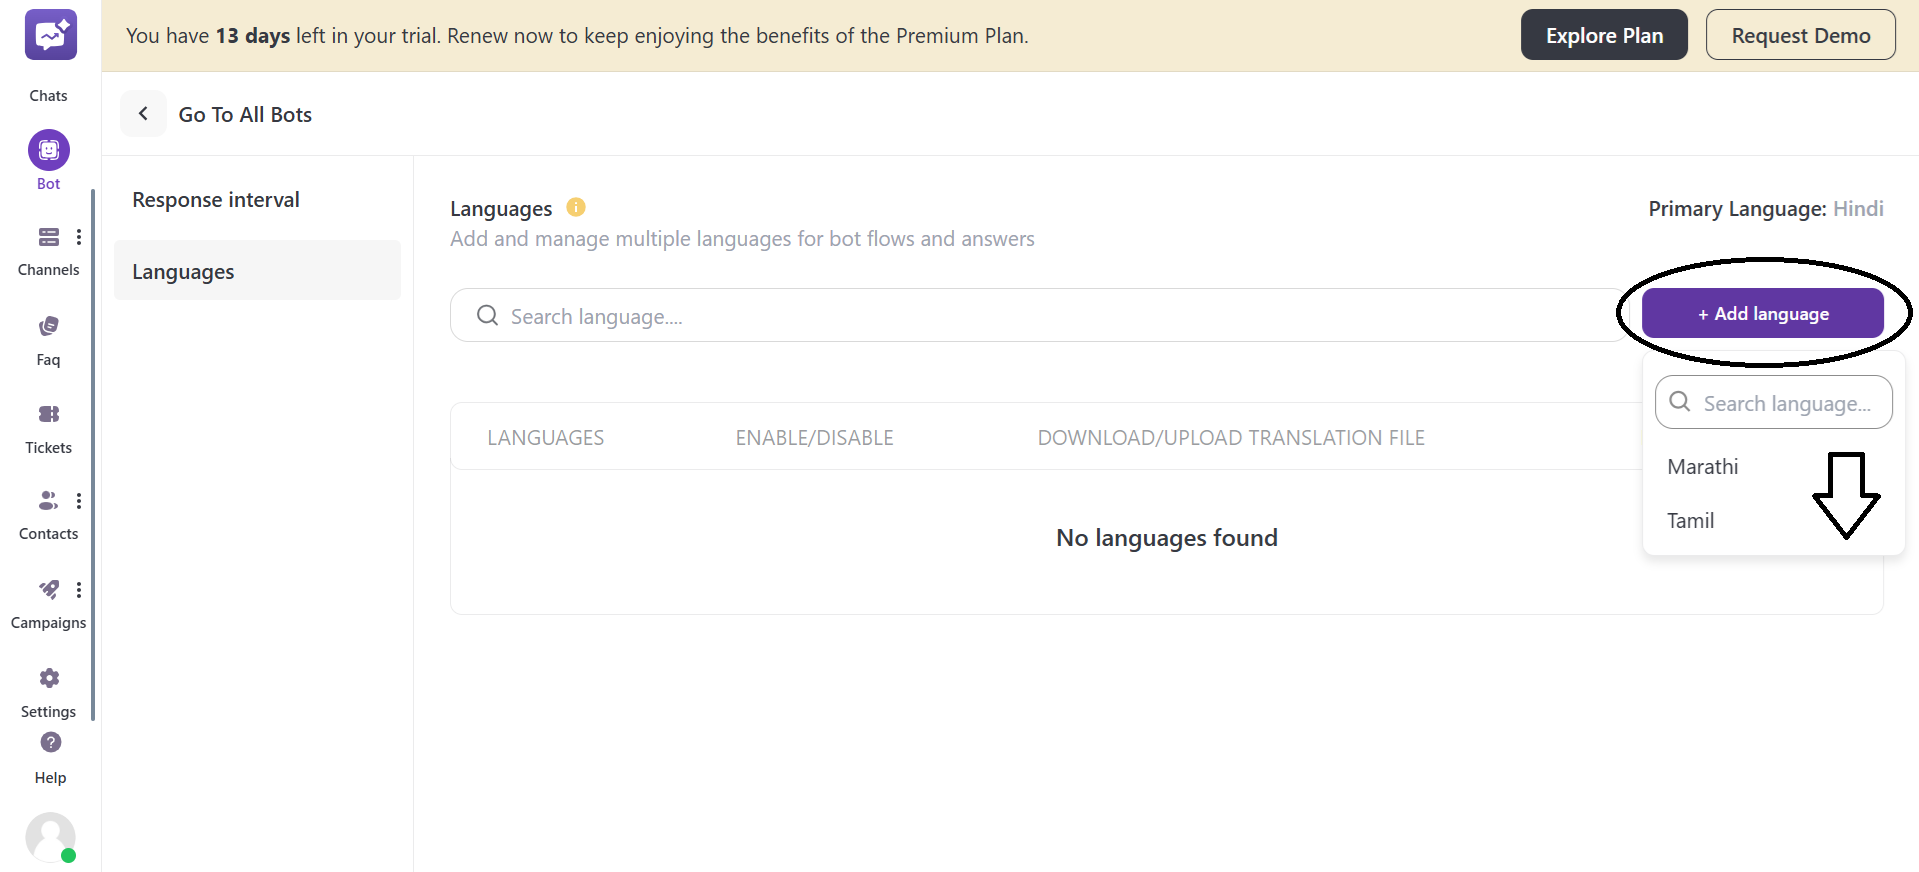
4. Click on + Add language to add a language from the selected languages.
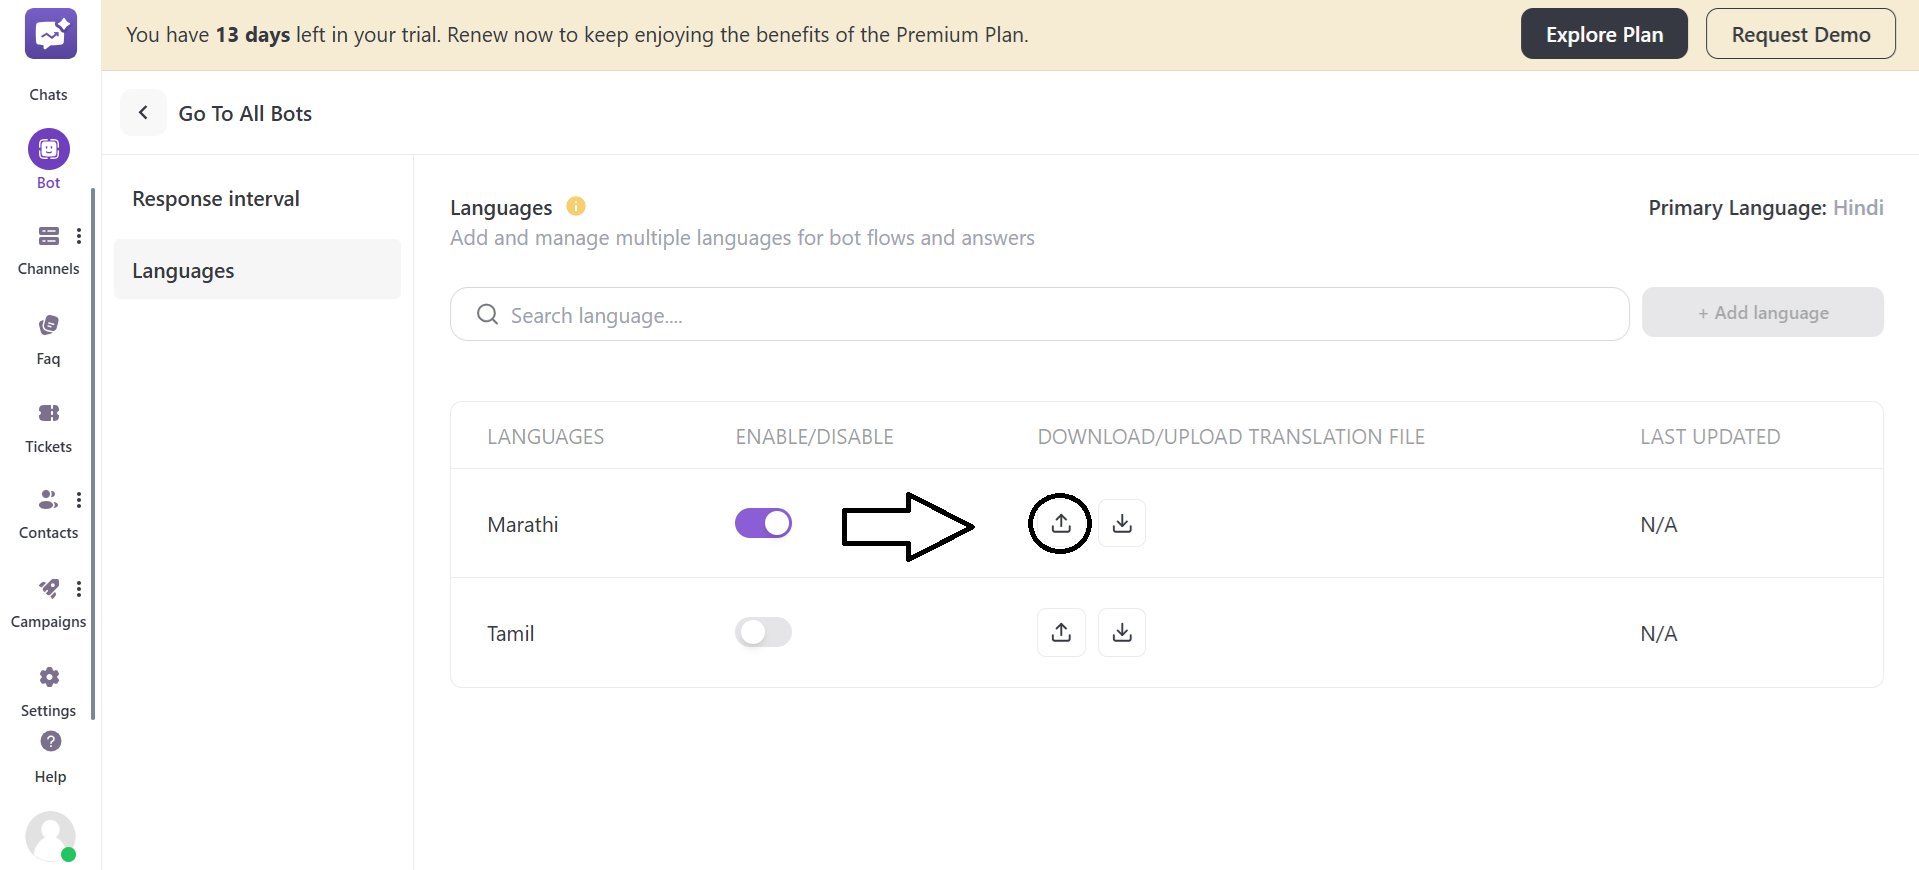
You can enable or disable the translation for a language under the Enable/Disable section.
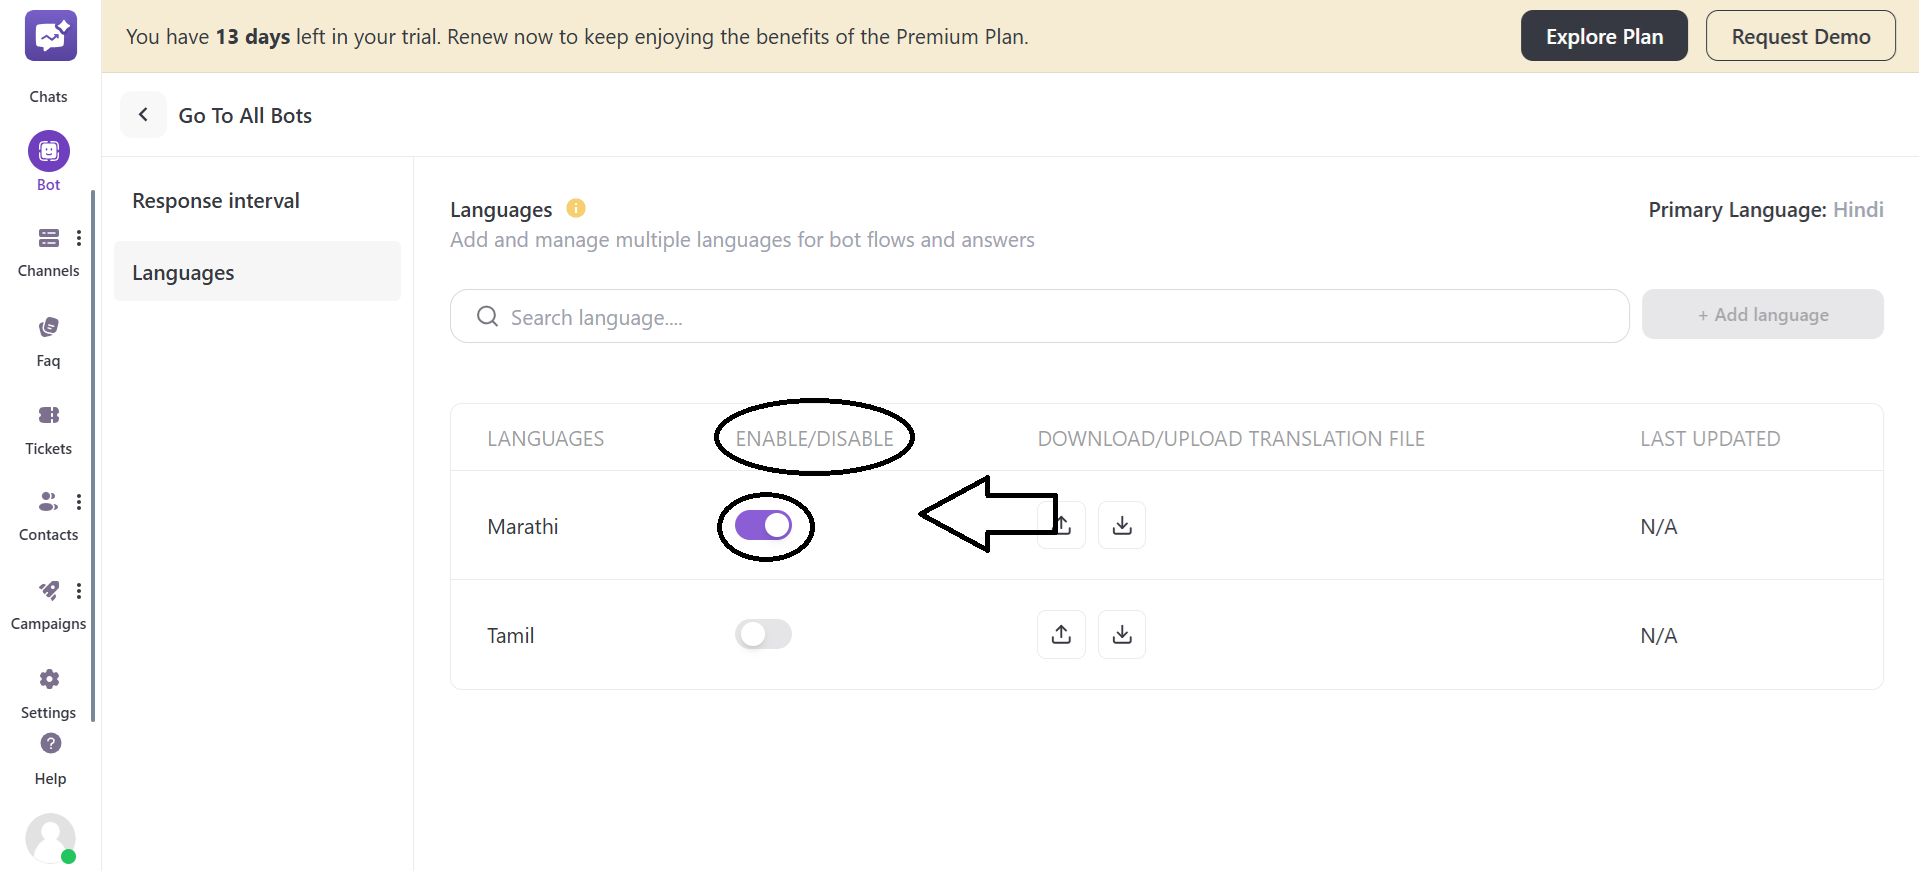
5. Now, click on the download icon to download the translation file.
This file has all translatable text from the bot flow:
-
Button texts
-
Response messages
-
Quick replies
-
Flow messages
-
Carousel
6. The file includes columns for primary language content (source text) and editable columns (translated text) for the targeted language.
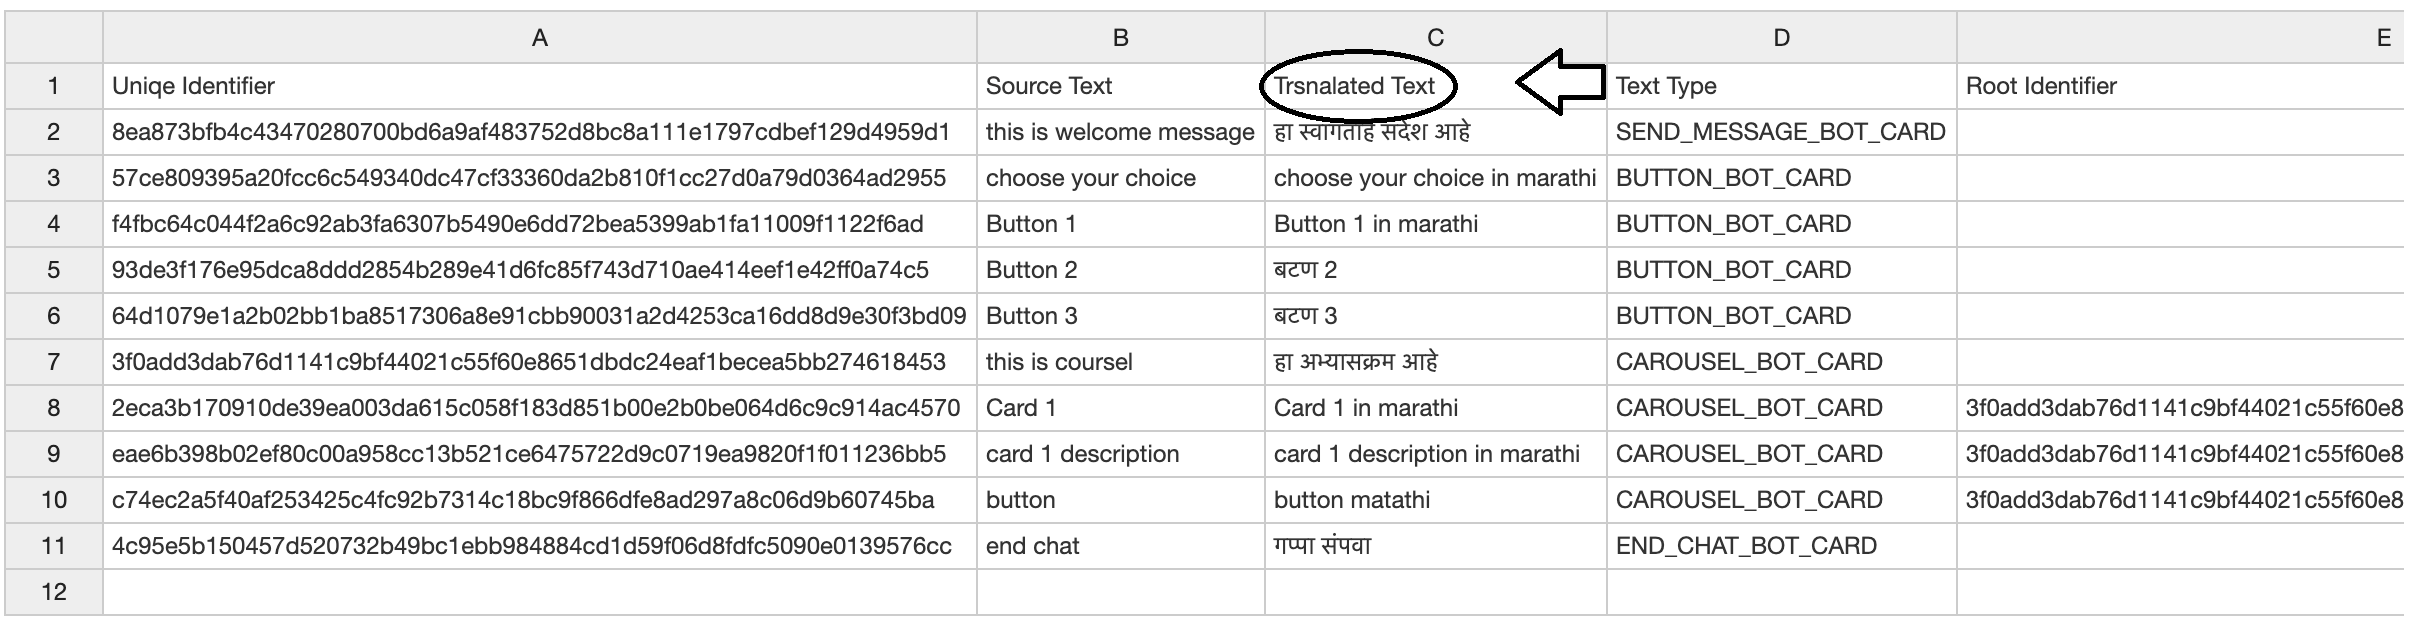
NOTE: Only edit the Translated Text column in the file.
7. The format of the translation file will be . CSV.
8. Now after translating the file, upload it into the same section from the Upload icon.
9. The system imports the translations, adding them to the bot for that language.
10. After uploading the file successfully, check the latest updated timestamp, reflecting the import time.

